So this isn’t a truly thorough exercise in scoring on press. It’s just a few experiments to try out something I was curious about – scoring with photopolymer…
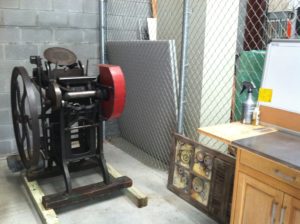
Now I’m sure anyone who knows anything about scoring on press knows that there is indeed a few accepted ‘proper’ methods. One is to use scoring rule (which is slightly rounded) and some sort of matrix. This matrix is often two thin copper wires, or a plastic matrix that is sold by NA Graphics. Some people just use regular printing rule (which is not rounded but flat for – you guessed it- printing rule lines). Some people use scoring machines (I actually found a rudimentary one at a thrift store that I use sometimes). The ultimate goal is to get a channel score which helps prevent cracking and crazing.

I attempted to make a channel matrix using photopolymer. Well, here is what I learned.
1. So I created a scoring matrix – I think this is about 2 pt rule, I cannot remember since I had it made a while ago.

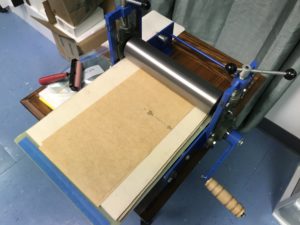
2. I cut them in half and then applied the single rule to the boxcar base (which seemed more like the traditional method of scoring) I then removed the adhesive cover and double stick taped the channel on to it so it lined up. I deposited the channel on the base by turning the press by hand in print mode. Something I learned is that you should probably be delicate with your tape application since is seems to get pushed into the channel and it’s really hard to peel out.

3. I had some compressible pins already on the tympan so I just left them there and removed the side gauge. This wasn’t about accuracy, it was about testing the score. So I turned the press by hand – it was super tight, I really needed to remove a lot of packing… It also turns out the channel was far too right – it sliced even letter paper right in half (with a nice soft deckle actually). That and my overzealous sticky tape seemed to leave some residue causing the paper to want to stick to the plates. I would suggest widening the channel by an extra point or so to accommodate the paper (along with the shoulders on the photopolymer) and lightening up the packing.

4. I played with that for a while, but found it was just too tight, I thought it put too much pressure on my machine so I opted for making a paper channel instead. I looked at the impression mark on the tympan and taped down some paper on either side of the line. It actually did make the channel score, but everything was too big – the impression, the width of the channel, and the width of my ‘scoring rule’ photopolymer. I imagine if I tapered down the paper I used for the channel and tightened up the lines would work a little better. Two lengths of straight copper wire might have worked best, but not with a base – unless I was 100% they wouldn’t hit, I wouldn’t use wire unless you’re actually using rule (which has more clearance)


5. Finally, I tried the simplest solution. I skipped the channel all together and just tried scoring with the photopolymer.

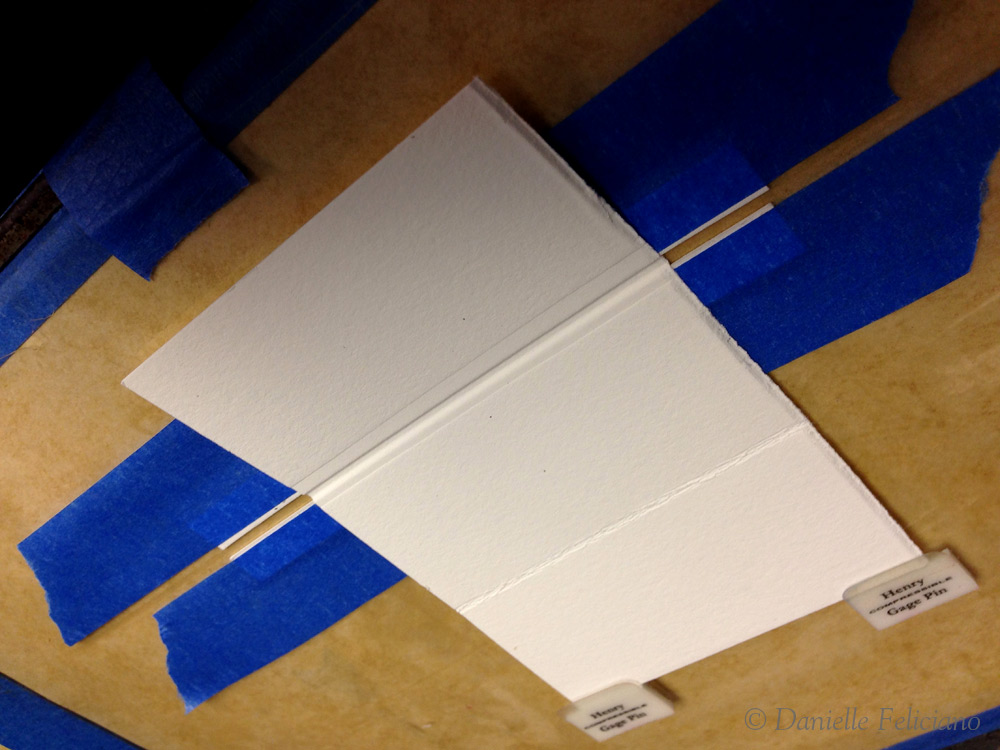
6. This solution actually worked best for me. I found you could fold in either direction with all of the scores, but they tended to fold best towards the valley (many people will argue one way or the other, as long as you don’t have cracking I don’t think it matters, personally). You can see with this fold there wasn’t an issue with cracking of the print. (You can also see that it’s a wicked thick fold, but a thinner rule line would solve this). One other nice thing, is this pressure score was really easy to use as a tear line – it left a nice, subtle faux deckle.


All and all it was a good experiment. I tested in with 300gsm cotton paper, regular printer paper, and a hard smooth colored card stock. All three stocks folded easily. Honestly, I imagine with some tweaks all three methods would work.
Advice:
- Keep the rule thinner than you think – one point or less, this was deep relief photopolymer which meant it had wide shoulders (ramps) which tended to widen the score channel. Real scoring rule is best because it’s rounded and doesn’t have shoulders. However its harder to adjust it’s position once it’s locked up and you can’t score diagonals easily.
- Adjust your packing – you don’t want to over smash the impression and put too much strain on your press. If you are using both parts of the channel matrix be EXTRA careful to make sure it’s not too thick and causing lots of pressure.
- Taper your channel – make sure it tapers away to prevent it making an impression on your paper
- Be gentle with the sticky tape – it made the matrix sticky which facilitated in ripping the paper and making it hard to feed
The primary advantage of using photopolymer as your scoring rule is that it can be added into the plate design itself, meaning it will hit exactly where it needs to. Just make sure it goes all the way to the edge of the paper or that you trim before you fold (a detail I neglected with my previous duplexing project).
Hope this post helps someone out, happy printing!