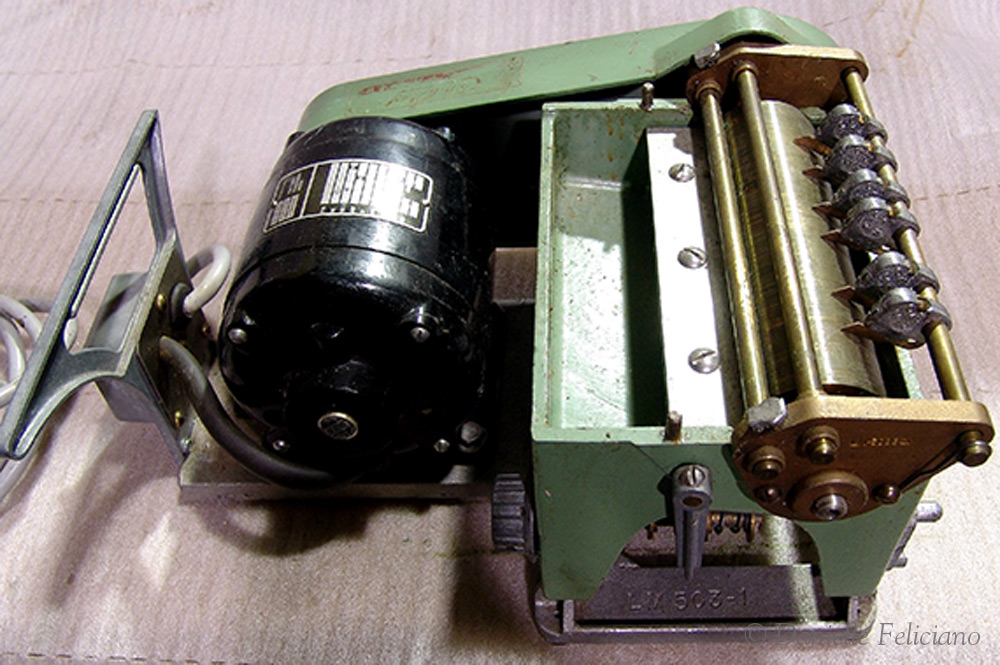
So the title is a half truth, it’s not exactly a pot devin, it’s a label paster and a little one, but I picked it up on eBay and thought it was worth trying out. So when I got it, it was missing the feed plate and the belt. I bought a new belt and had a great local machinist (Midyette Brother’s Manufacturing) tap some threads so I could attach a handle and run it manually. Today I tried it out with a Valentine card I was working on (yeah it’s a bit late for this year haha).


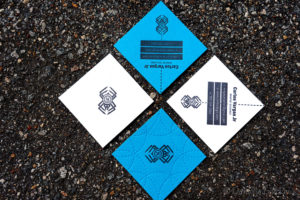
0. First things first – I printed the cards. For this project I adjusted the line up so I would only have to trim two sides. I also printed on a few different papers in the same line. Crane Lettra 300 gsm, Crane Lettra 600gsm, and Crane Colors.


1. You can see that the actual unit comes off the motor. I found the motor made the machine run really loud and fast so I decided to try it out with the handle. This is everything I used to do my duplexing. The final prints (some not completely trimmed down), tacky glue $6, a rubber roller $15, and the pot devin. You can see I took off the blades that are used to guide the paper up and keep them from wrapping onto the roller because they got in the way and honestly, the paper was too thick to curl around the drum anyway.

2. I made the mistake of initially trying to water down the glue because it looked so thick- don’t! It isn’t necessary and I ended up wasting a bunch. The watery glue didn’t coat the roller consistently and it made the sheets too wet. I ended up having to clean the whole machine and re-start. This time I added the glue as is:

On the second round I also thought it might be helpful to slip in a sheet of tinfoil with the hope it would make cleanup easier (surprise it did)

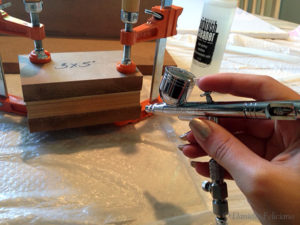
2. I added enough glue so that when you turn the drum it coated nice and even. I found the setting number #4 to be best, but it’s all a bit arbitrary because you can unscrew the plate and set it a bit forward or back and thus the adjustments will be different anyway.

3. Then it was simple – just feeding the sheets one by one turning the roller to let them through. The knob on the bottom right was used to adjust the thickness of the glue using that silver ‘blade’ with the screws which tilts forward and back and scrapes the glue into a consistent film
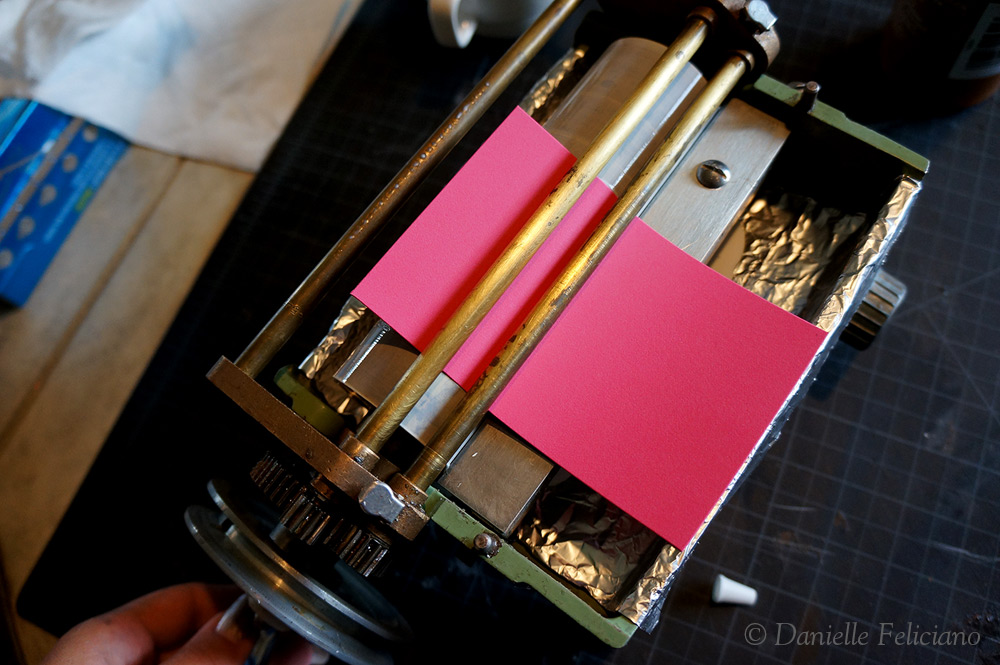
4. I found the plate I had made was too thick for use with the heavier papers I had (though for regular letter paper or a lighter cardstock it was fine). Here I used Crane Colors and I also tested Crane Lettra both 300 and 600 gsm and found they both fit. Once there was a nice coat of glue on the sheet I just lined them up and use the rubber roller to press them together (as is seen in my previous experiments)


5. I had very little curling. I believe this is a mould made paper so there isn’t really a grain to cause any massive warping. I still put them under a weight, and I find that if they curl a hot dry iron will make the difference.

6. Finally, I used my new (new to me anyway) Lassco corner rounder to round the edges once they were trimmed down. I used a 3/4″ die, which was just right for these cards. I have plans to buy another die but can’t decide between a 1/8″ or a 1/4″

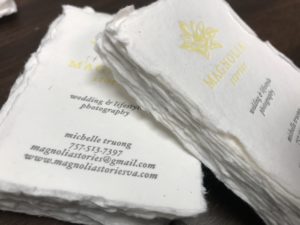
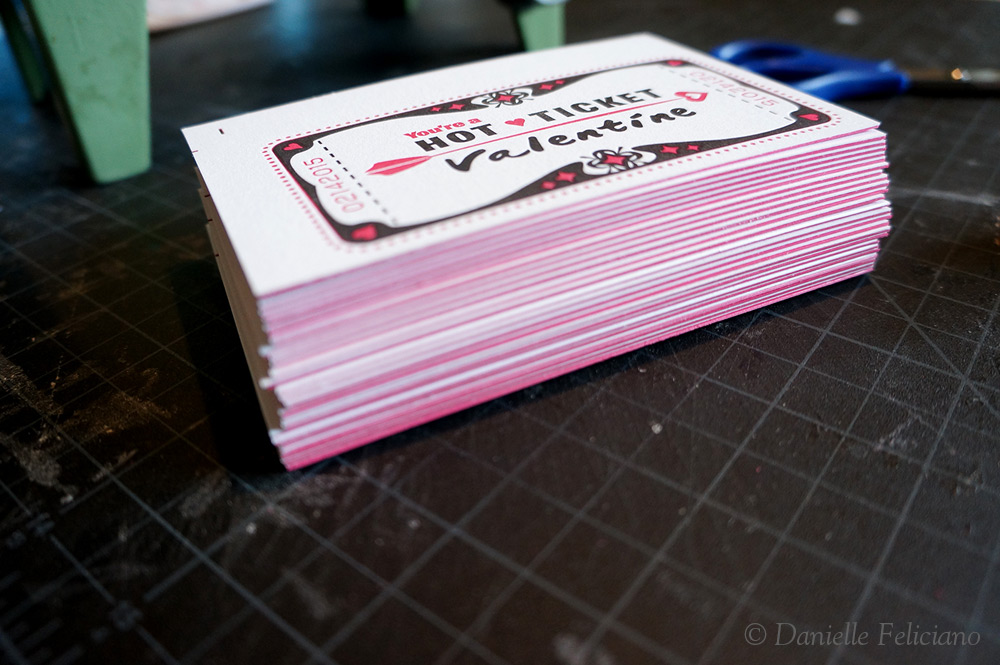
7. There they are, done and done. This will be available next year – you can see the ticket number is 02/14/2015, next years Valentine’s Day date! All in all, the pot devin did make things faster because the glue didn’t get all dried out and my arm didn’t get sore rolling out more glue every two seconds. The next step would probably be to buy a roller press, but rolling them out by hand wasn’t too difficult, especially since I was lining them up by hand. Lining them up was the hardest part honestly. I might make a jig or something that does it for me. It’s always possible to put the glue on a little thicker and then you can scoot the cards around a bit to get it right.


8. When I was done with all that, I just soaked it in hot water in the sink. I used a scrub brush and just kept rinsing it out until the glue was gone. Then I re-oiled the gears (which technically should be greased but I don’t have any grease) and the oil ports.