Duplexing Tutorial Part 1 – Things have been very busy at Panthera Press. We’ve been doing some small jobs and have acquired an assistant – Lanny Lesniak. I want to share a recent project that required duplexing two sheets. I found there weren’t a lot of visual resources which explained the process, so I took a few photos and am going to explain how I attempted it this time…
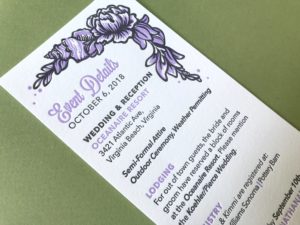
1. I printed the sheets with the back and front on one sheet:
The crop marks are for me to use in the scoring and trimming process.
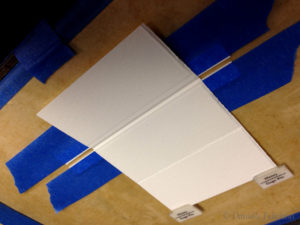
 2. I printed the second color which was really just a tinted texture, and added a ‘score’ line. In retrospect, I should have made the score line longer and put it with the first later not the second.

3. Now, on to the actual duplexing – I hand scored each card with a blade using the score line as a guide. I could have (should have) scored on press, but I didn’t have a scoring matrix, and the blade ended up being just fine. I used the crop marks for the black layer, since it was more important that it be square than the subtle blind stamp.

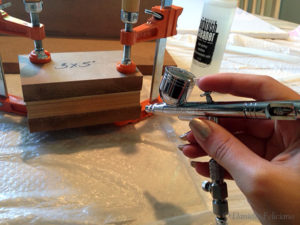
4. Now for the sticky part… I was skeptical about spray glue, because although I could glue many more at a time, I was afraid it would be messy and drip or get on the other sides of the cards. Plus I had poor ventilation, so I went with bookbinder’s PVA and a roller. I rolled the PVA out on a piece of acrylic. It wasn’t necessary to get exactly to the edges since those will get trimmed off, and in the end it was a very neat/clean process.


5. You need to fold the card quickly because the glue is in a thin layer which dries fast. I then used a clean brayer to smooth it out (a bone folder works too, but is more tiring and a bit slower). The heavy weight of the paper and the light layer of glue made this step almost superfluous.
 6. Finally, I trimmed them on my stack cutter. Even though sometimes the fold appeared a bit crooked in how it overlapped at the edges- because I scored by hand, I knew one edge was sure/straight and lined up to that side first. In the end, they all cut straight and correctly.

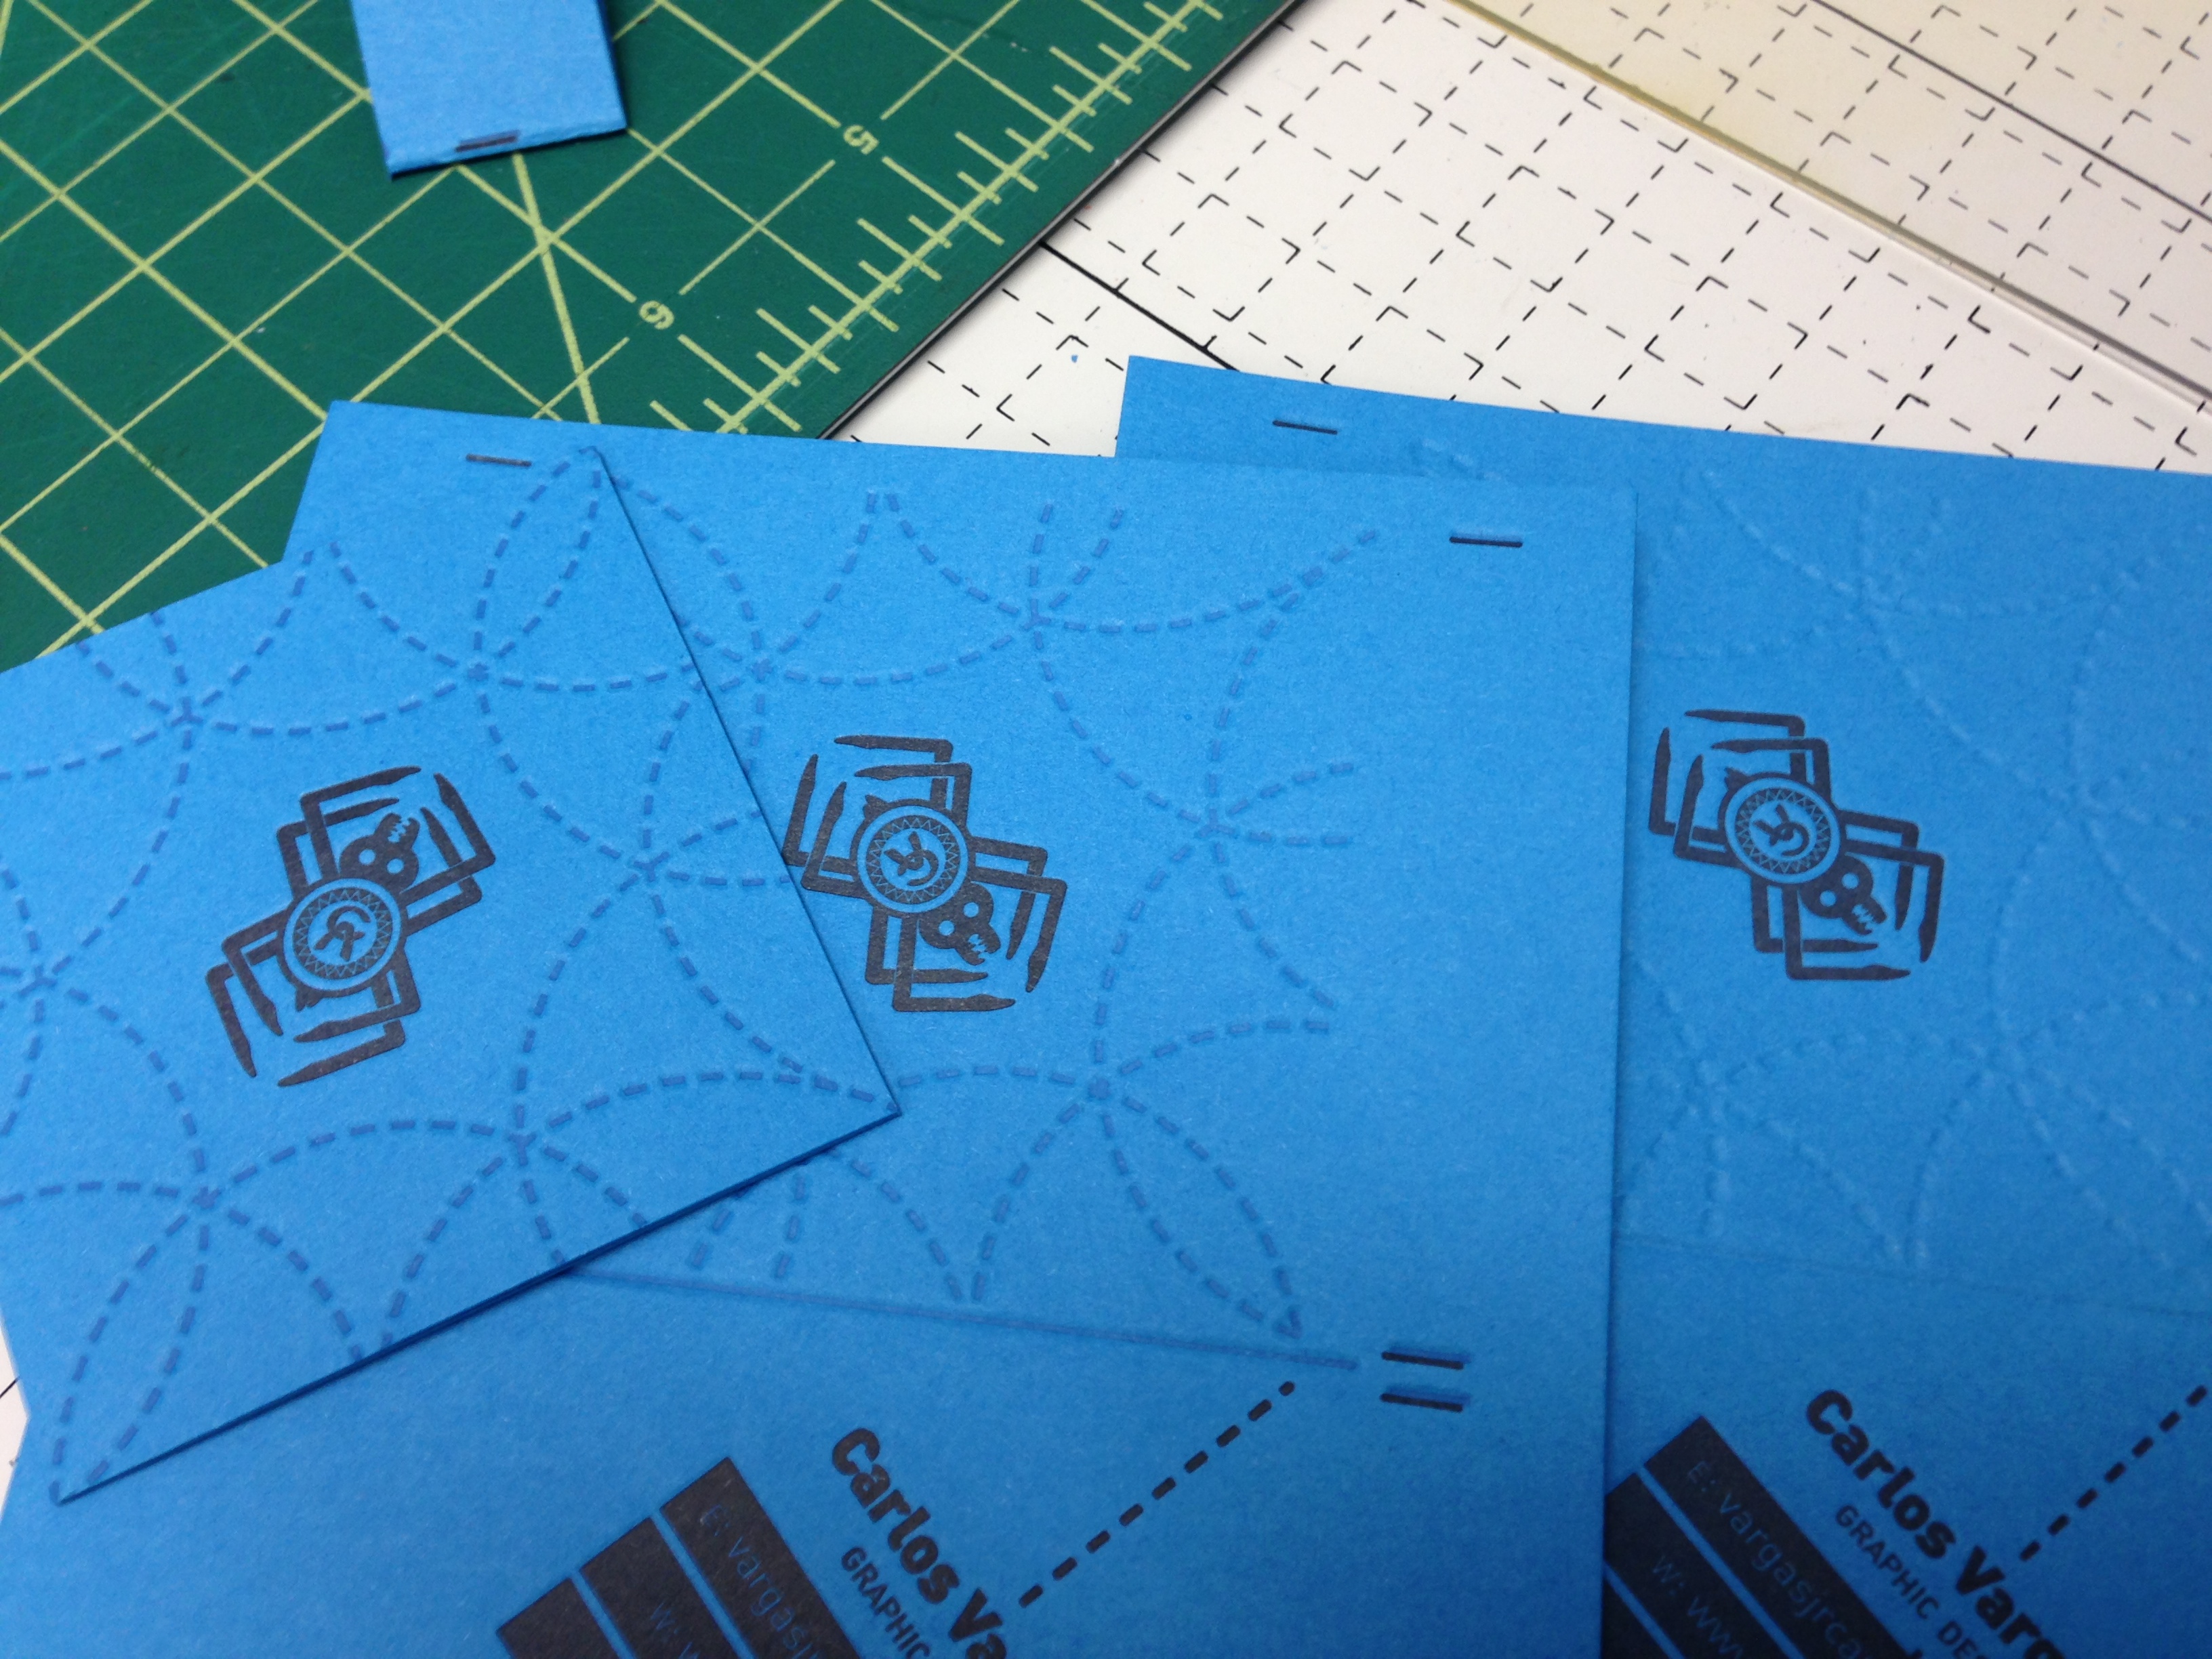
 7. At last, duplexed cards, and they came out pretty well. Here you can see some different versions as I played with how to tint the ‘blind stamp’ web part of the design (which is by Carlos Vargas BTW). I don’t imagine it would be very different if you were doing two different stocks. Instead of just folding it over you’d print each side separately. The difference would be that I would trim them down to a set of crop marks, duplex them, and then trim them again to size so they would be seamless.


Check out part two of this post HERE