Getting a beautiful gold print often seems like an impossible task with out a hot foiling machine. Gold ink simply…doesn’t look gold when printed on absorbent paper. I decided to try a classic technique for getting gold with letterpress – bronzing. This was an interesting process but it comes with a warning.
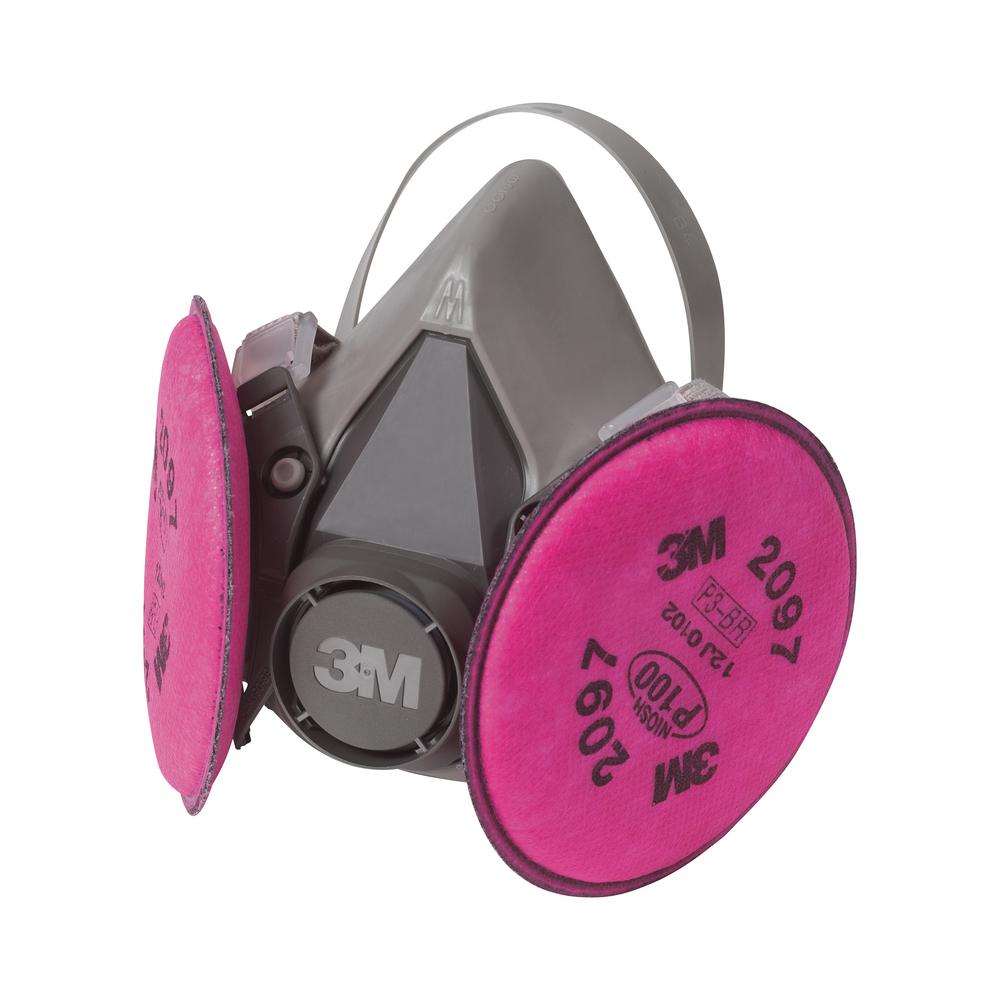
** WARNING ** A proper respirator is NOT optional for this process. The first time I did this process I did it in my studio with two dust masks and goggles. It wasn’t enough protection and I had painful lung irritation for days afterwards. Getting particles – particularly metal particles – into your airways can cause lung fibroids and damage your lungs. If you do this – be extremely careful.
If that doesn’t immediately put you off, keep reading. Whether it’s something you want to try or not, it’s still interesting to check learn about as it’s a technique that’s been used in the letterpress industry for a long time.
First Attempt: My first attempt to get amazing gold prints involved trying to bump up the quality of the gold ink itself by adding additional powdered gold pigment to the ink. This doesn’t warrant much discussion as it didn’t make a noticeable difference. I have tried multiple brands of gold ink and none of them seem significantly better than any others.
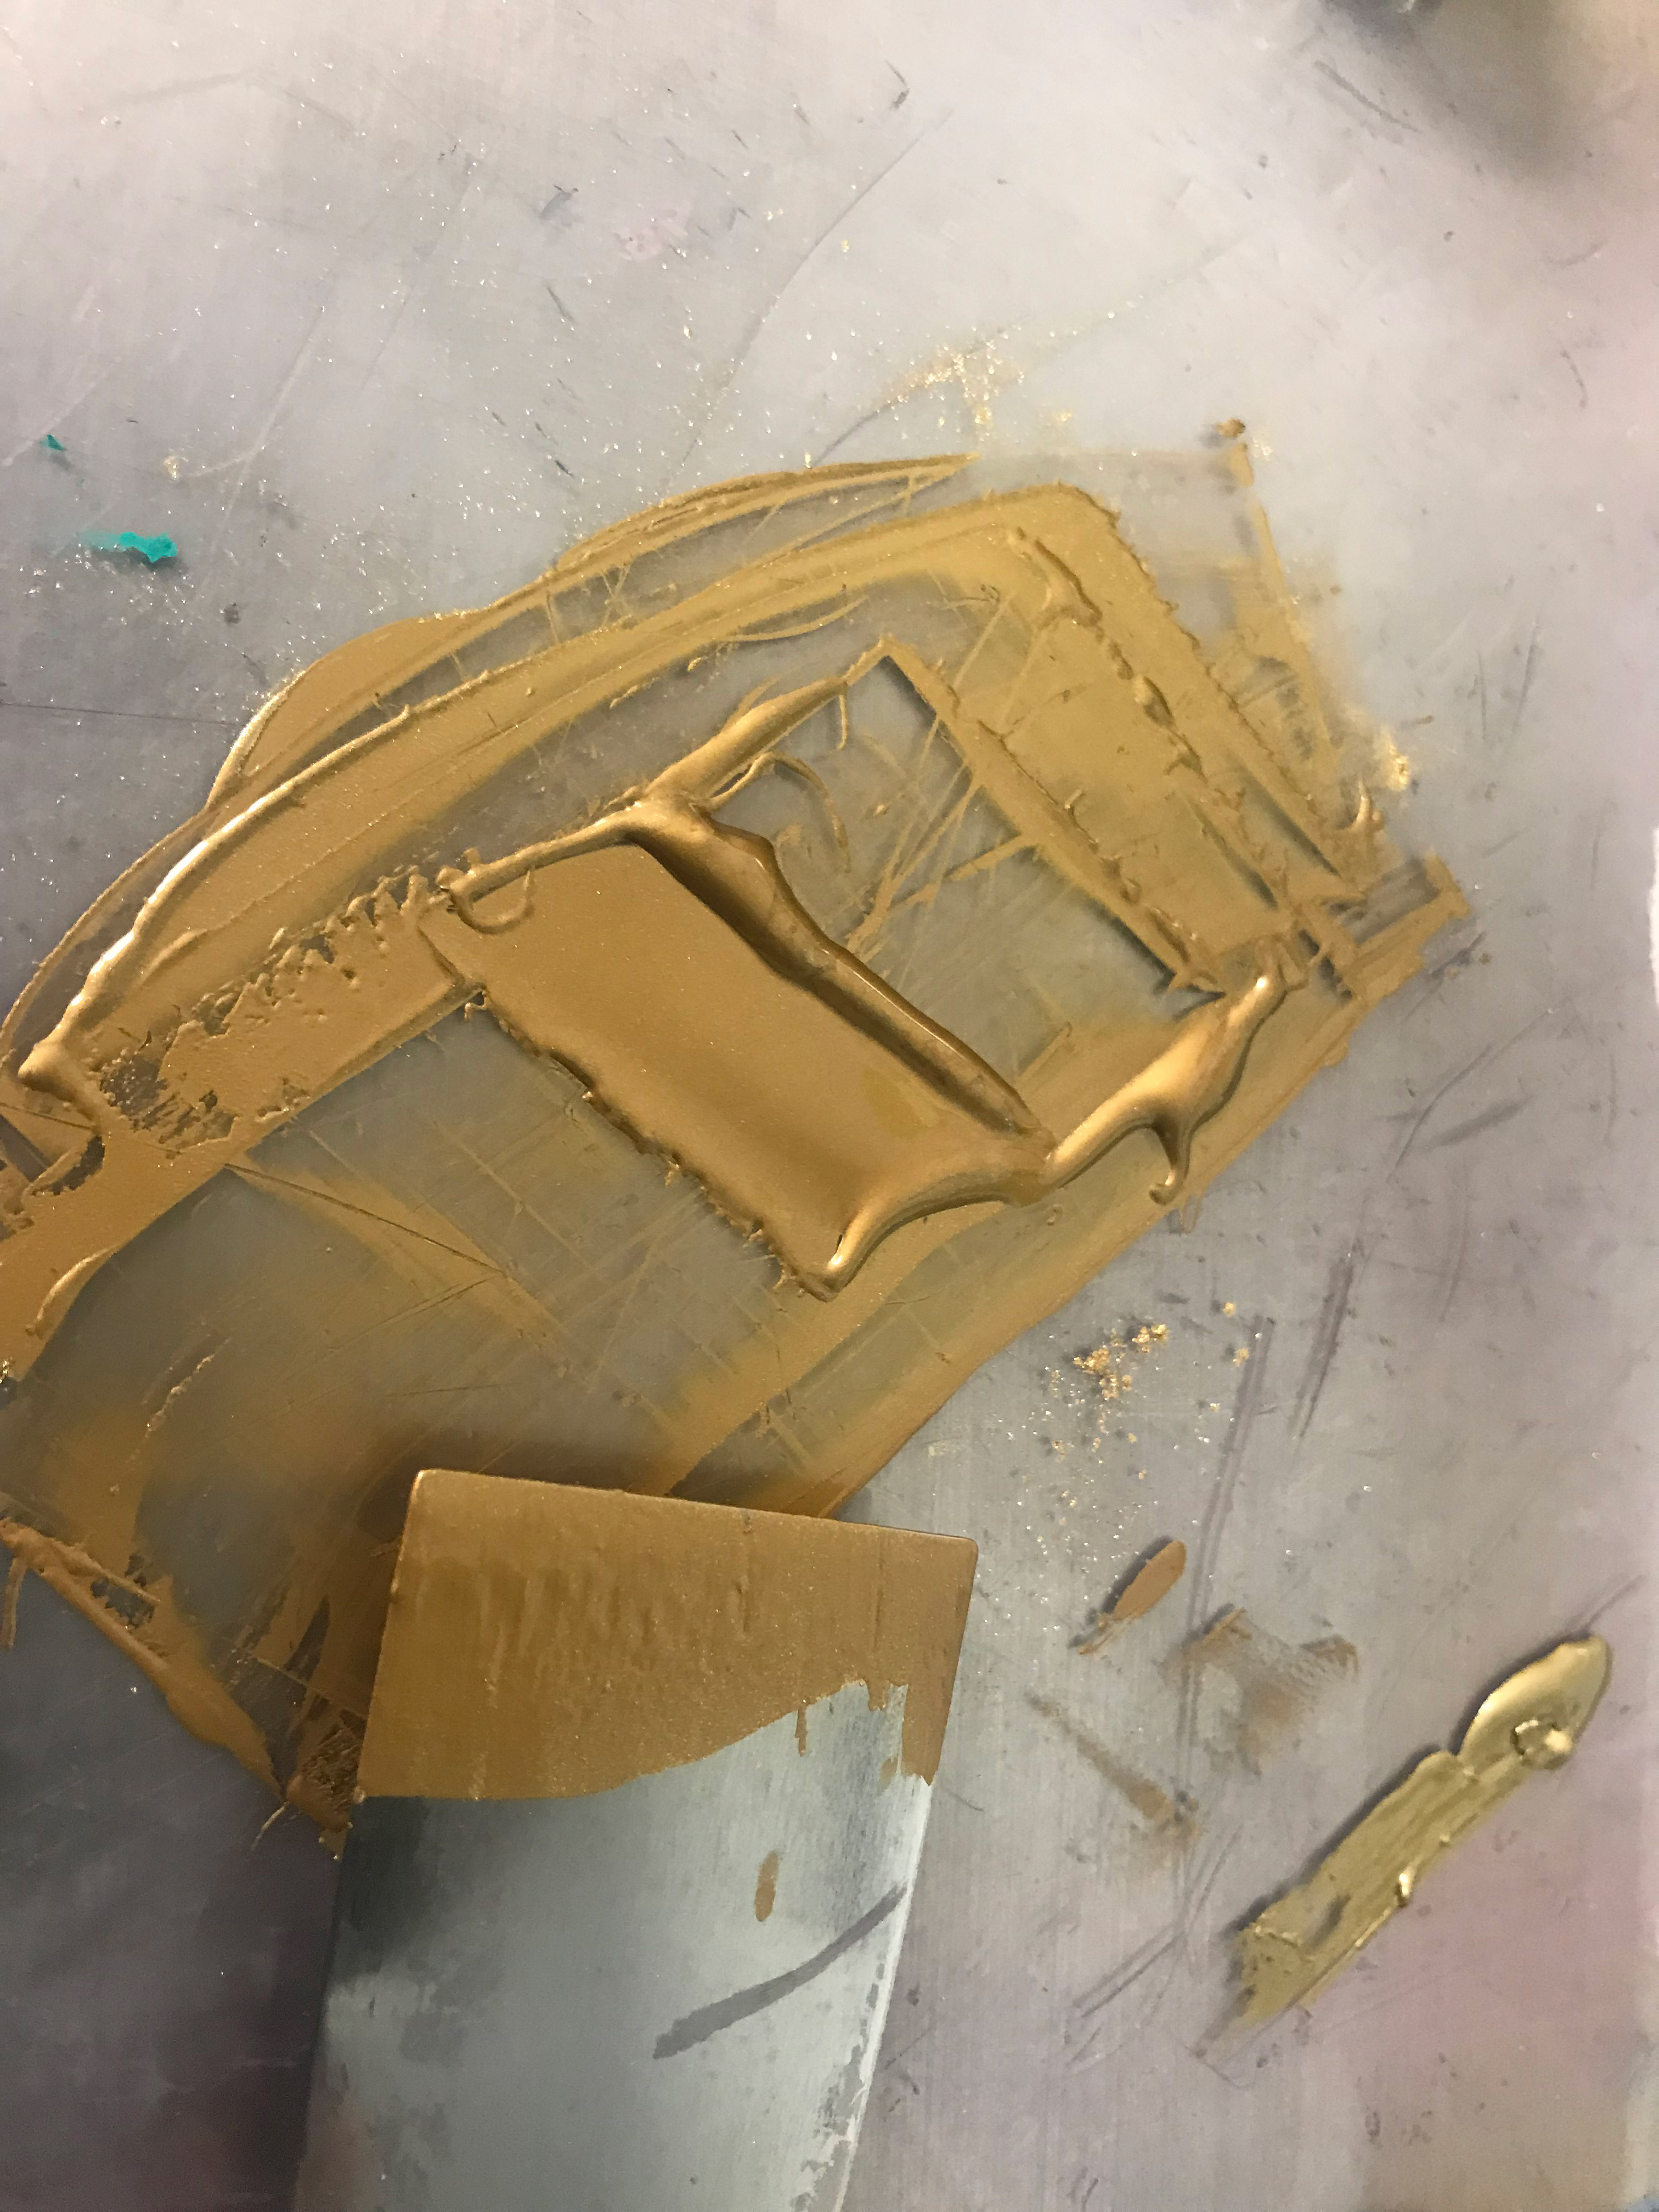
Although the gold looks lovely on press…
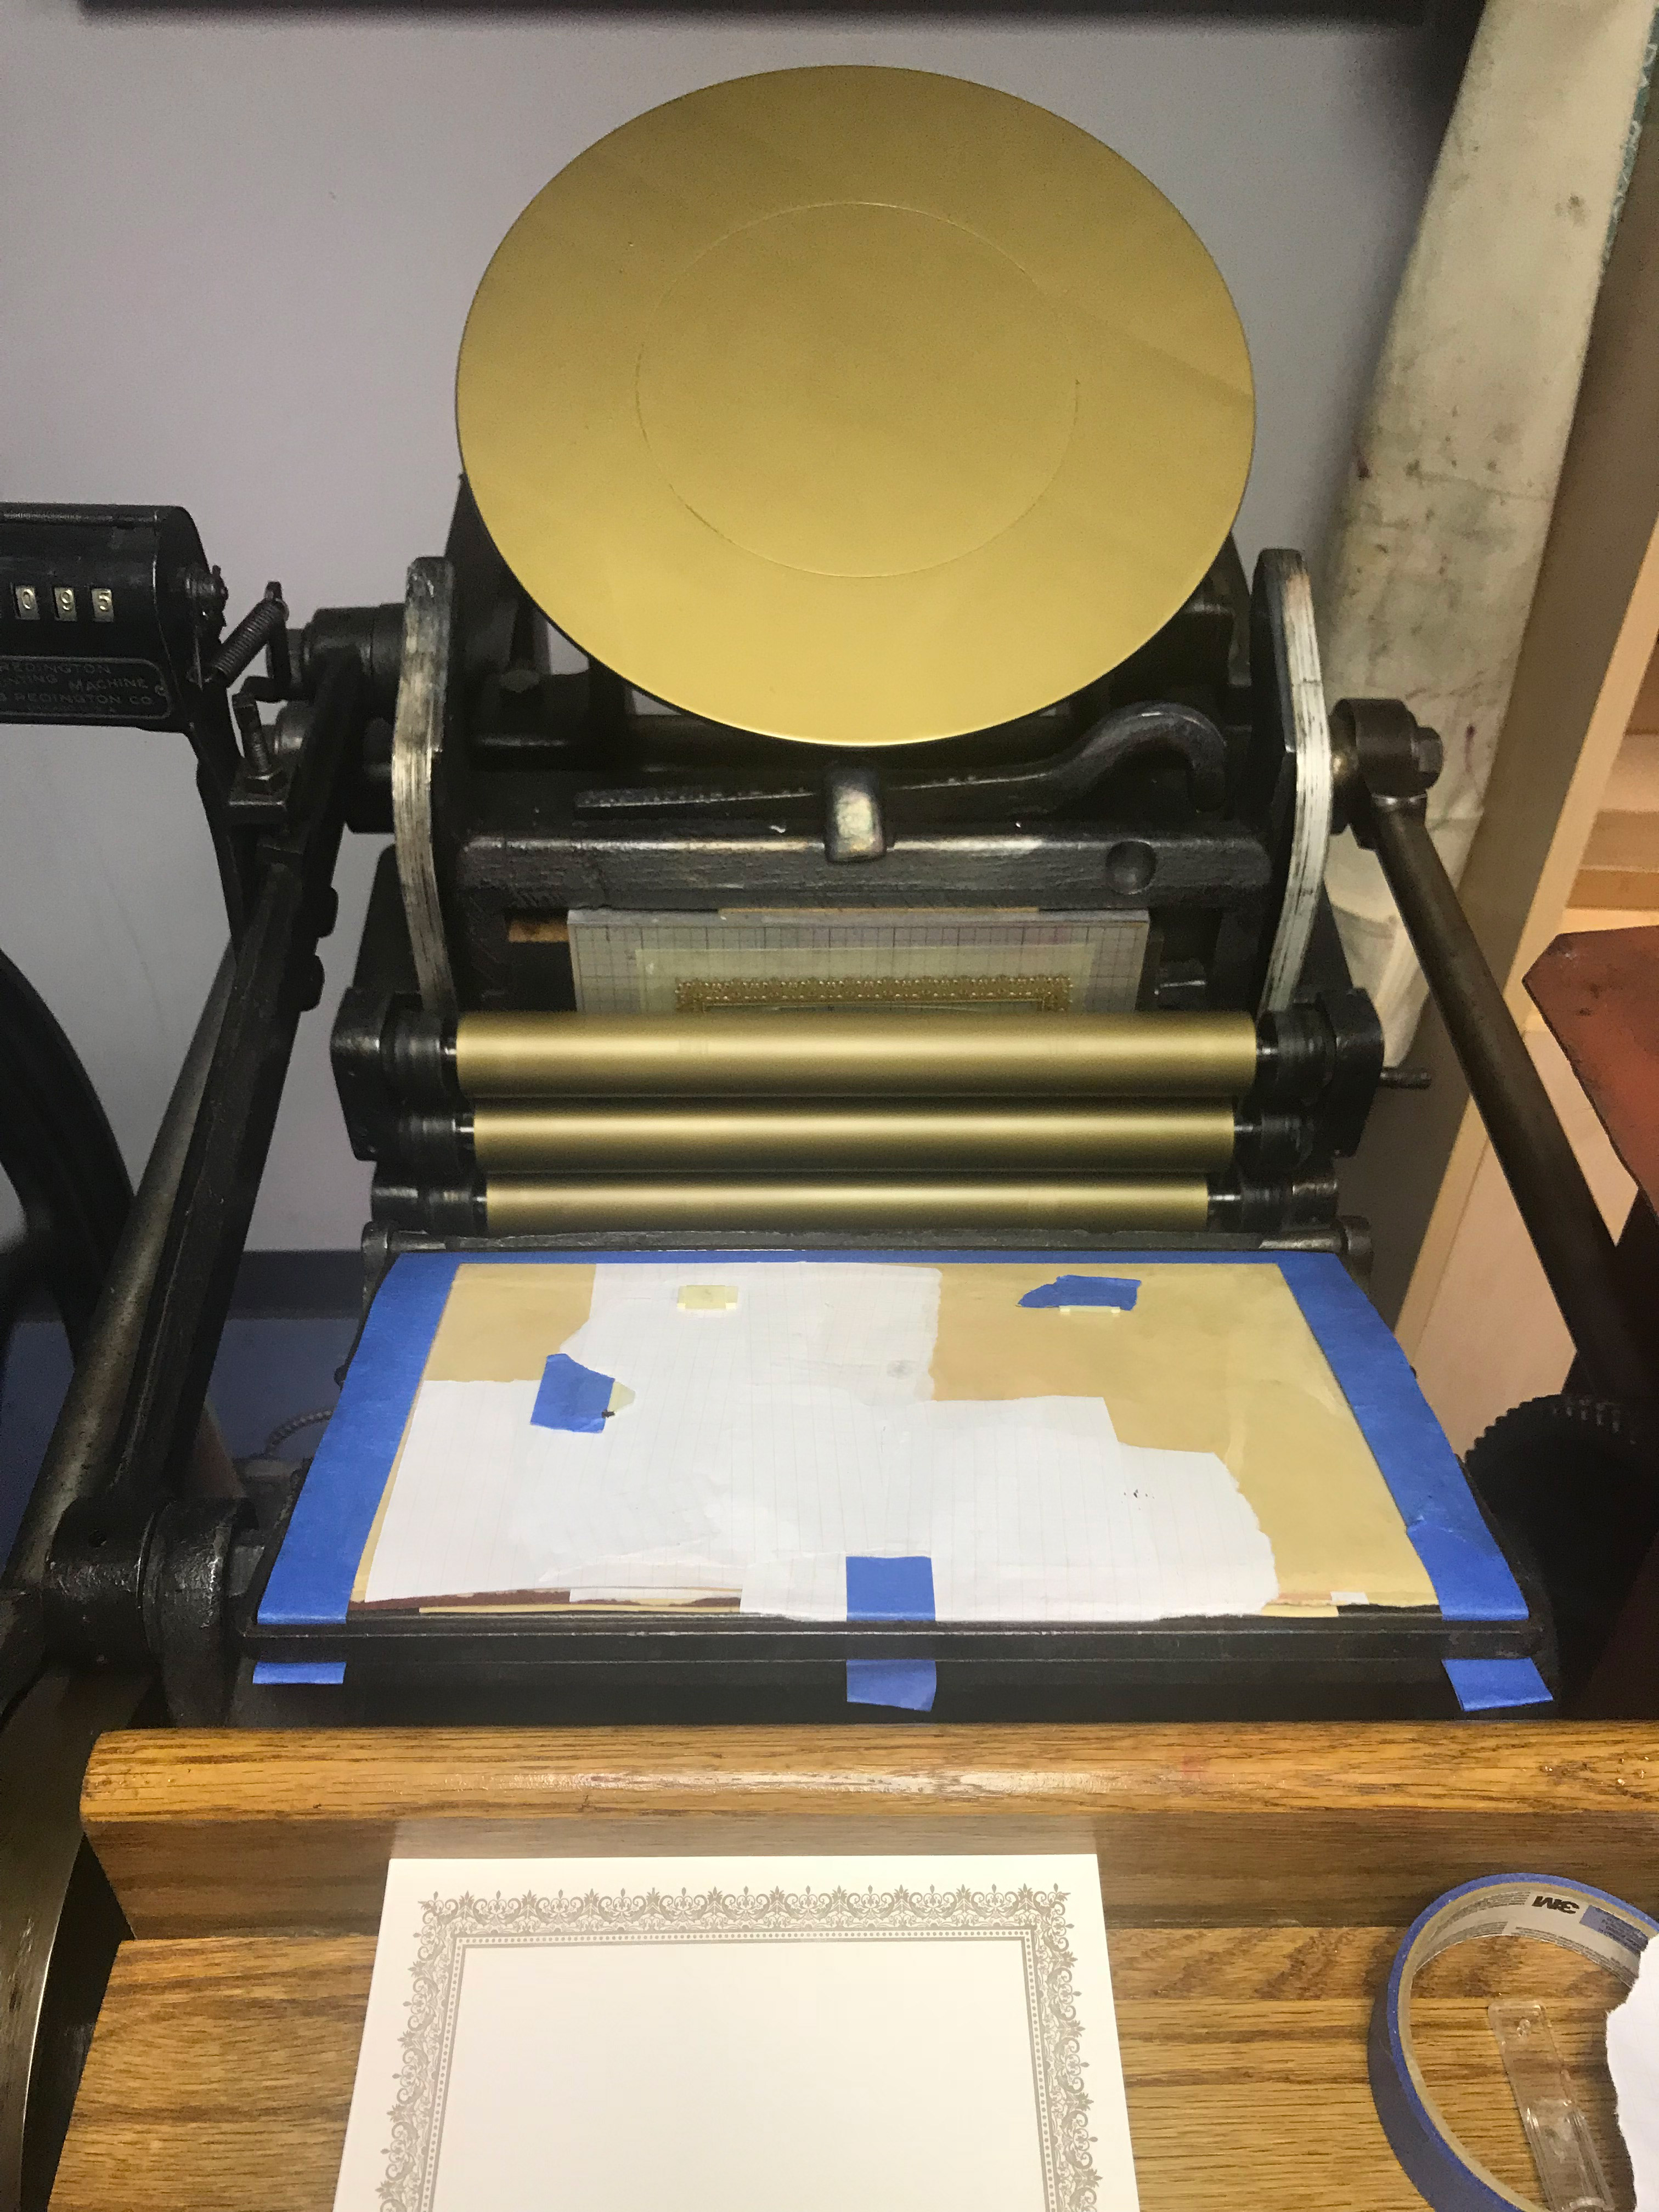
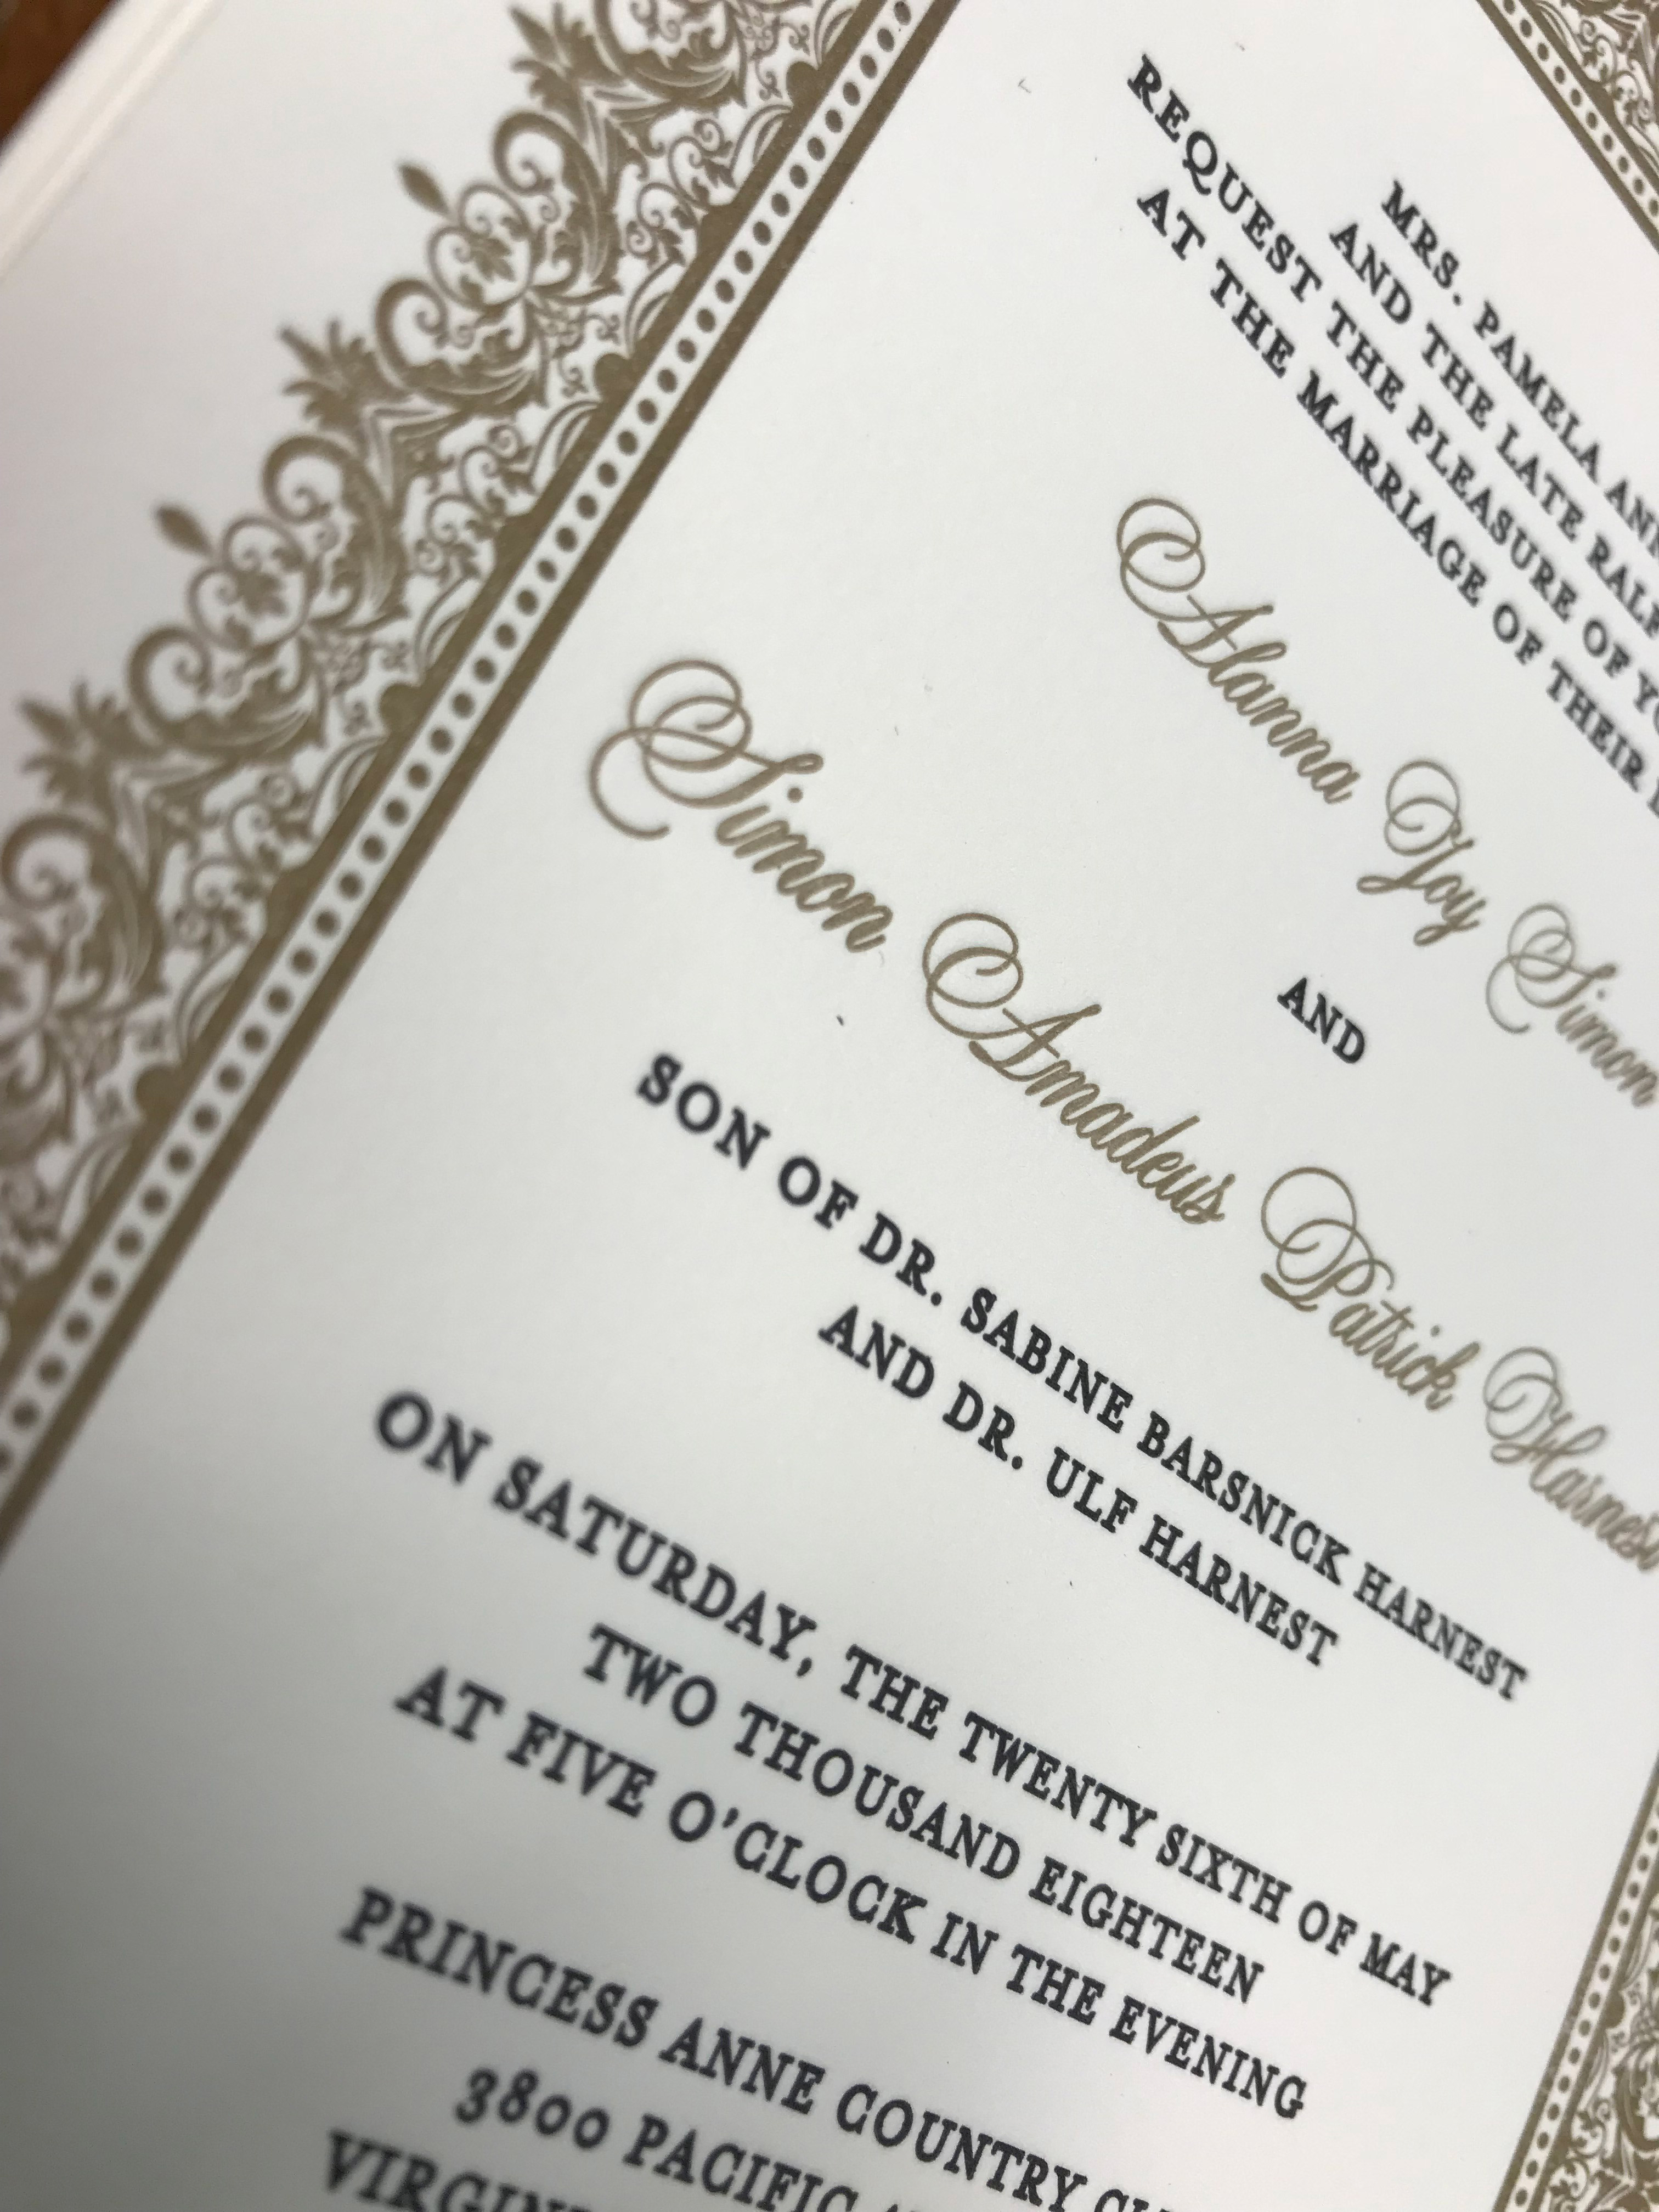
This prints at best are a dull brownish gold.

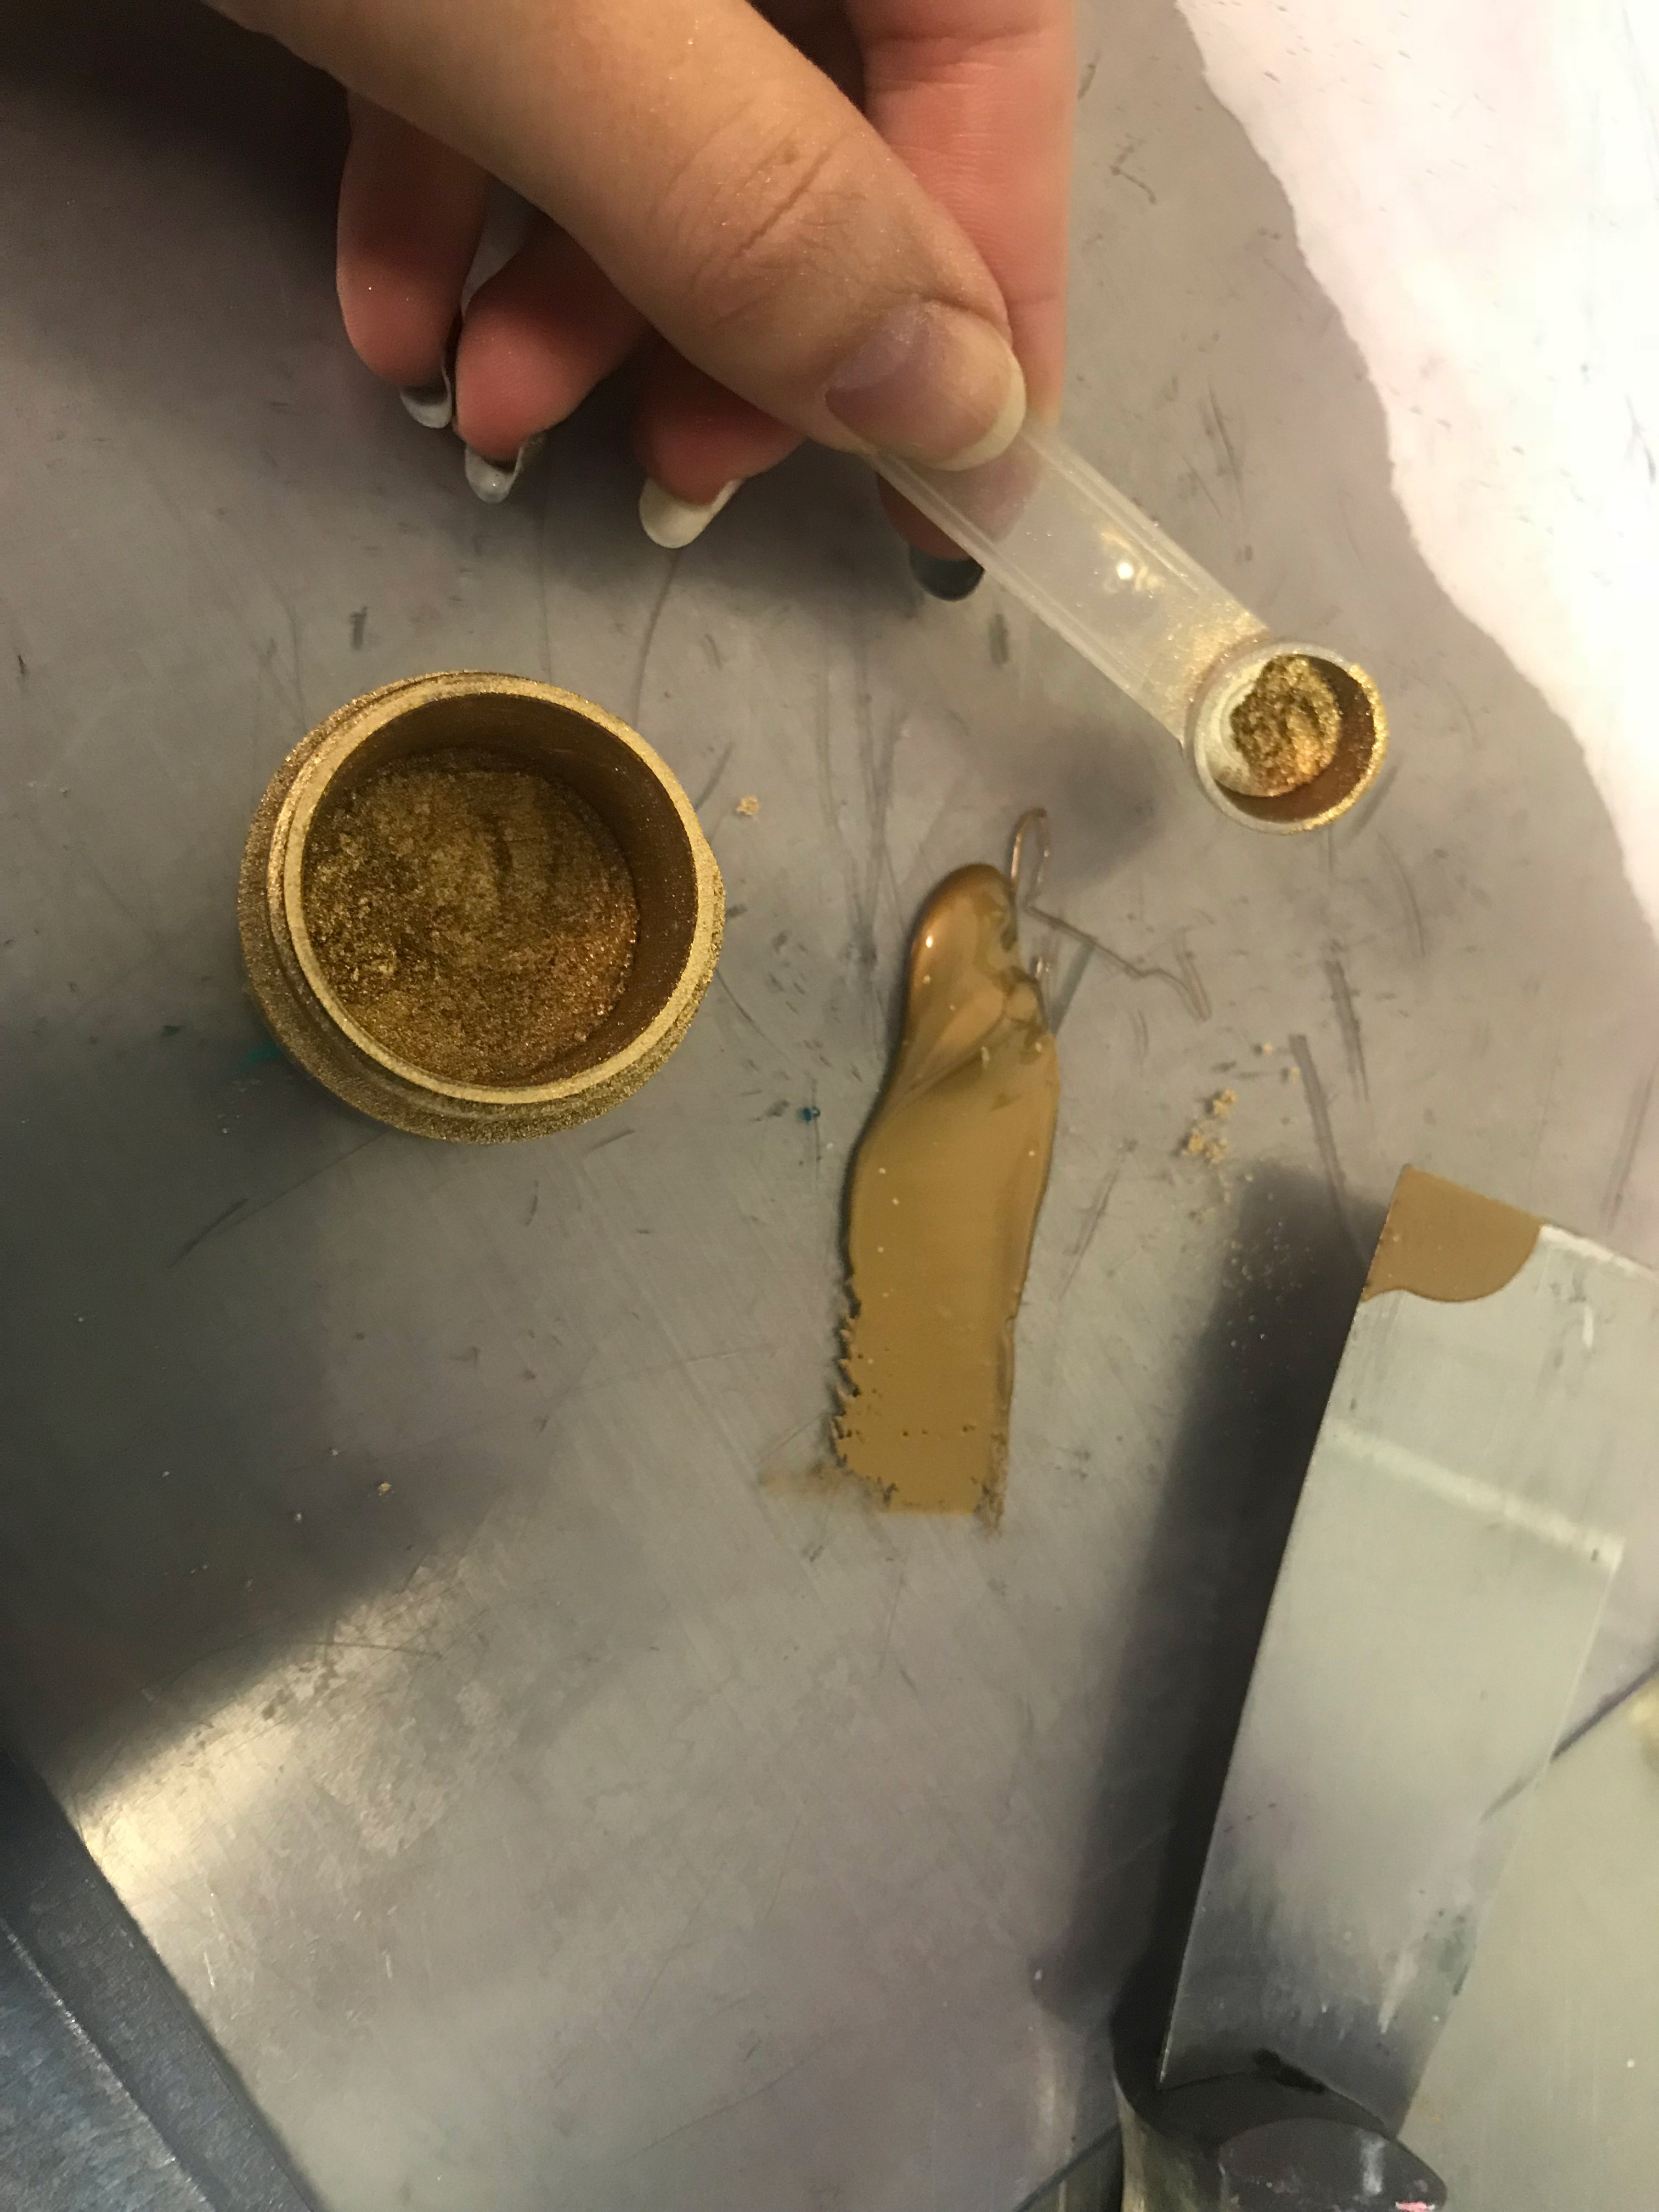
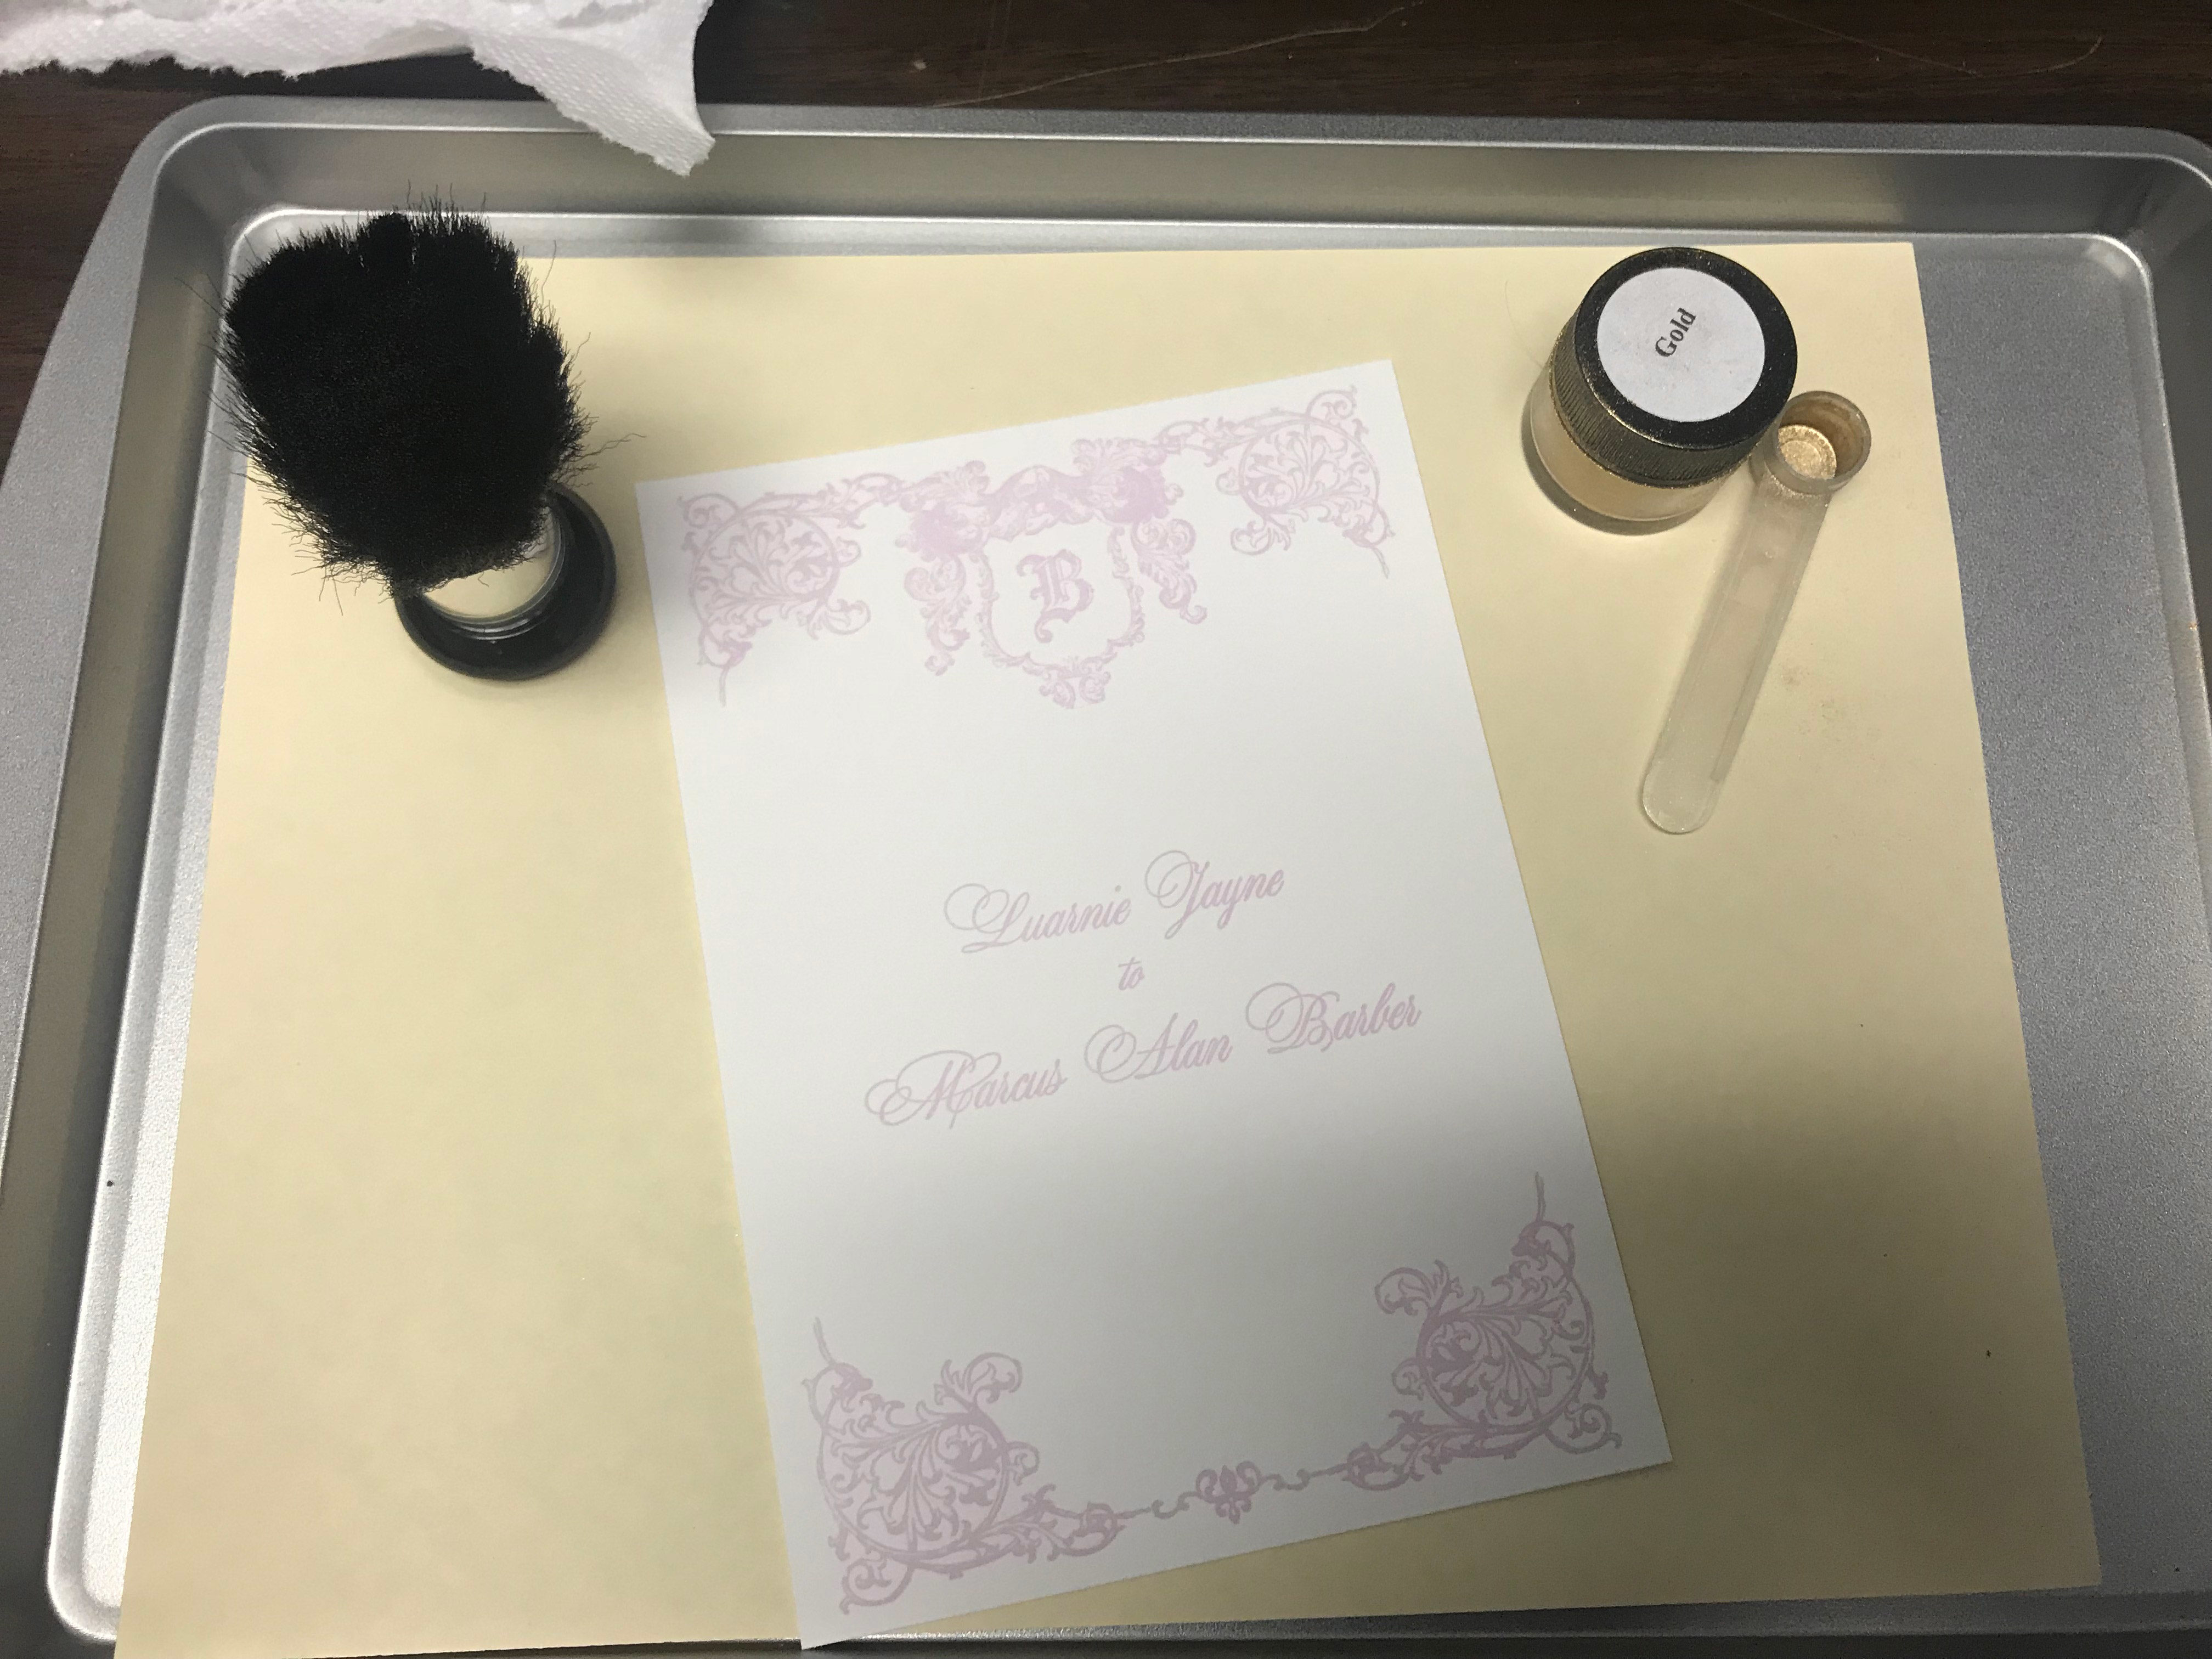
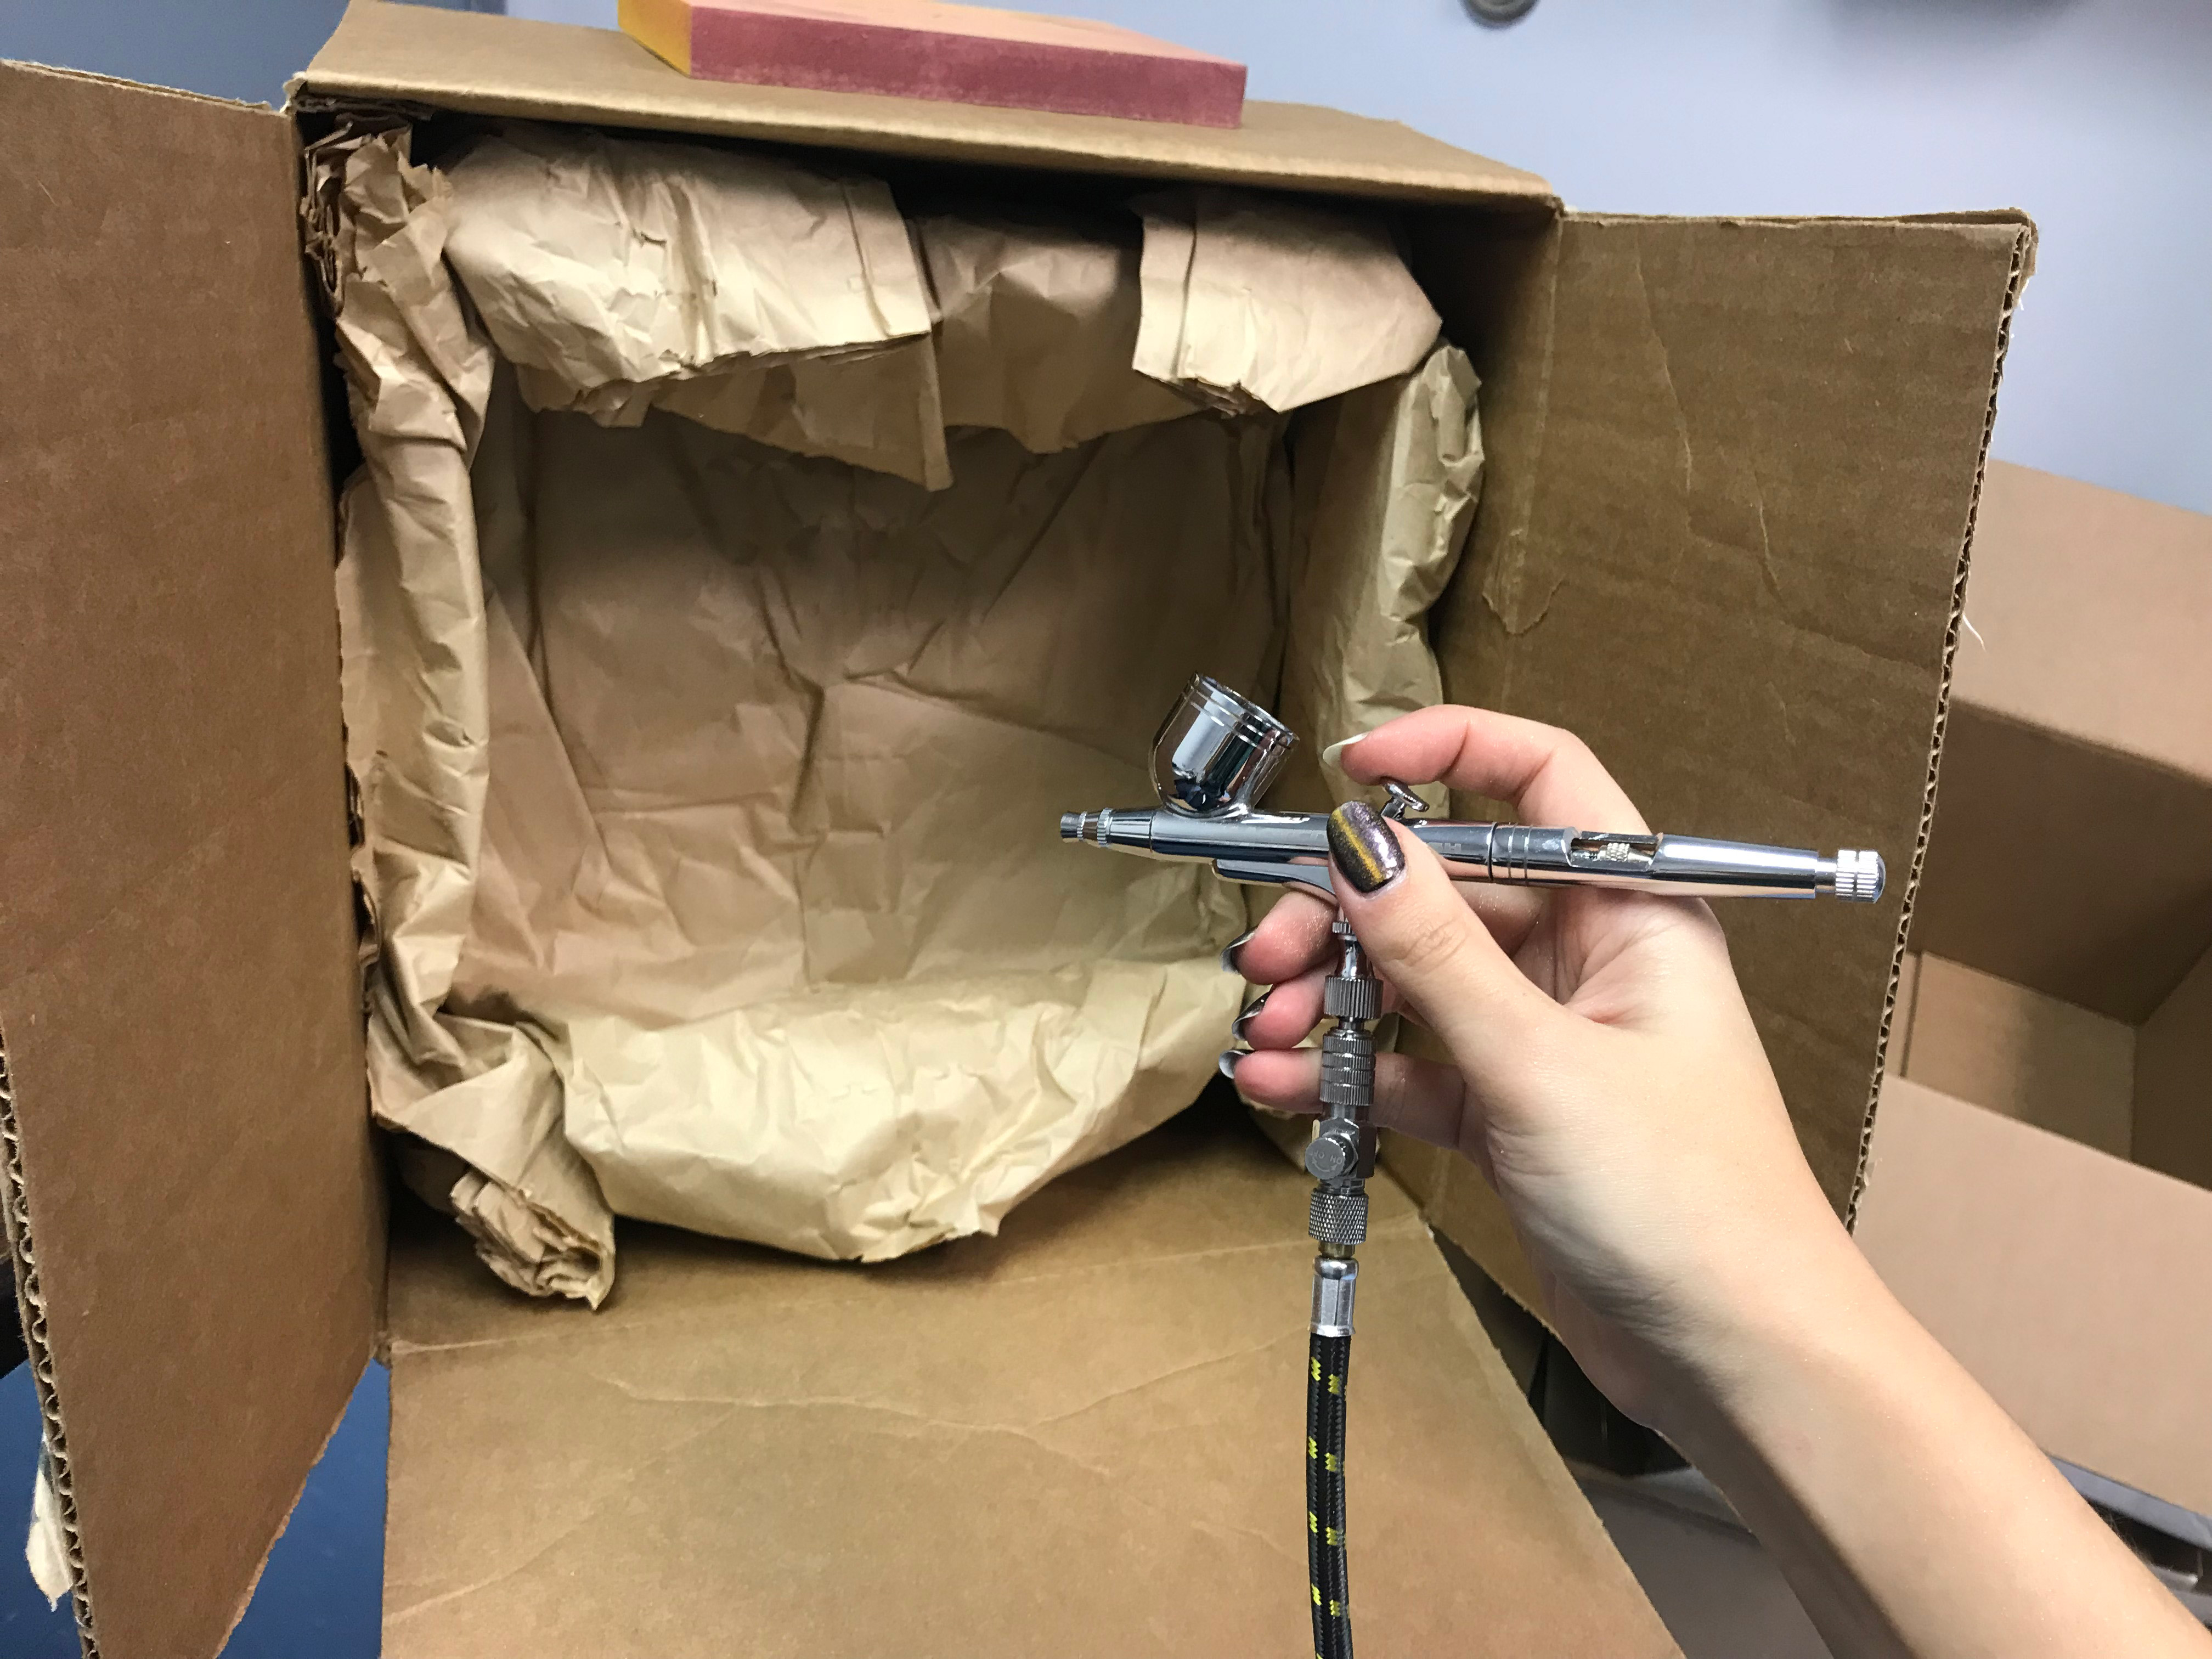
Here are the materials required for bronzing. It’s pretty simple, you need:
- A soft paintbrush
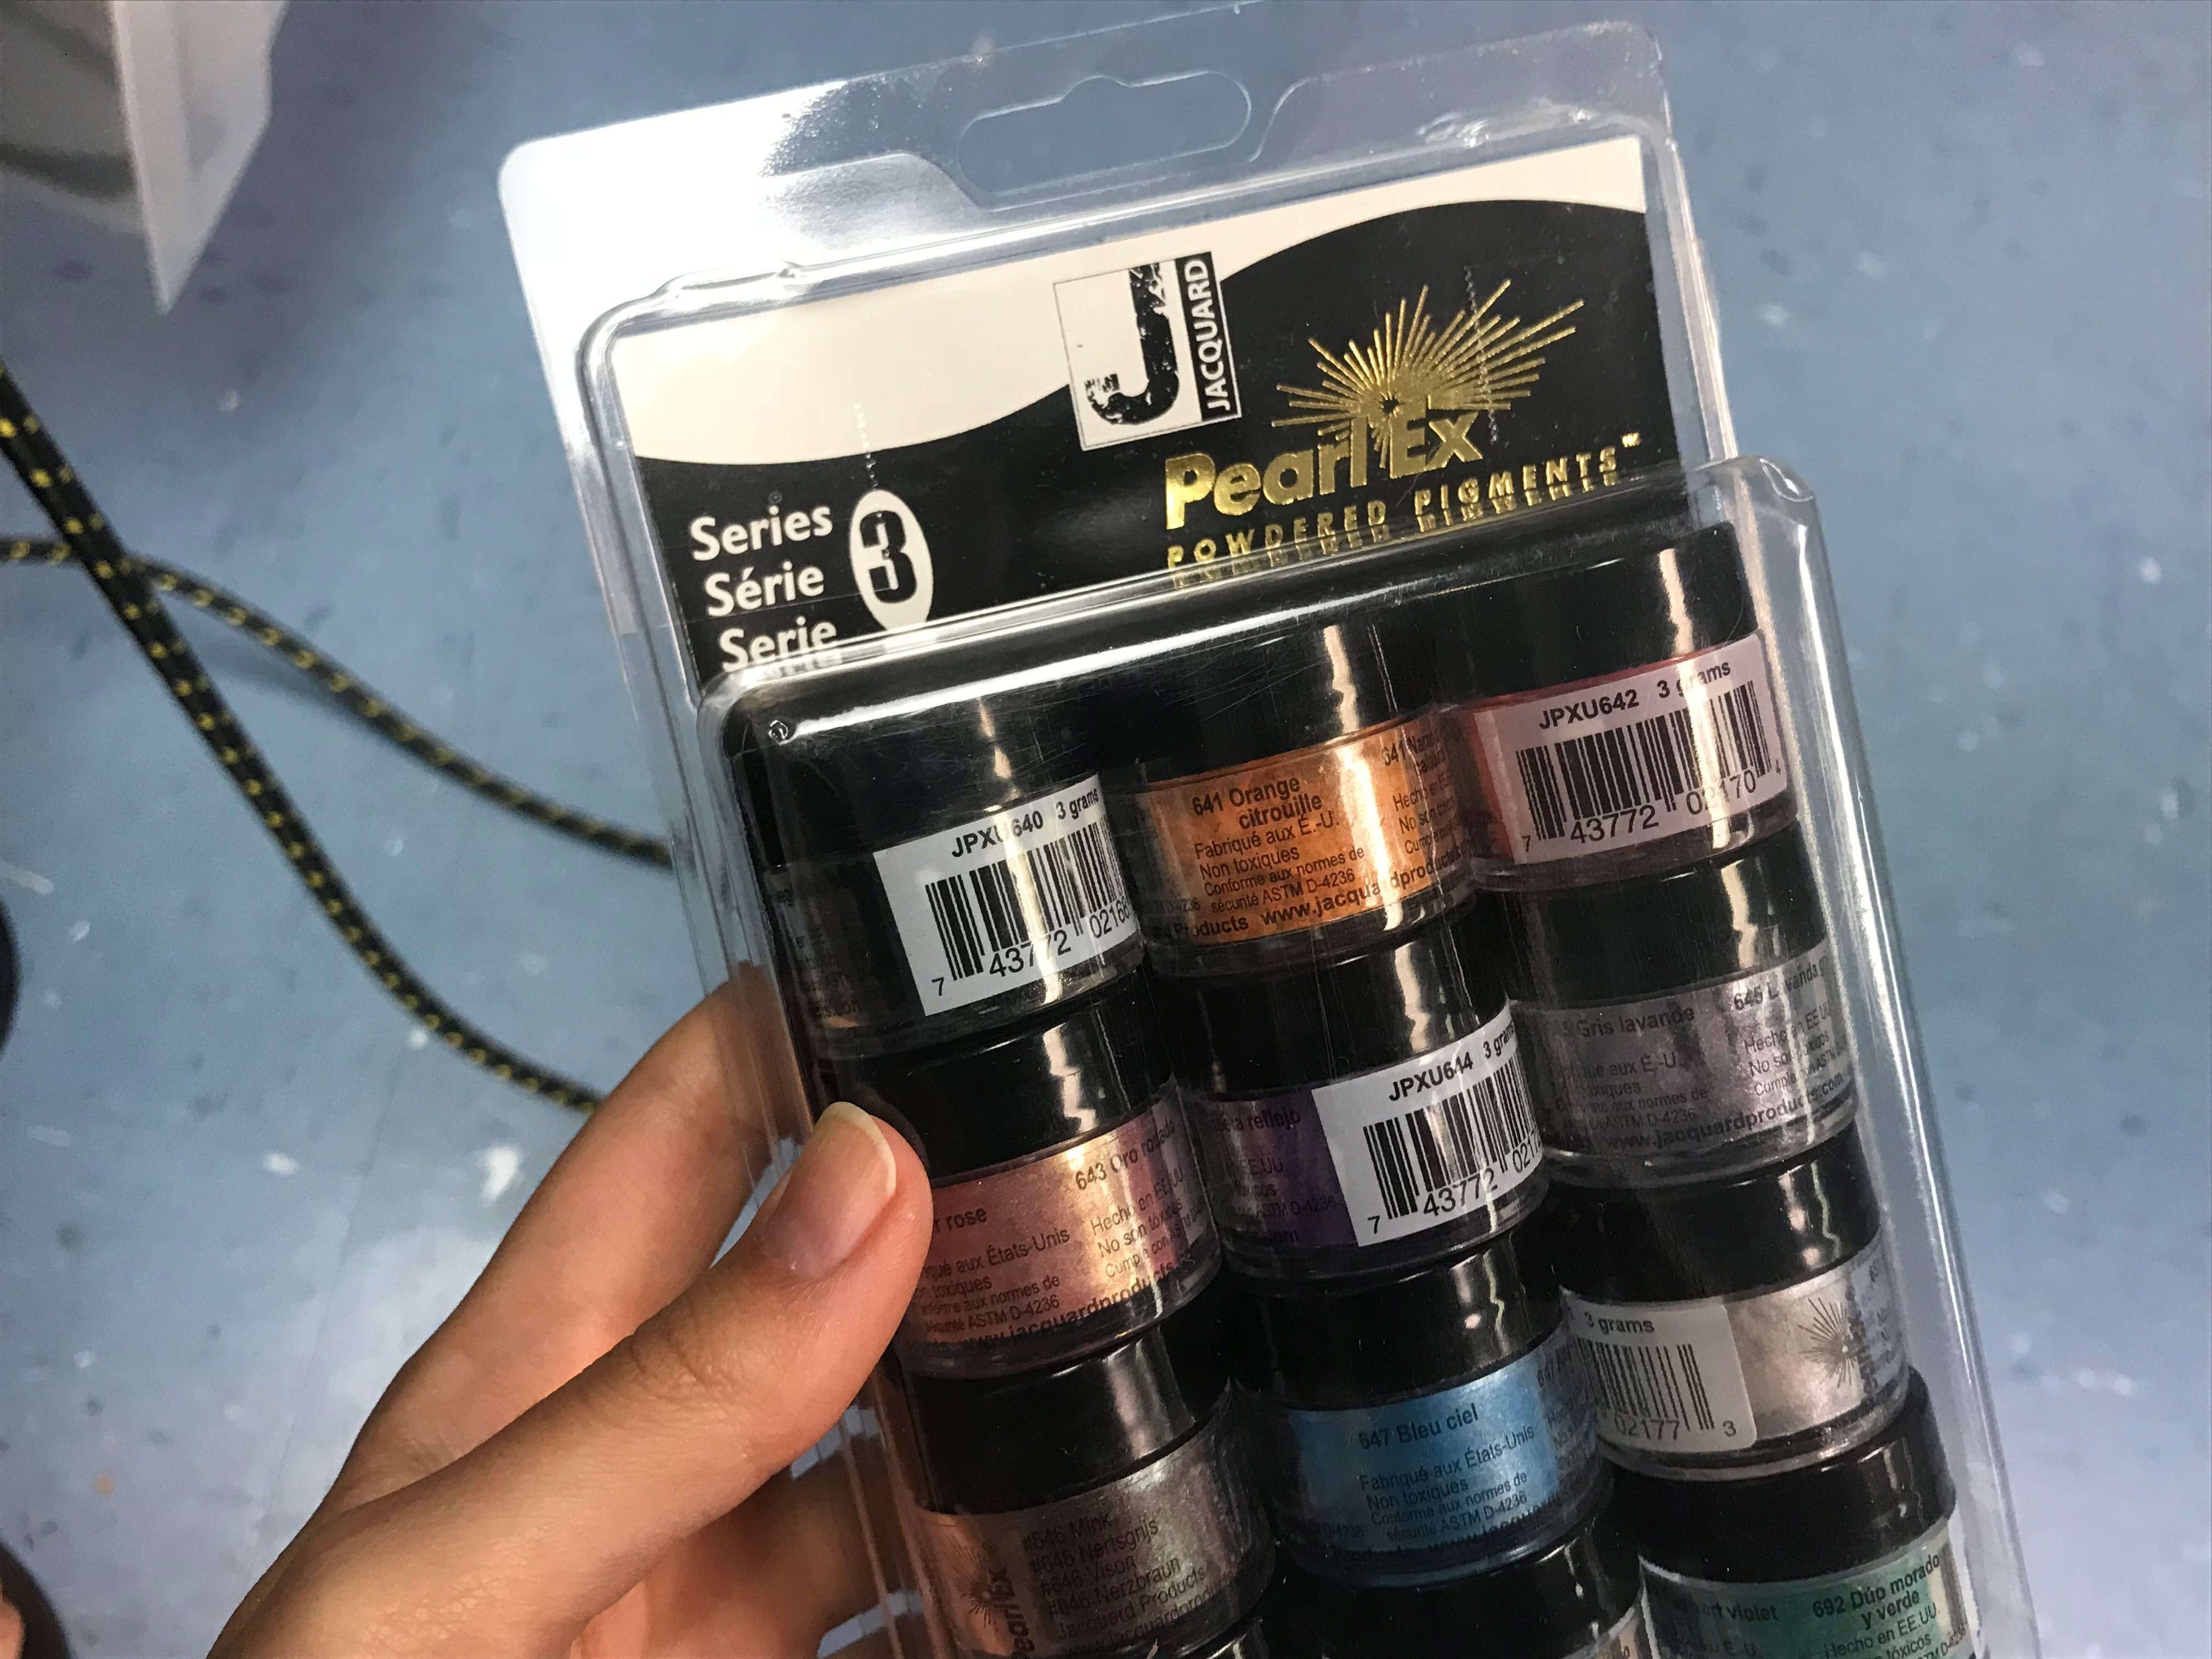
- Powdered gold mica pigment
- A tray or area to apply the gold
- A respirator
- An airbrush (canned air may also work but you would need a ton of it, I didn’t try canned air as I already had an airbrush)
Now comes the actual bronzing. Here is an outline of the steps:
- Print in batches of 3-10 (depending on how wet your ink is staying).
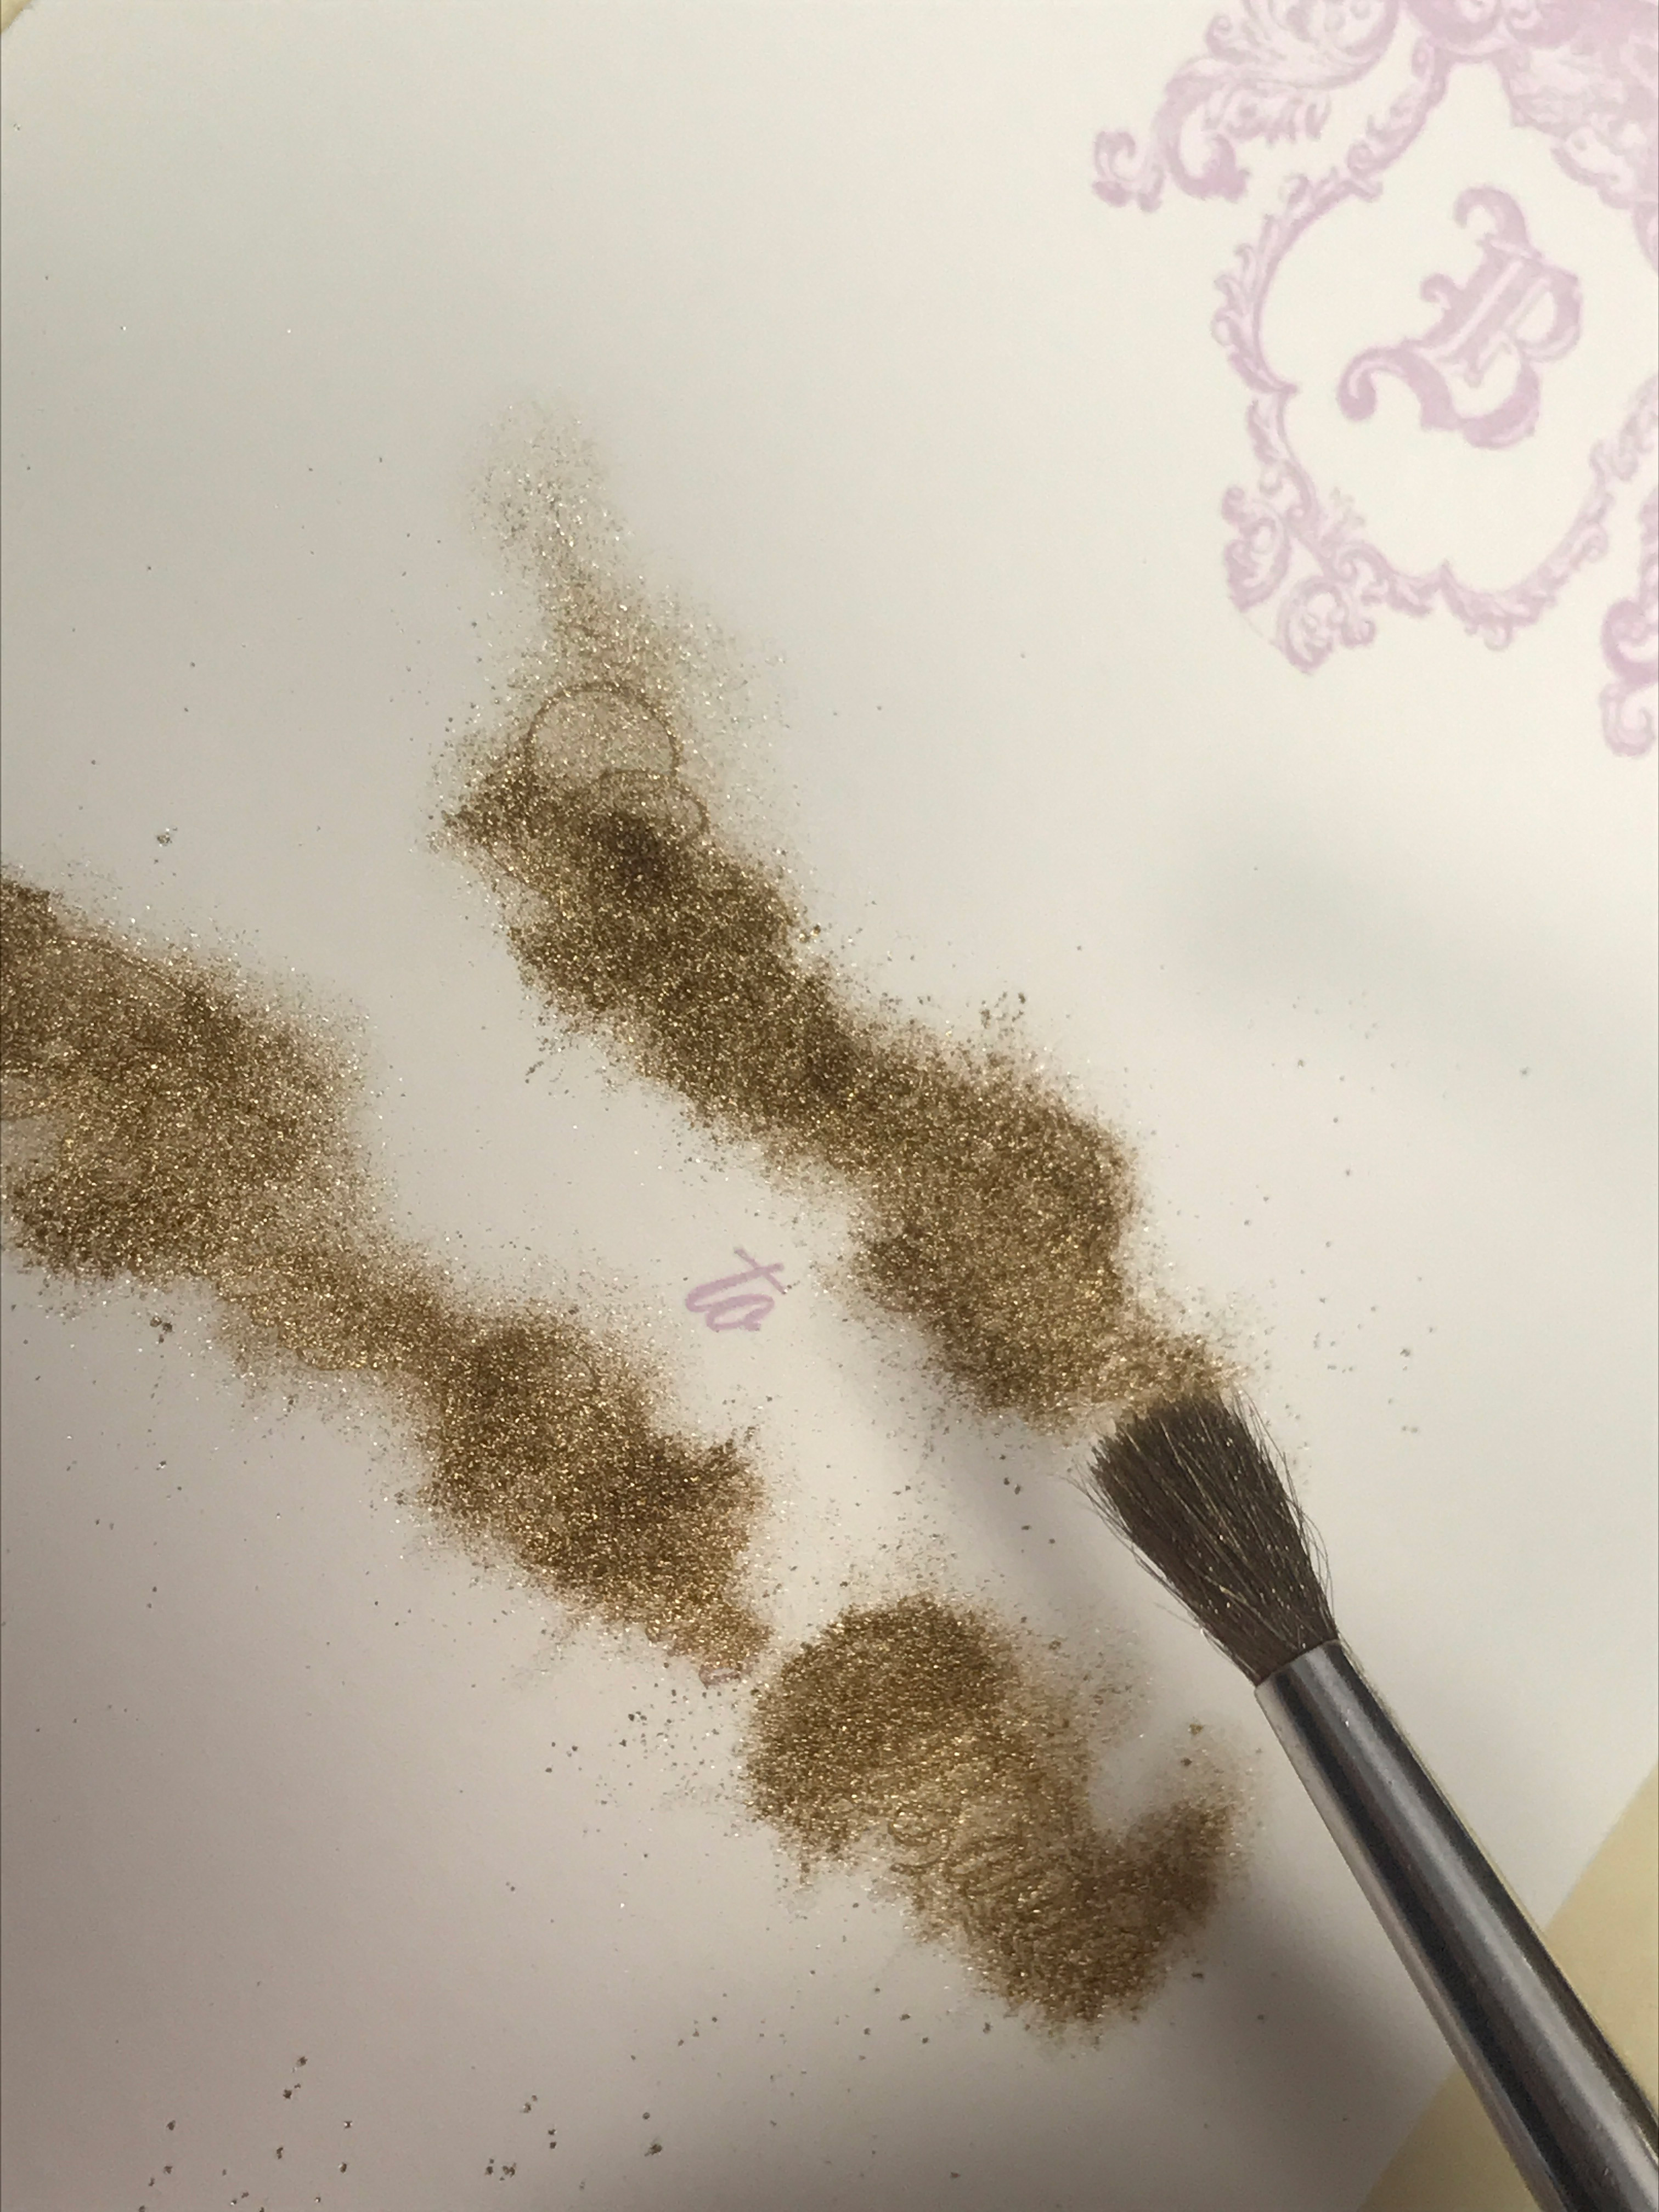
- After you have printed your batch, leave the press running and go to your already set up bronzing station. Tap your gold onto your ink using a soft brush, and then set aside or stack to dry.
- Continue printing your batches and tapping on your gold until your run is complete.
- Let your prints dry for at least an hour or two so that the gold will stick into the ink
- Put on your respirator and goggles (do this outside, just… trust me, unless you have a vent hood do this outside) and set up your airbrush
- Blast your prints one by one clearing off the excess gold. You need to check the backs as well if you stacked your prints as the pigment transfers very easily. Done.
It sounds simple, but it’s very slow going. I probably wouldn’t offer this commercially for jobs over 50 prints. I would consider it for fine art prints as this technique works equally well with etchings or other printmaking techniques.
Here are the steps in greater detail.
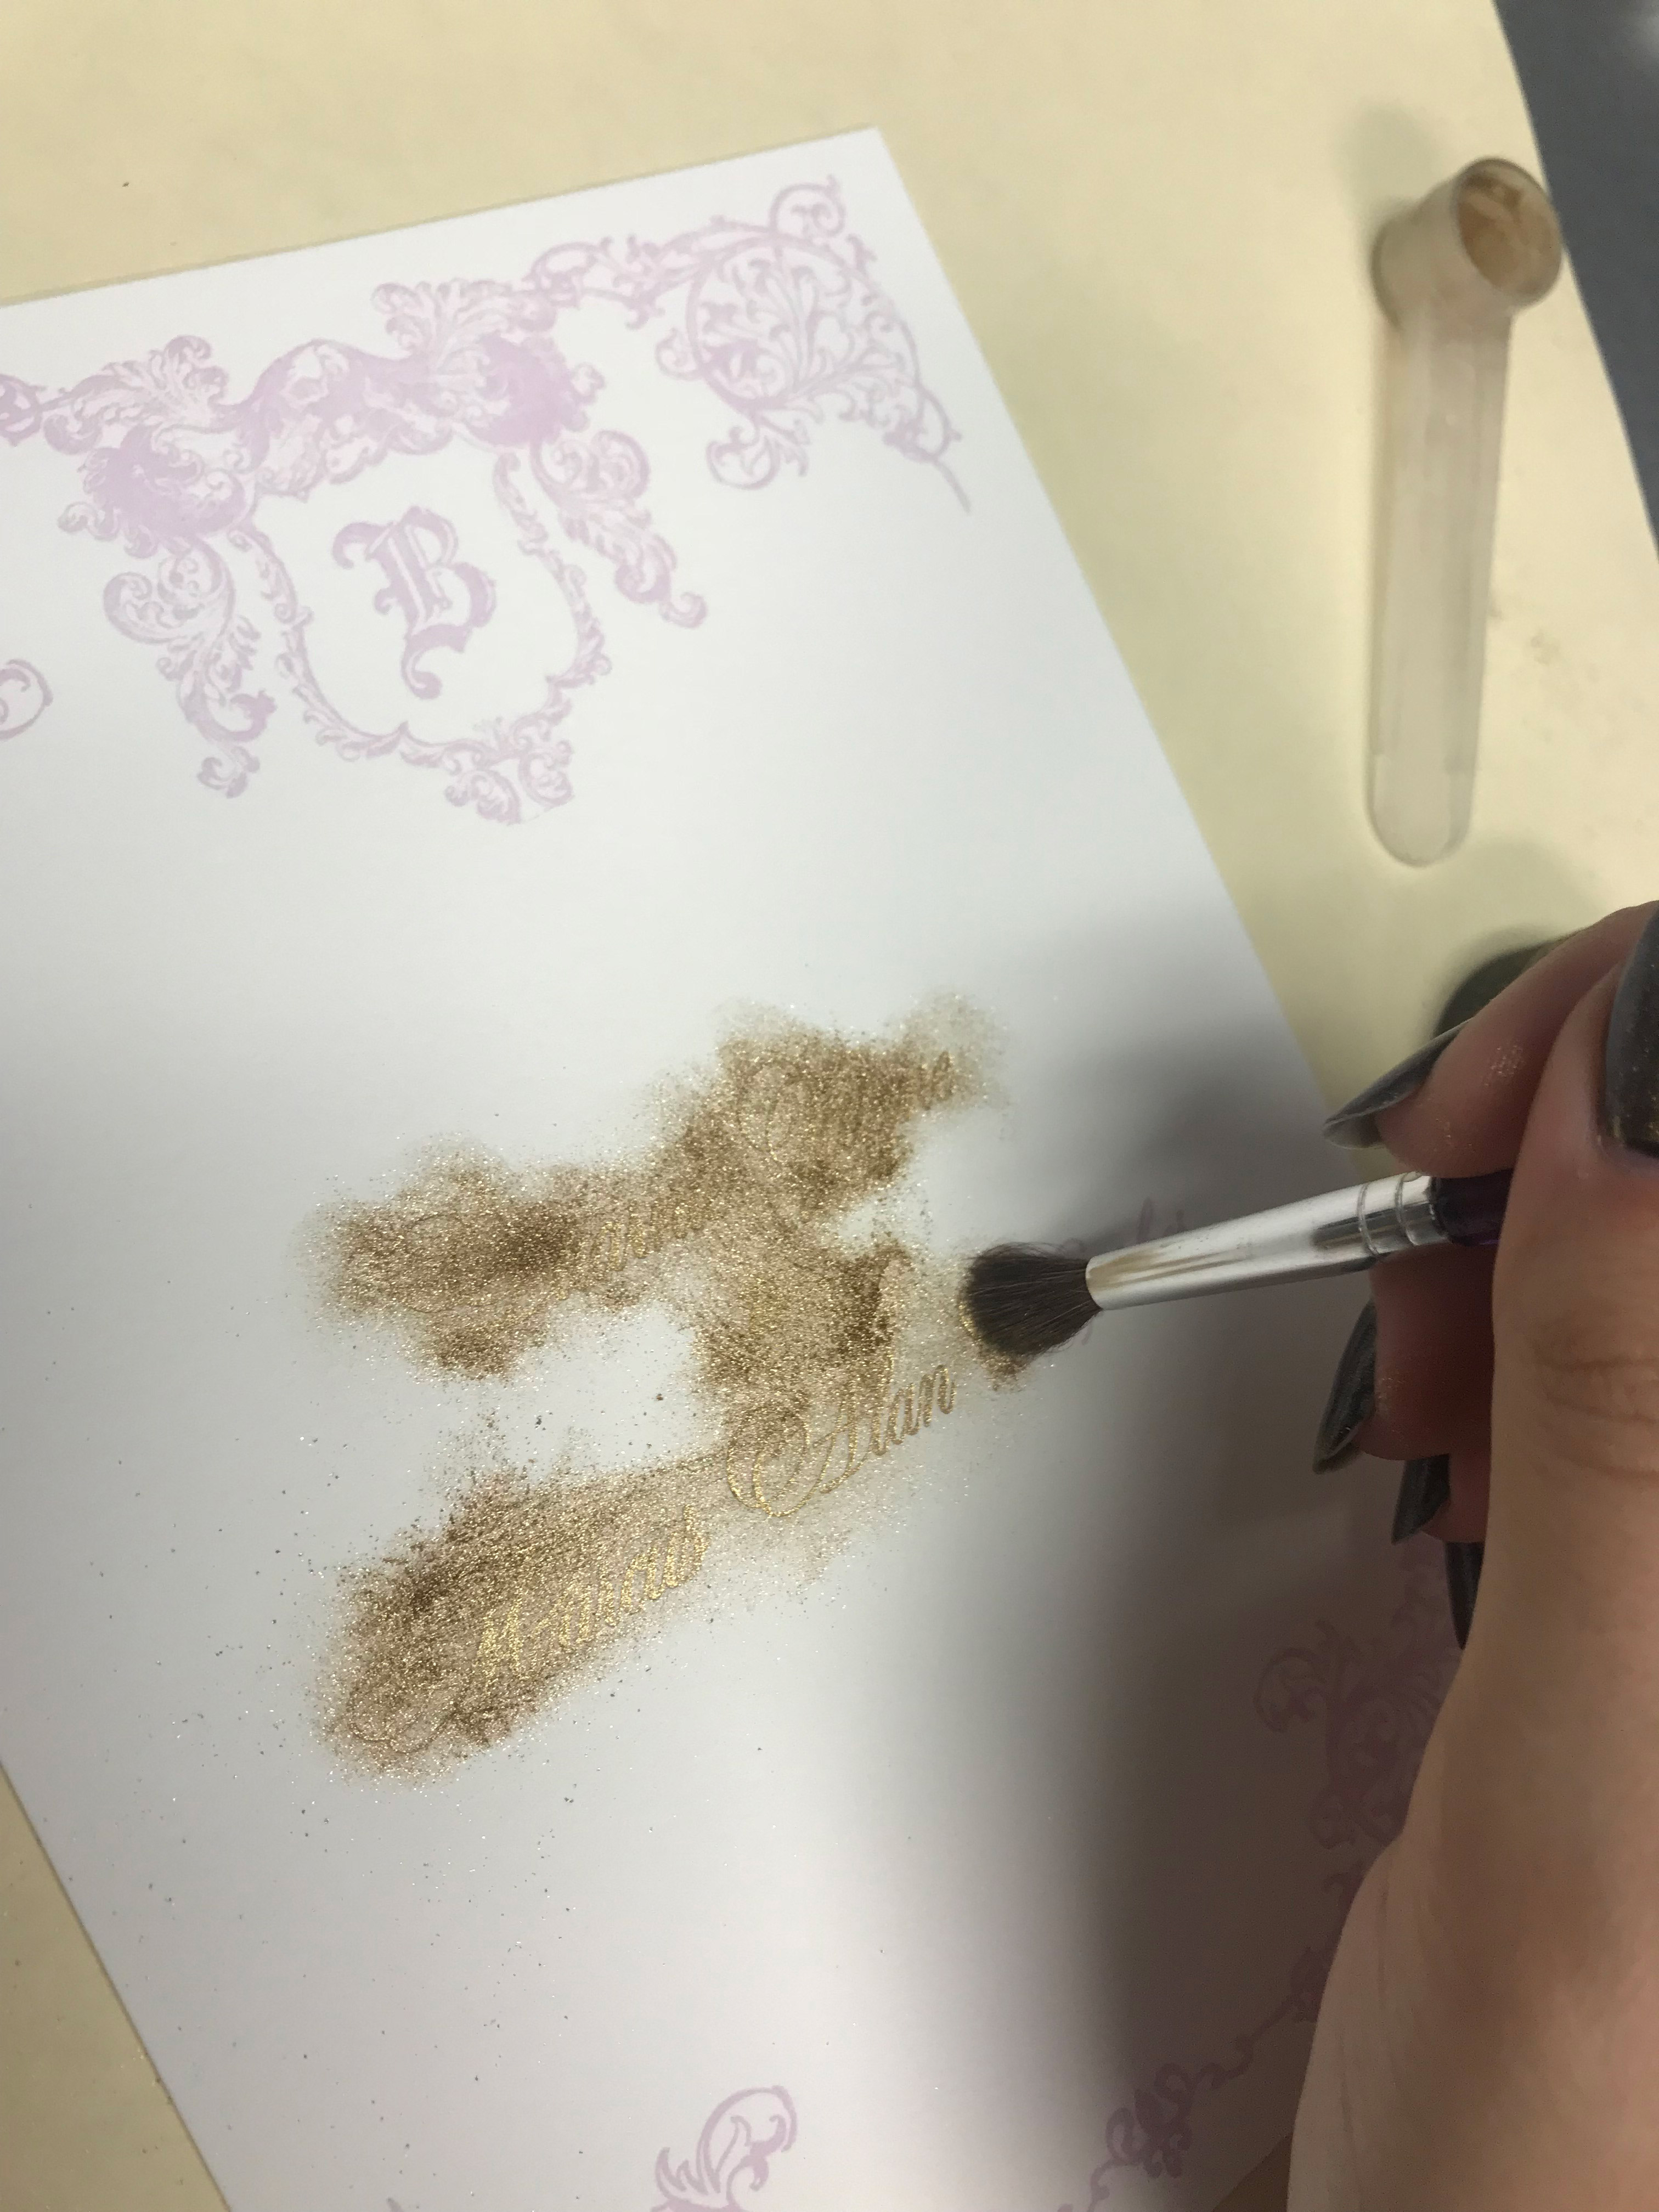
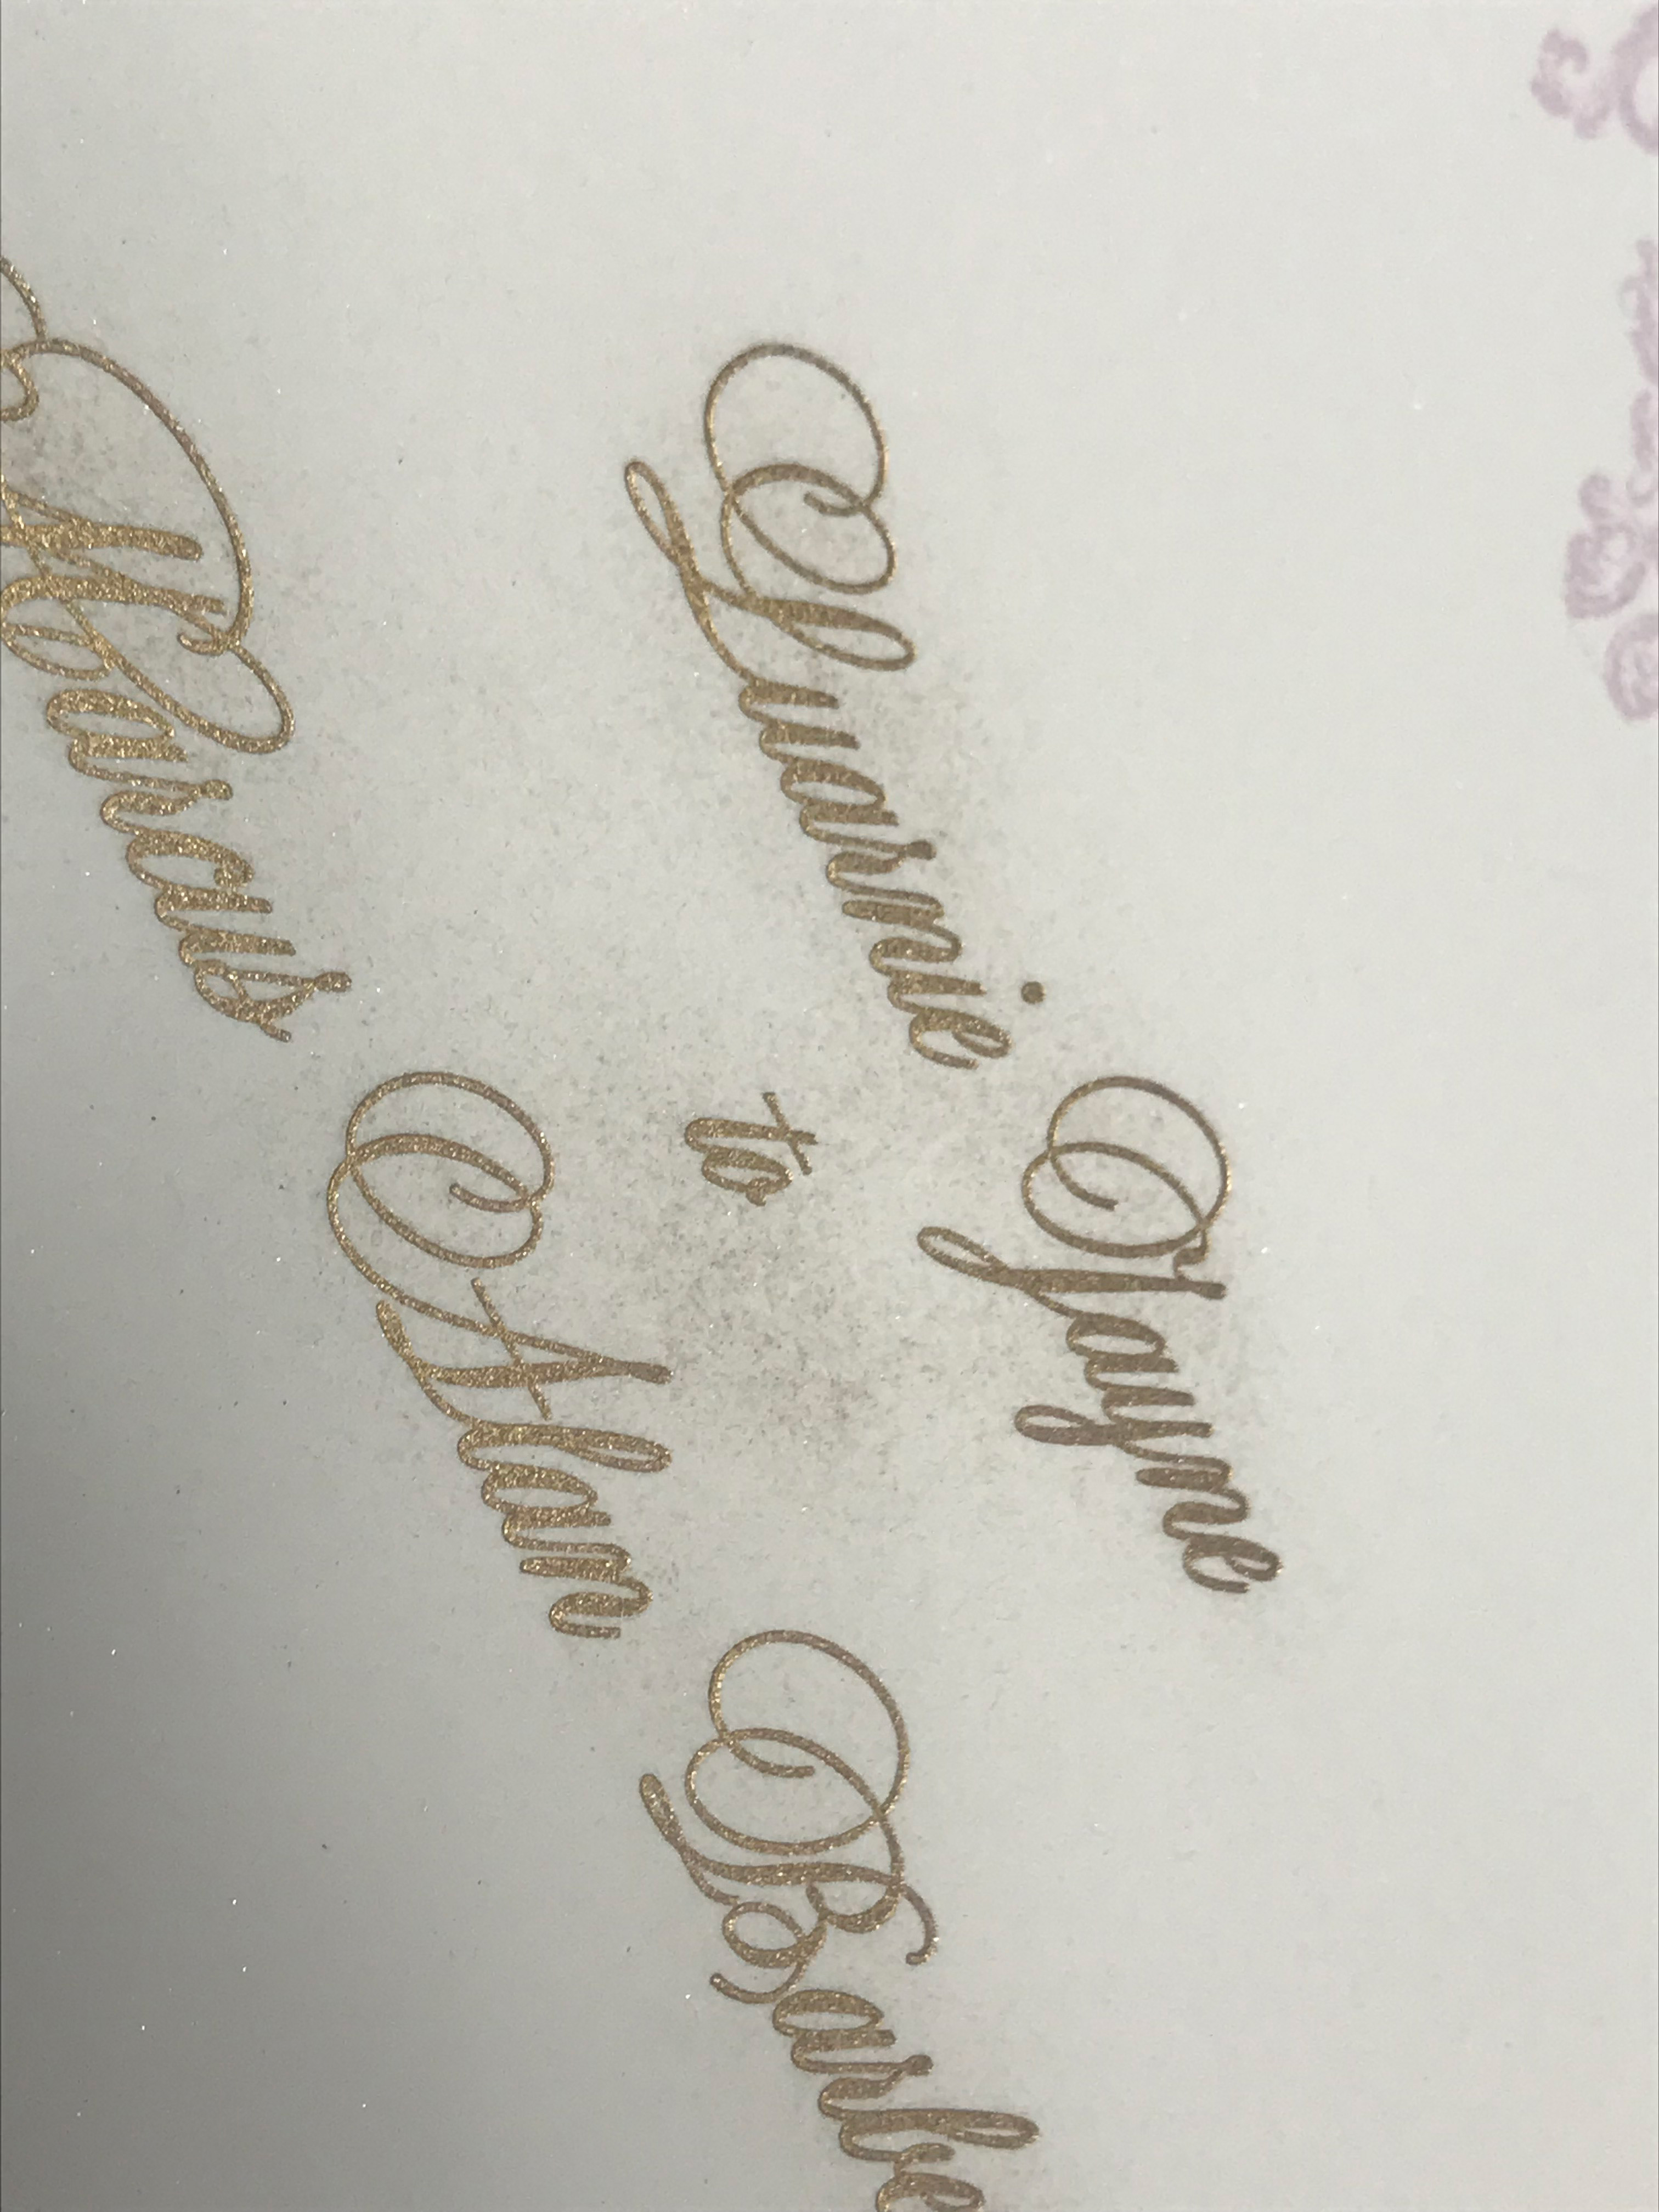
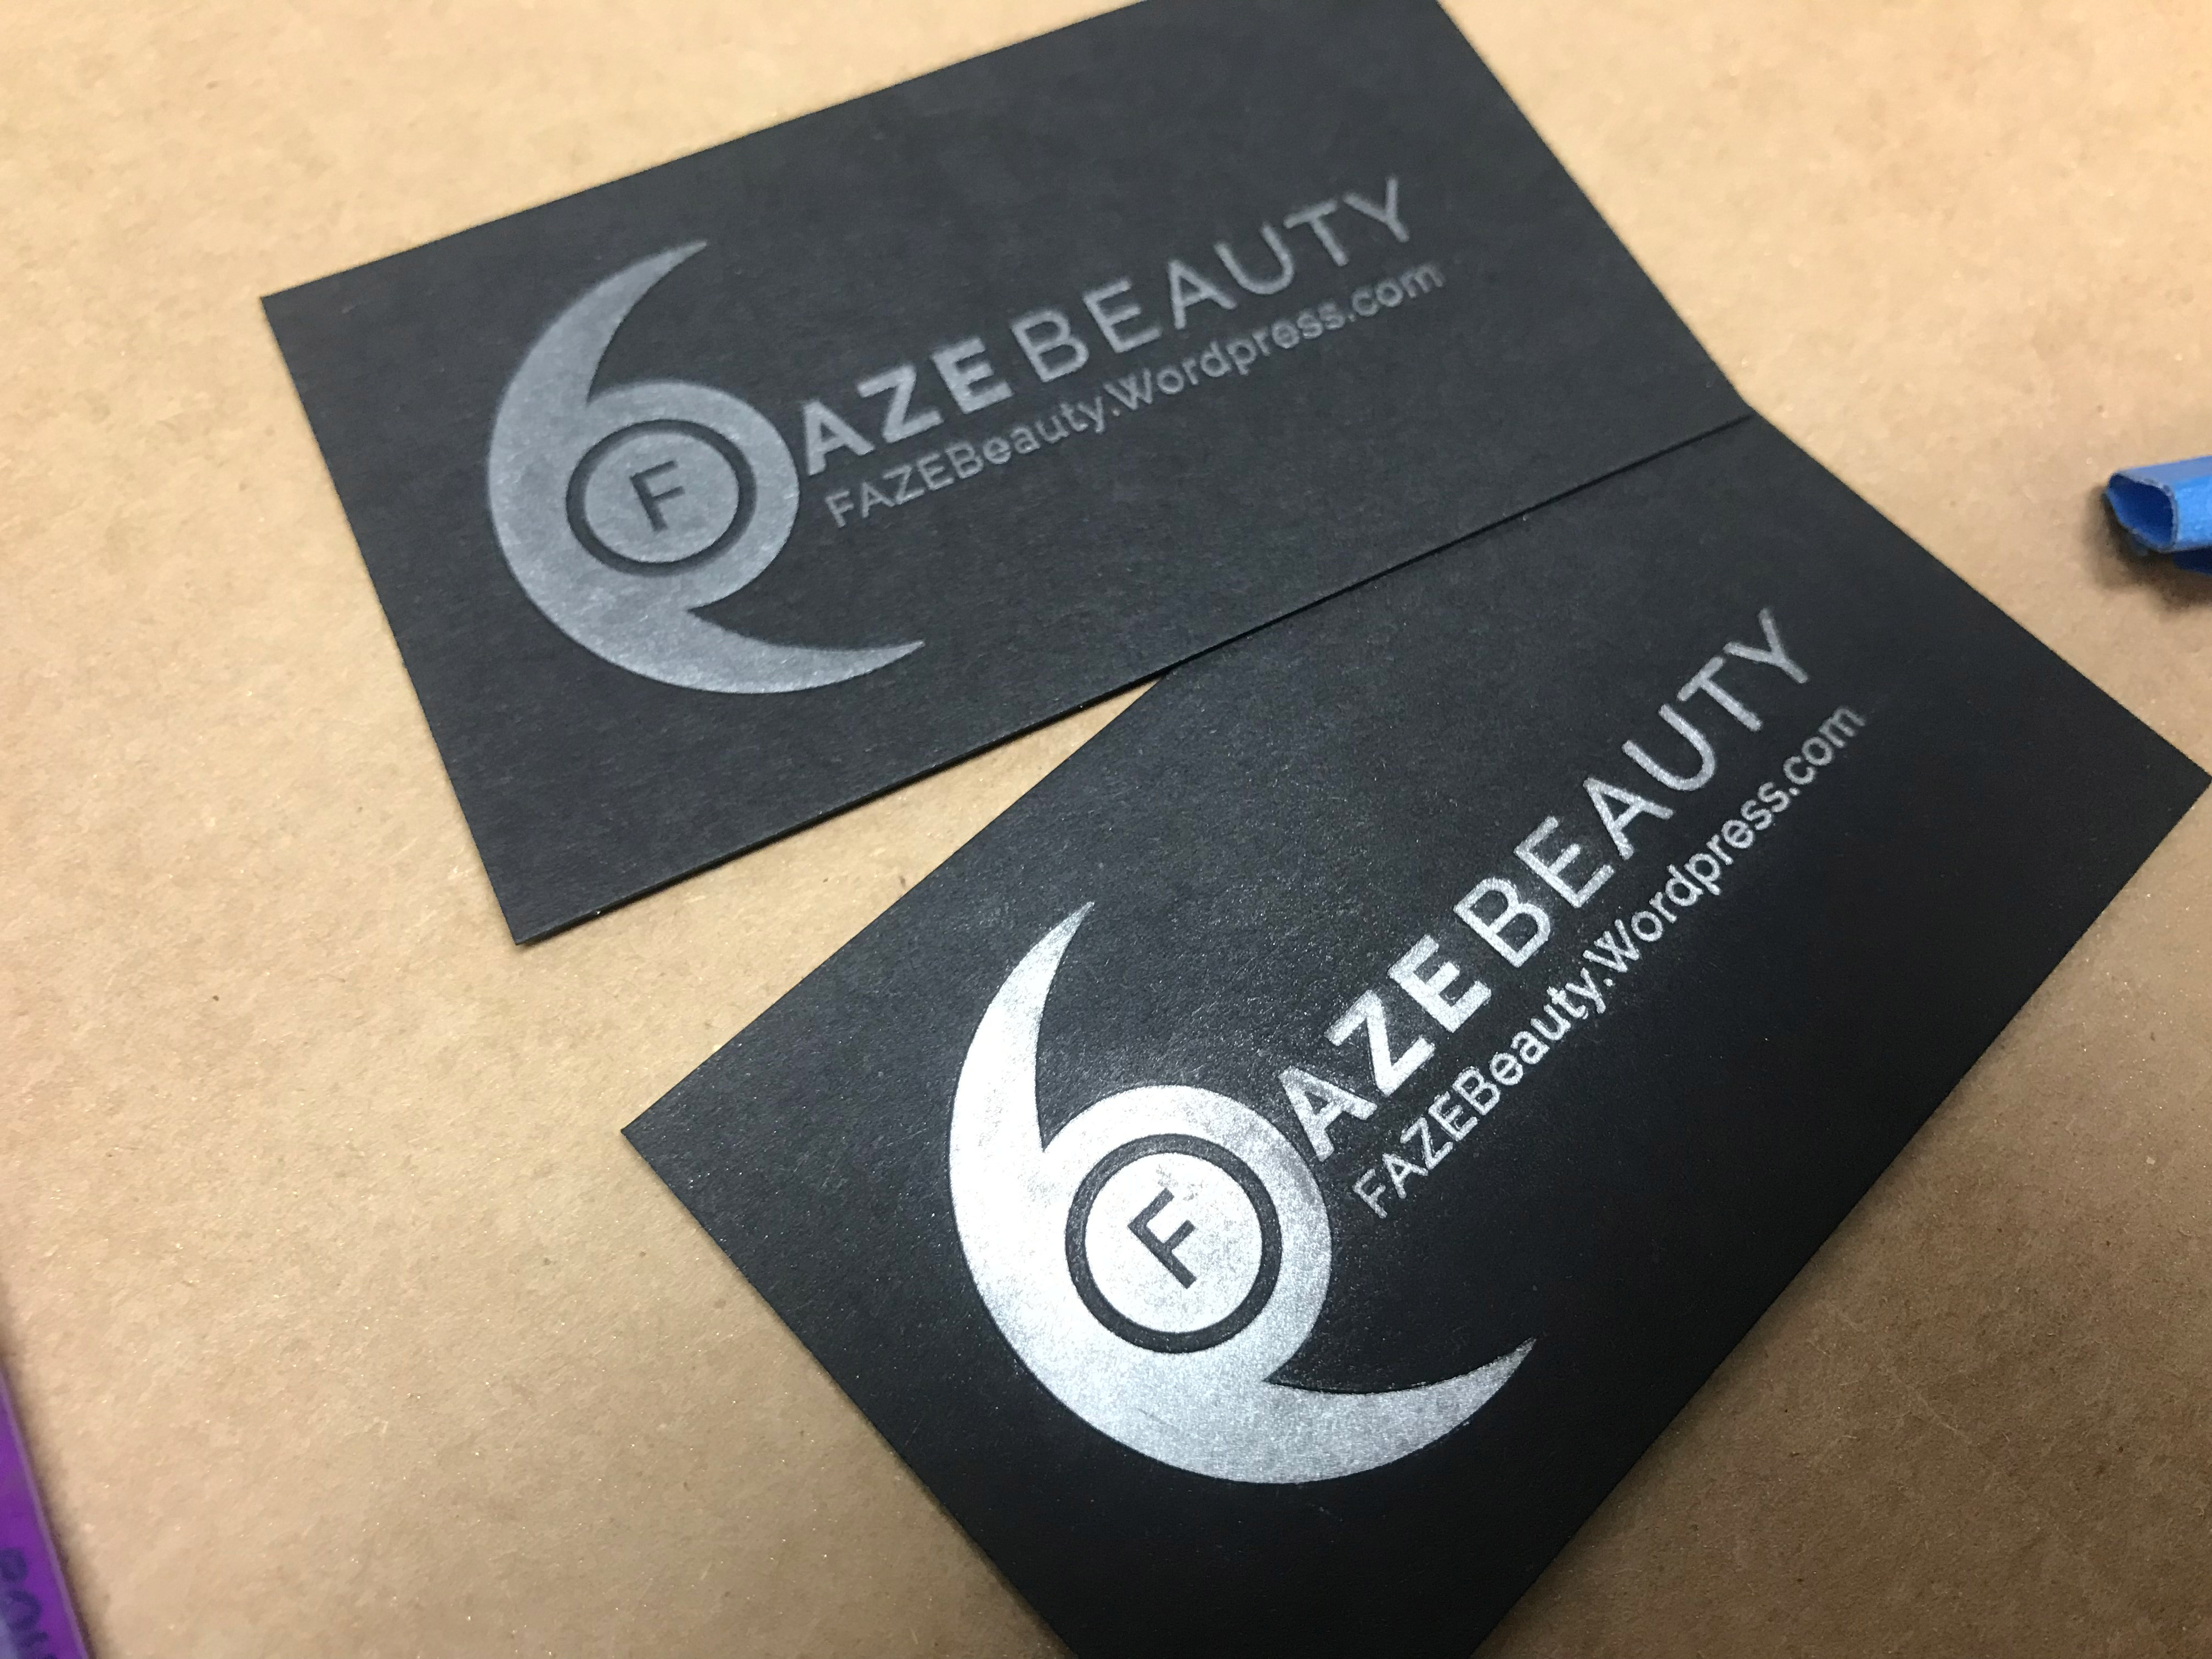
1. Print. When you print you want to treat your bronzing layer as its own run with its own plate. Although you can carefully apply gold to one section of the print while avoiding another if there is enough space, it can be hard to avoid some of the particles from landing where you don’t want them. I suggest printing in a gold or yellow so any show through will blend better. If the rest of the print is dry it will go easier.

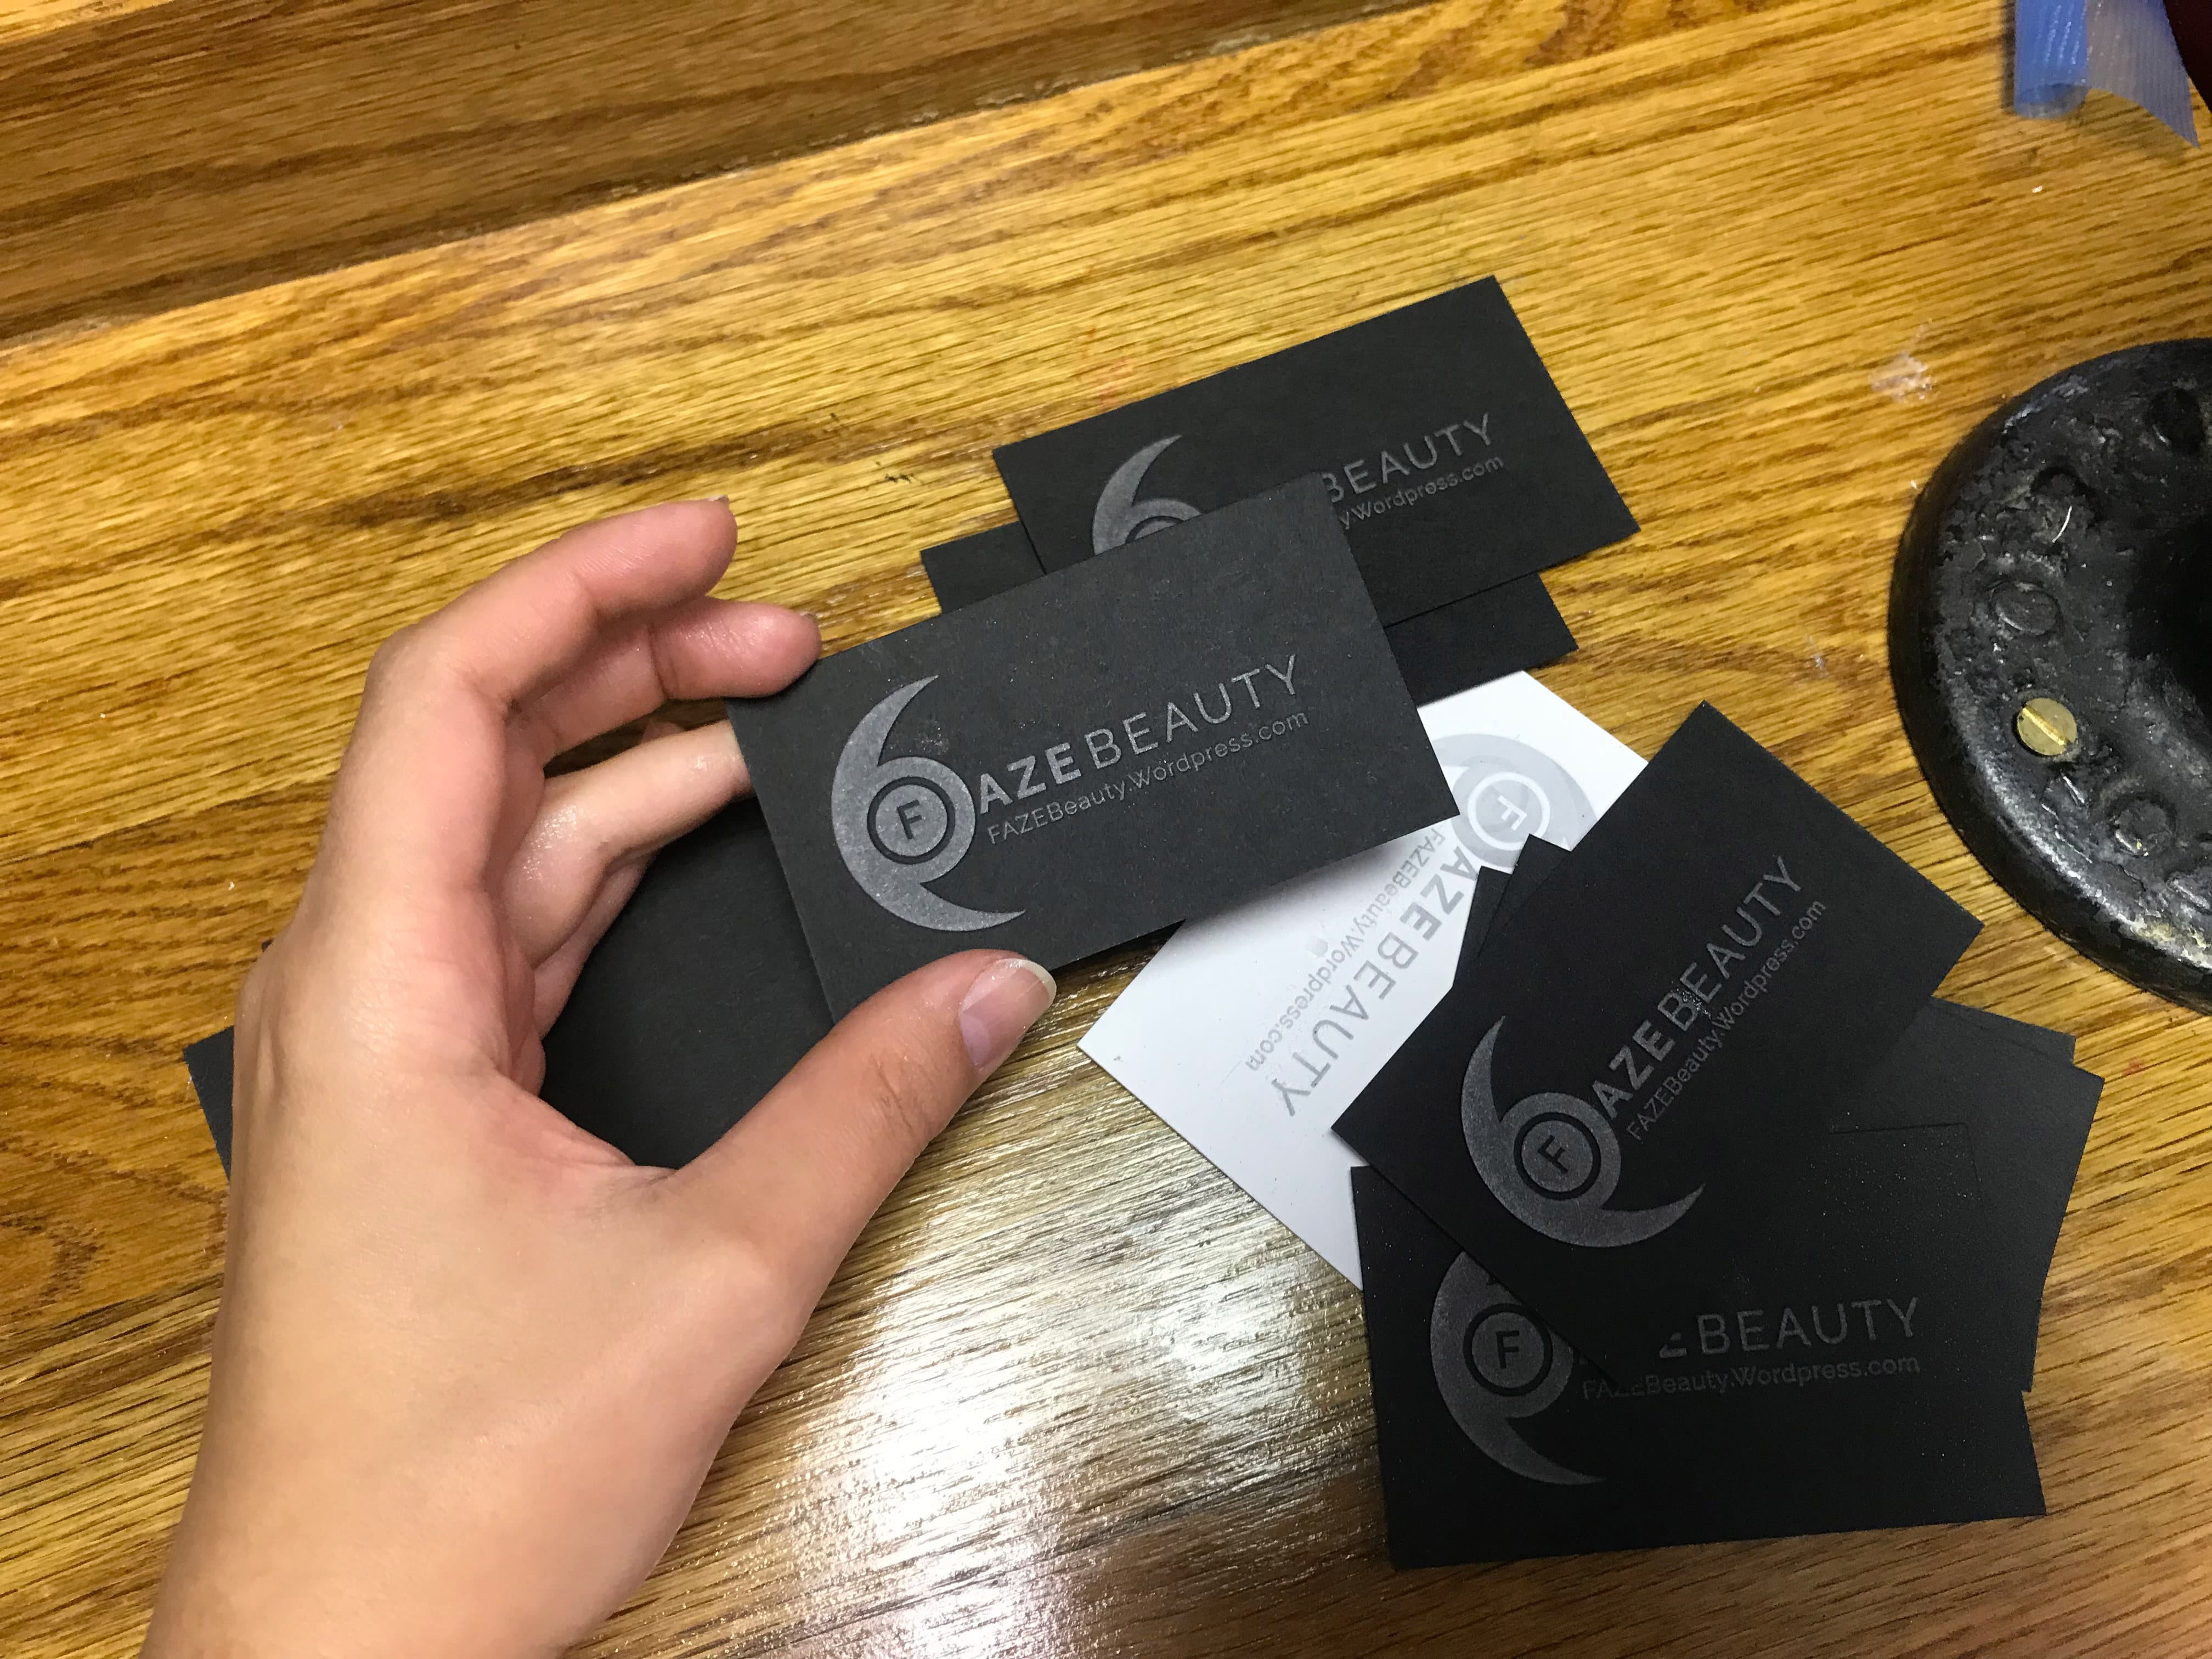
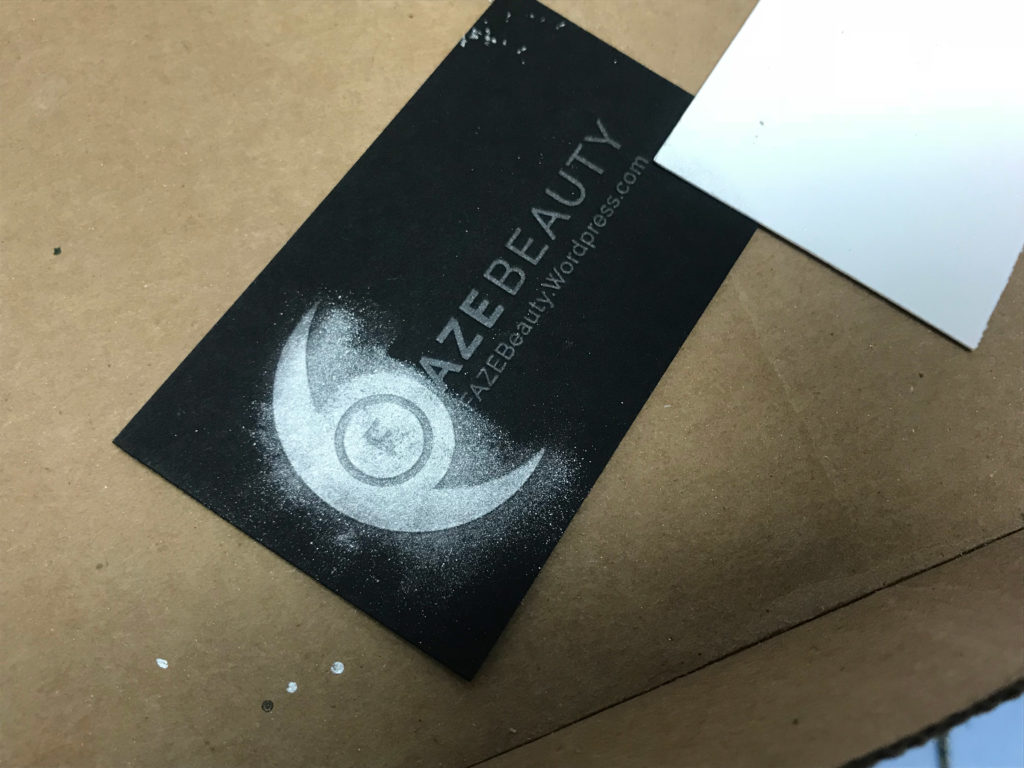
2-3. Apply your metallic pigment in batches.
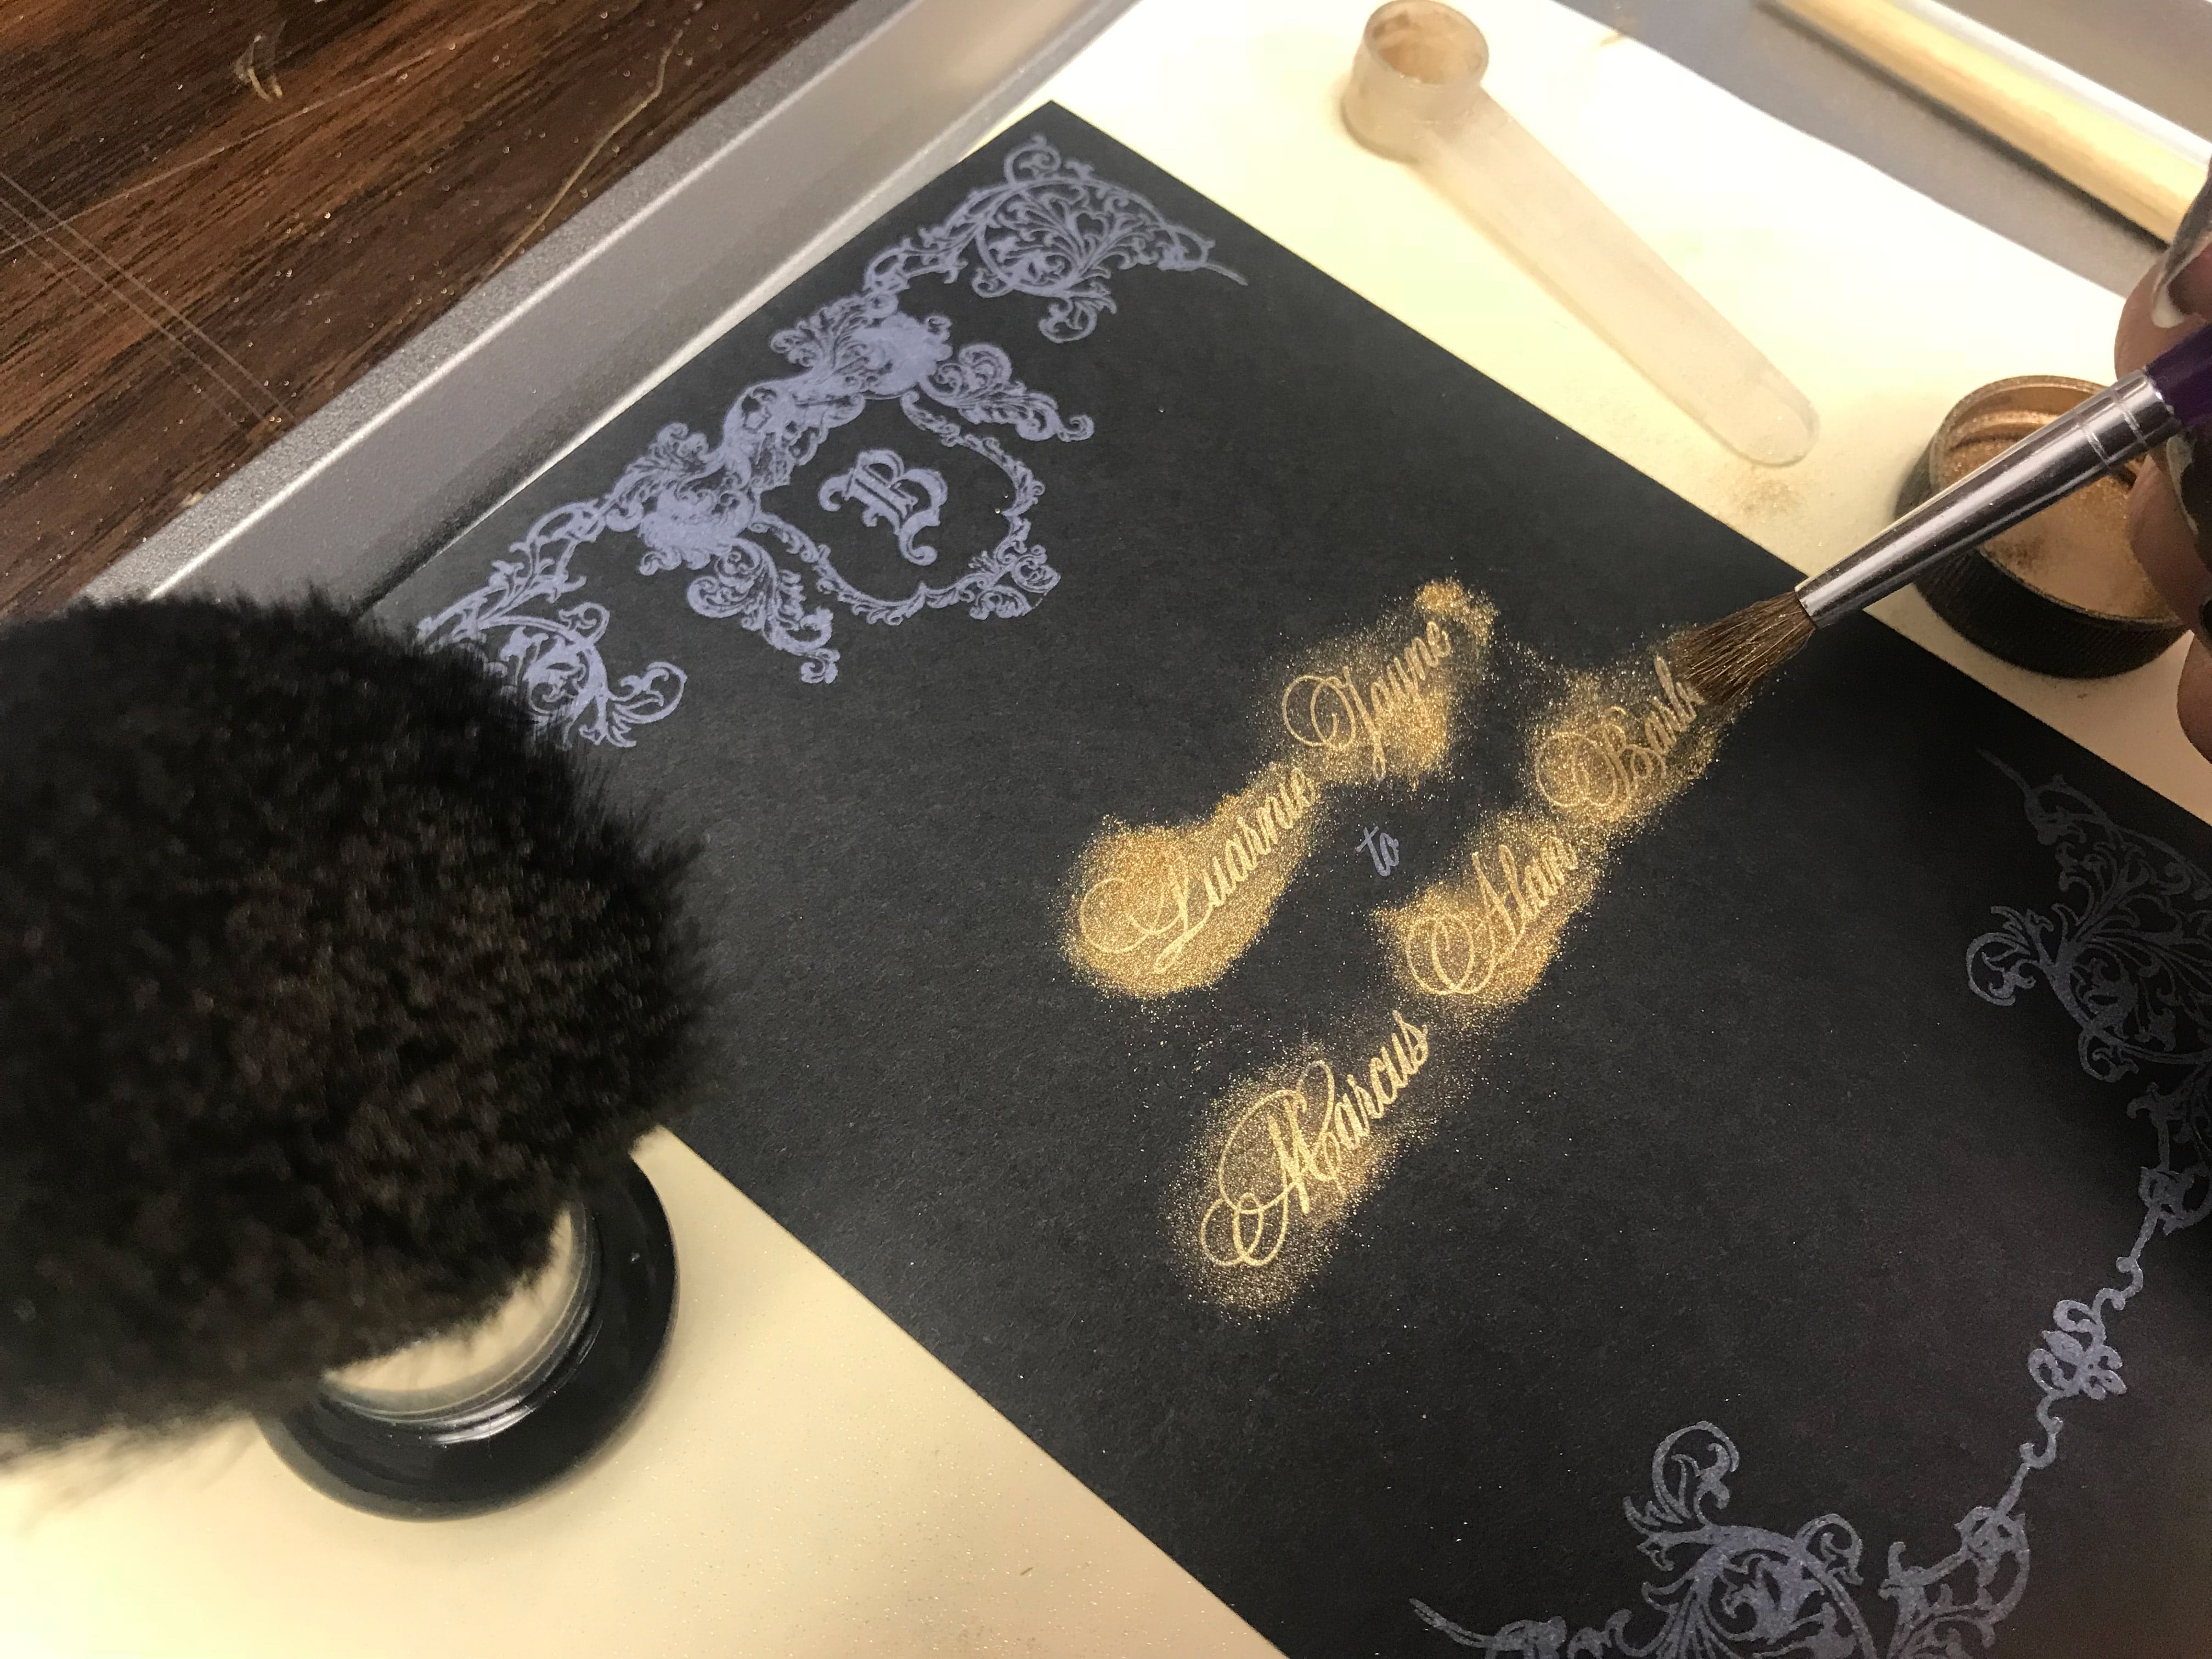
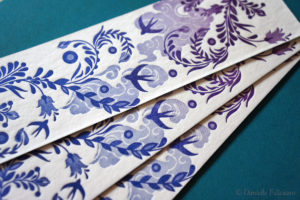
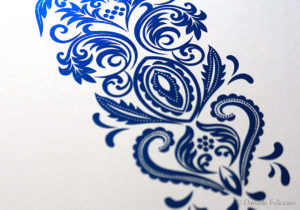
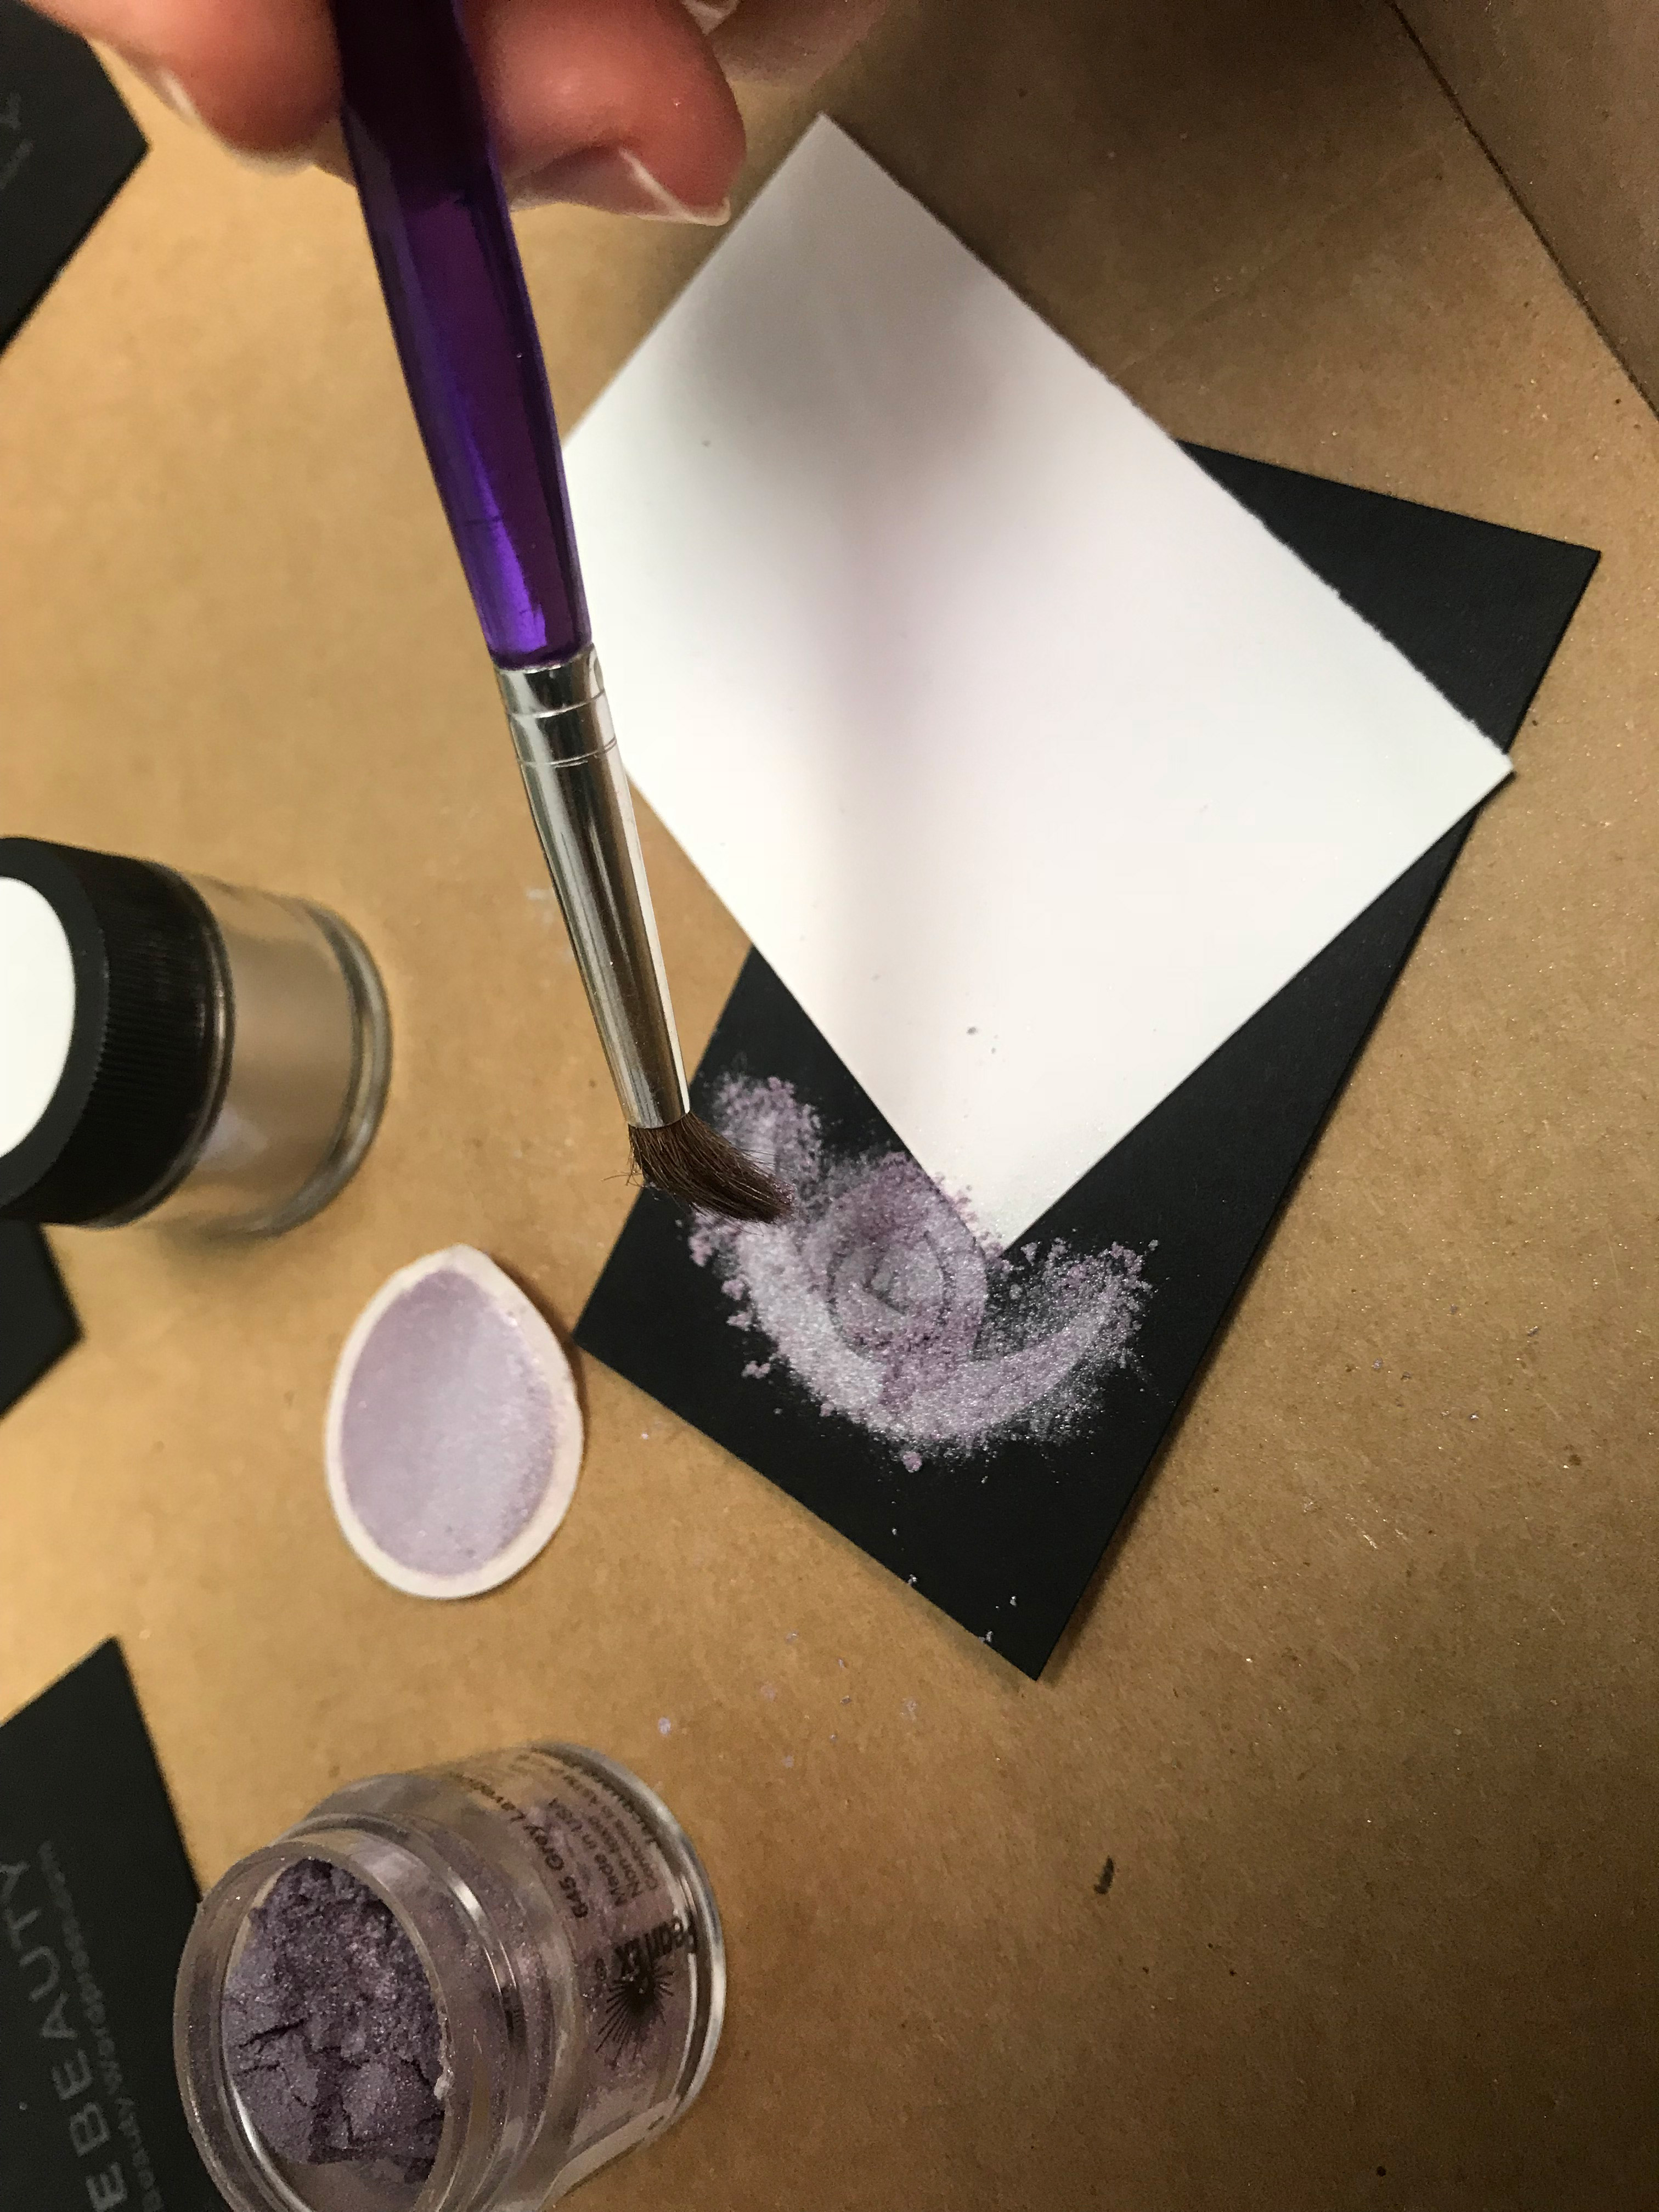
Here you can see me using a purple pigment on black. The gold pigment I’m using is un-branded, but the purple is Pearl Ex pigment and worked equally well. It was slightly more glittery.
4. Let Dry. I’ve found if you try and start blasting off the excess too early you can accidentally blast it out of the ink. Letting it dry overnight is always best, but a hour or two seems to work fine as well.
For the sample above I used a card to block the part of the card I didn’t want to bronze. 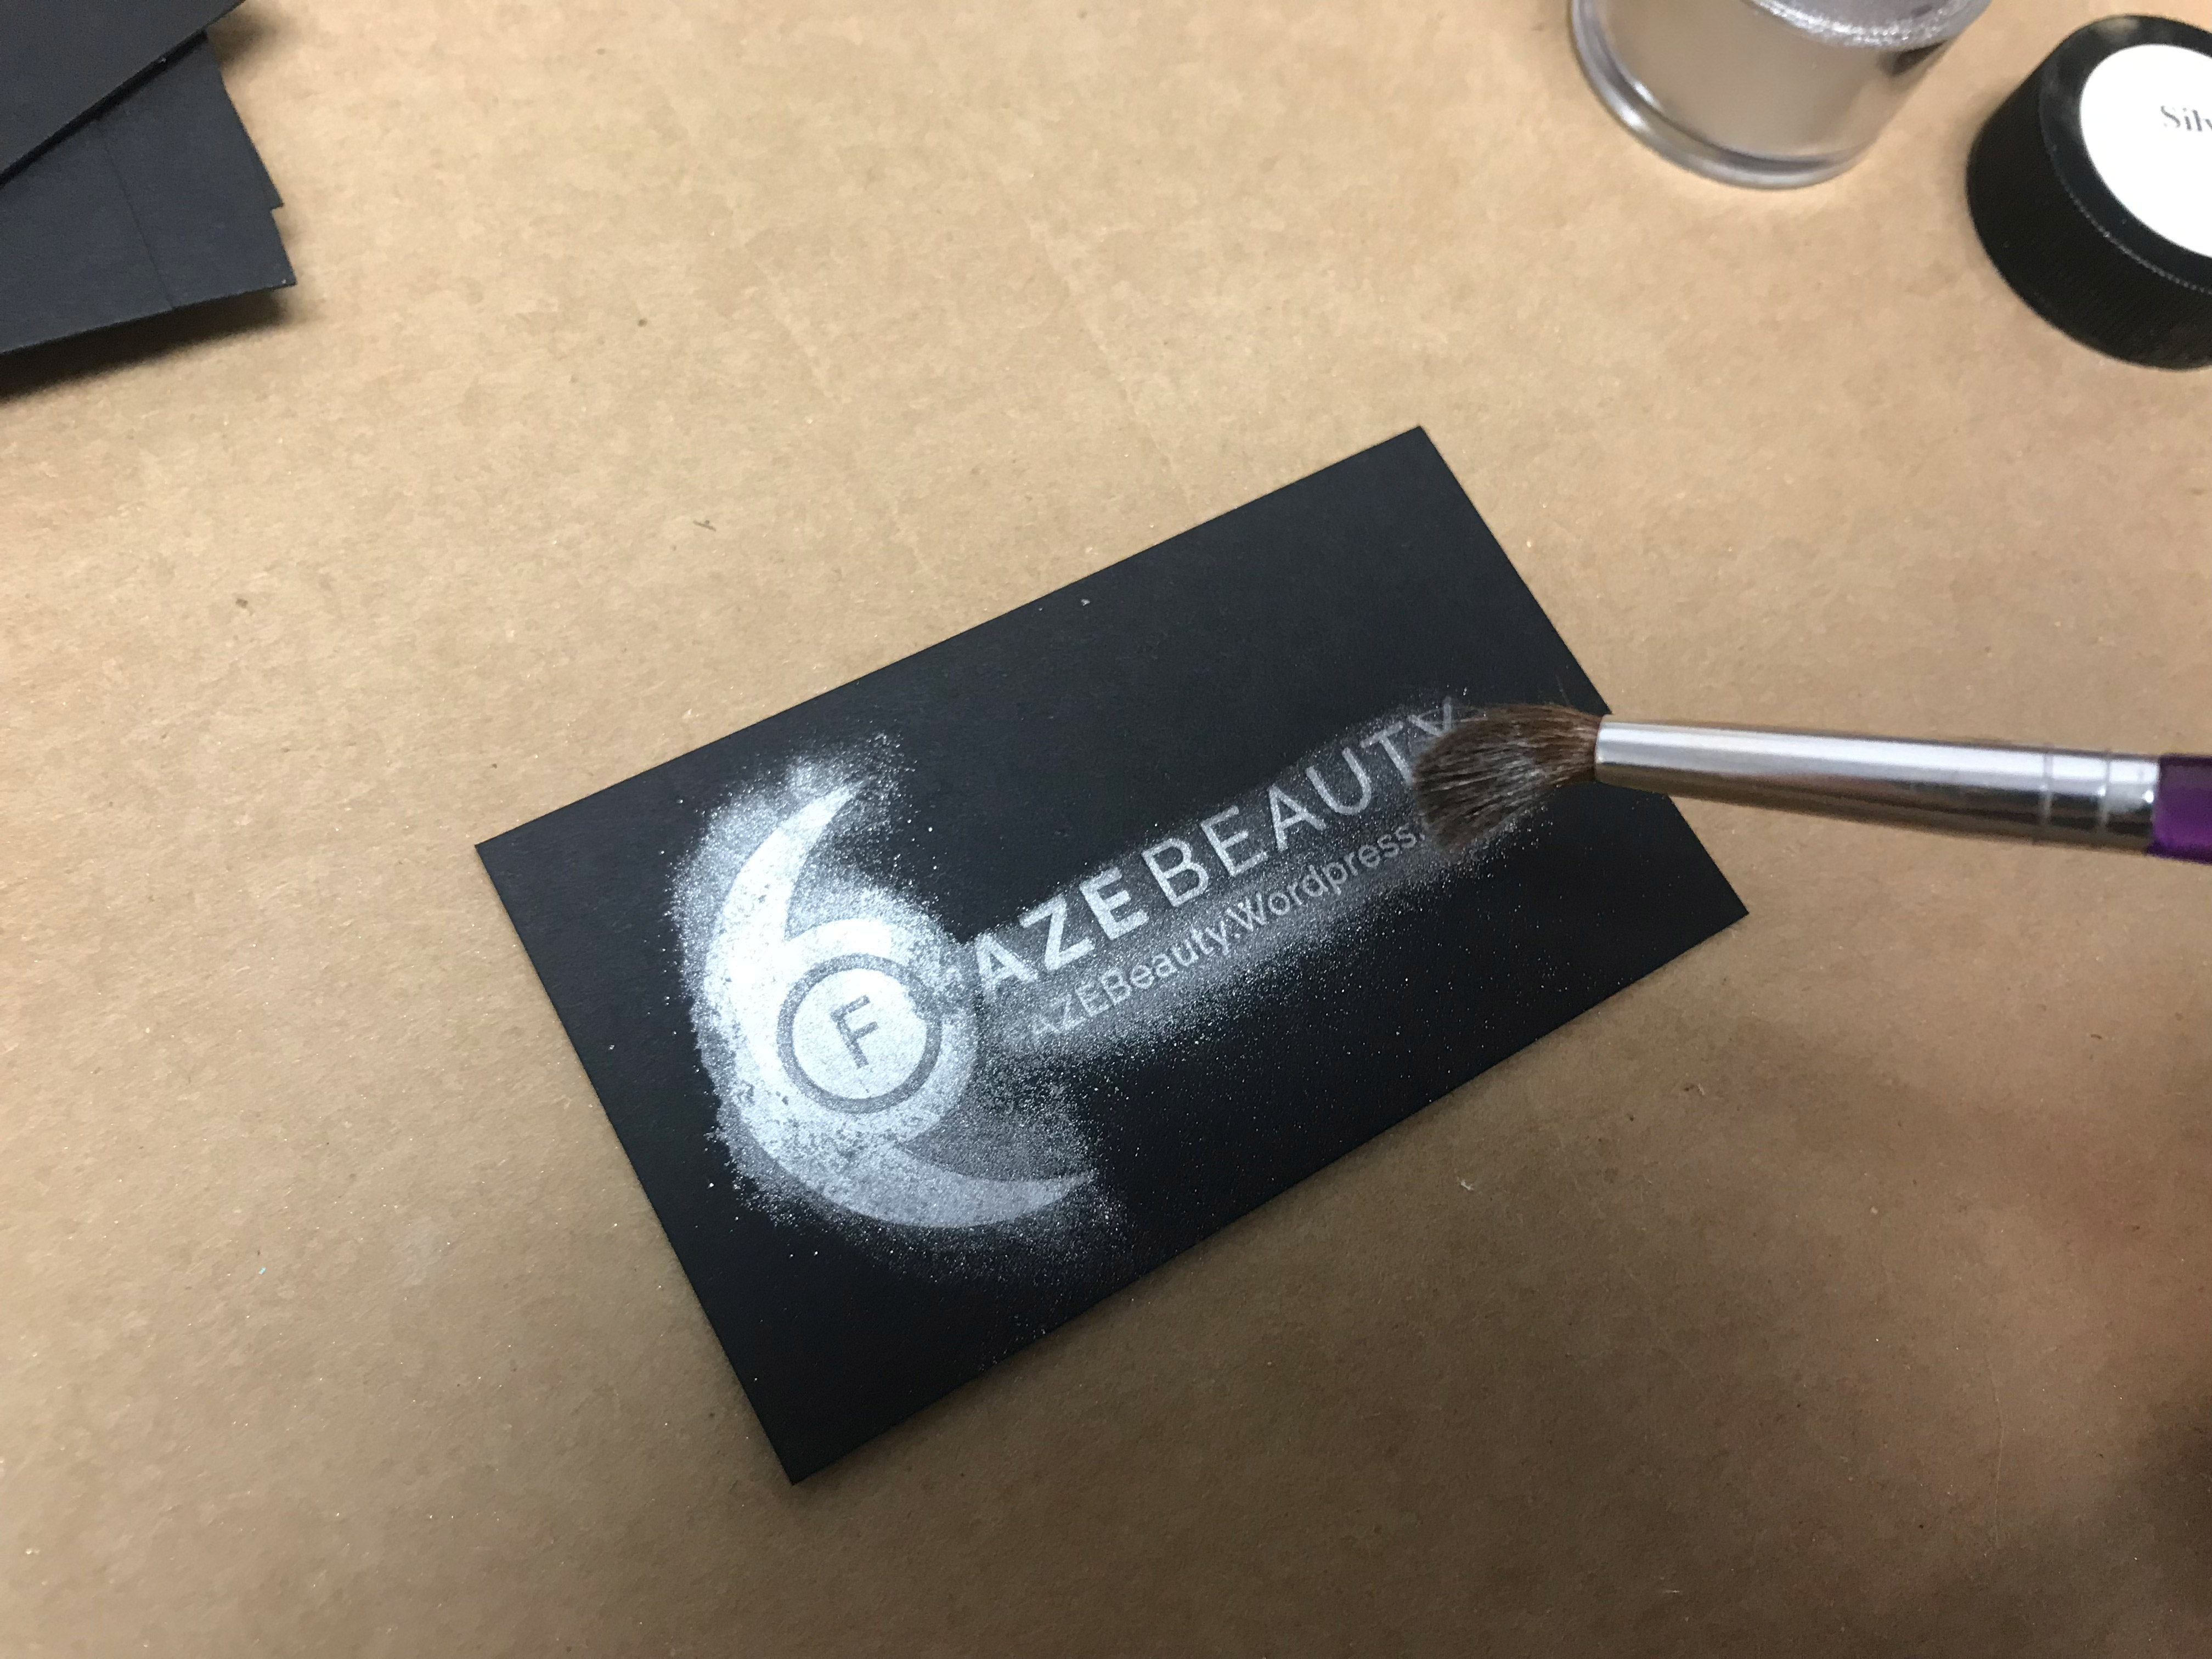
5. Safety First. PUT ON YOUR RESPIRATOR AND GO OUTSIDE. Just don’t bother doing this step inside or for the rest of your life you will find glitter everywhere. It will settle on everything and pollute your studio like some sort of contagion for eternity.
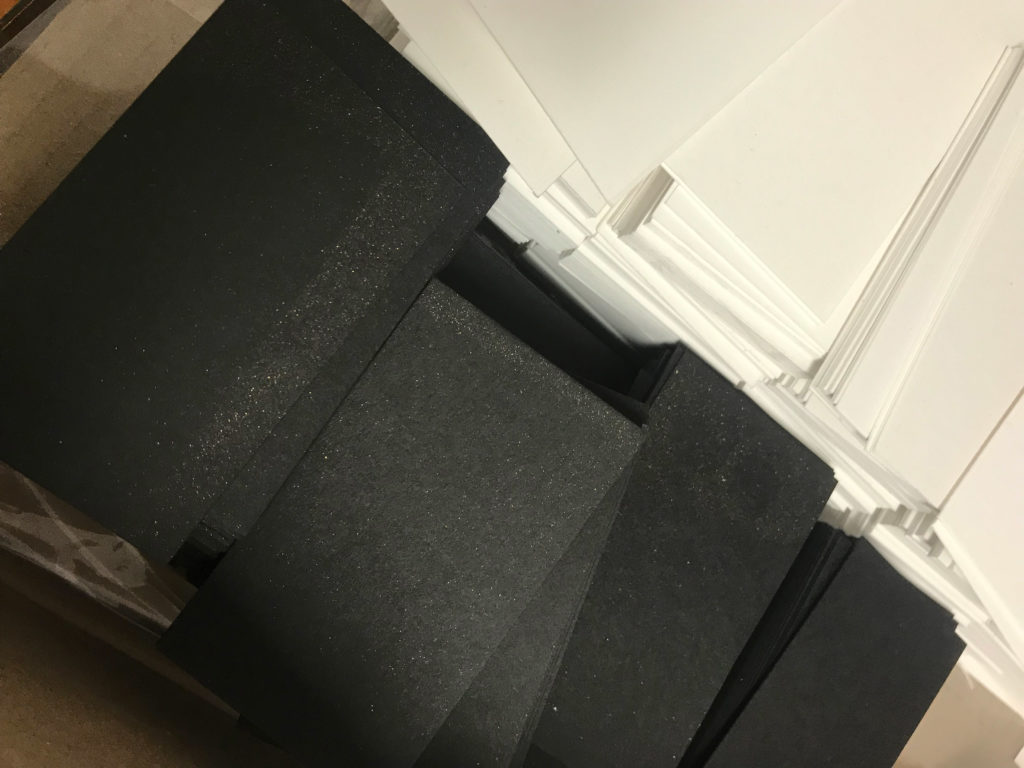 This is like 6 months later… and it’s still getting on everything in my shop. It floats around and re-settles constantly.
Also, in case you’re wondering – I tried many other methods of removing the gold – brushing it off, dabbing it off with tape, and an eraser – none of these techniques worked reliably. In some cases they left a residue from rubbing the pigment into the paper. as seen below.
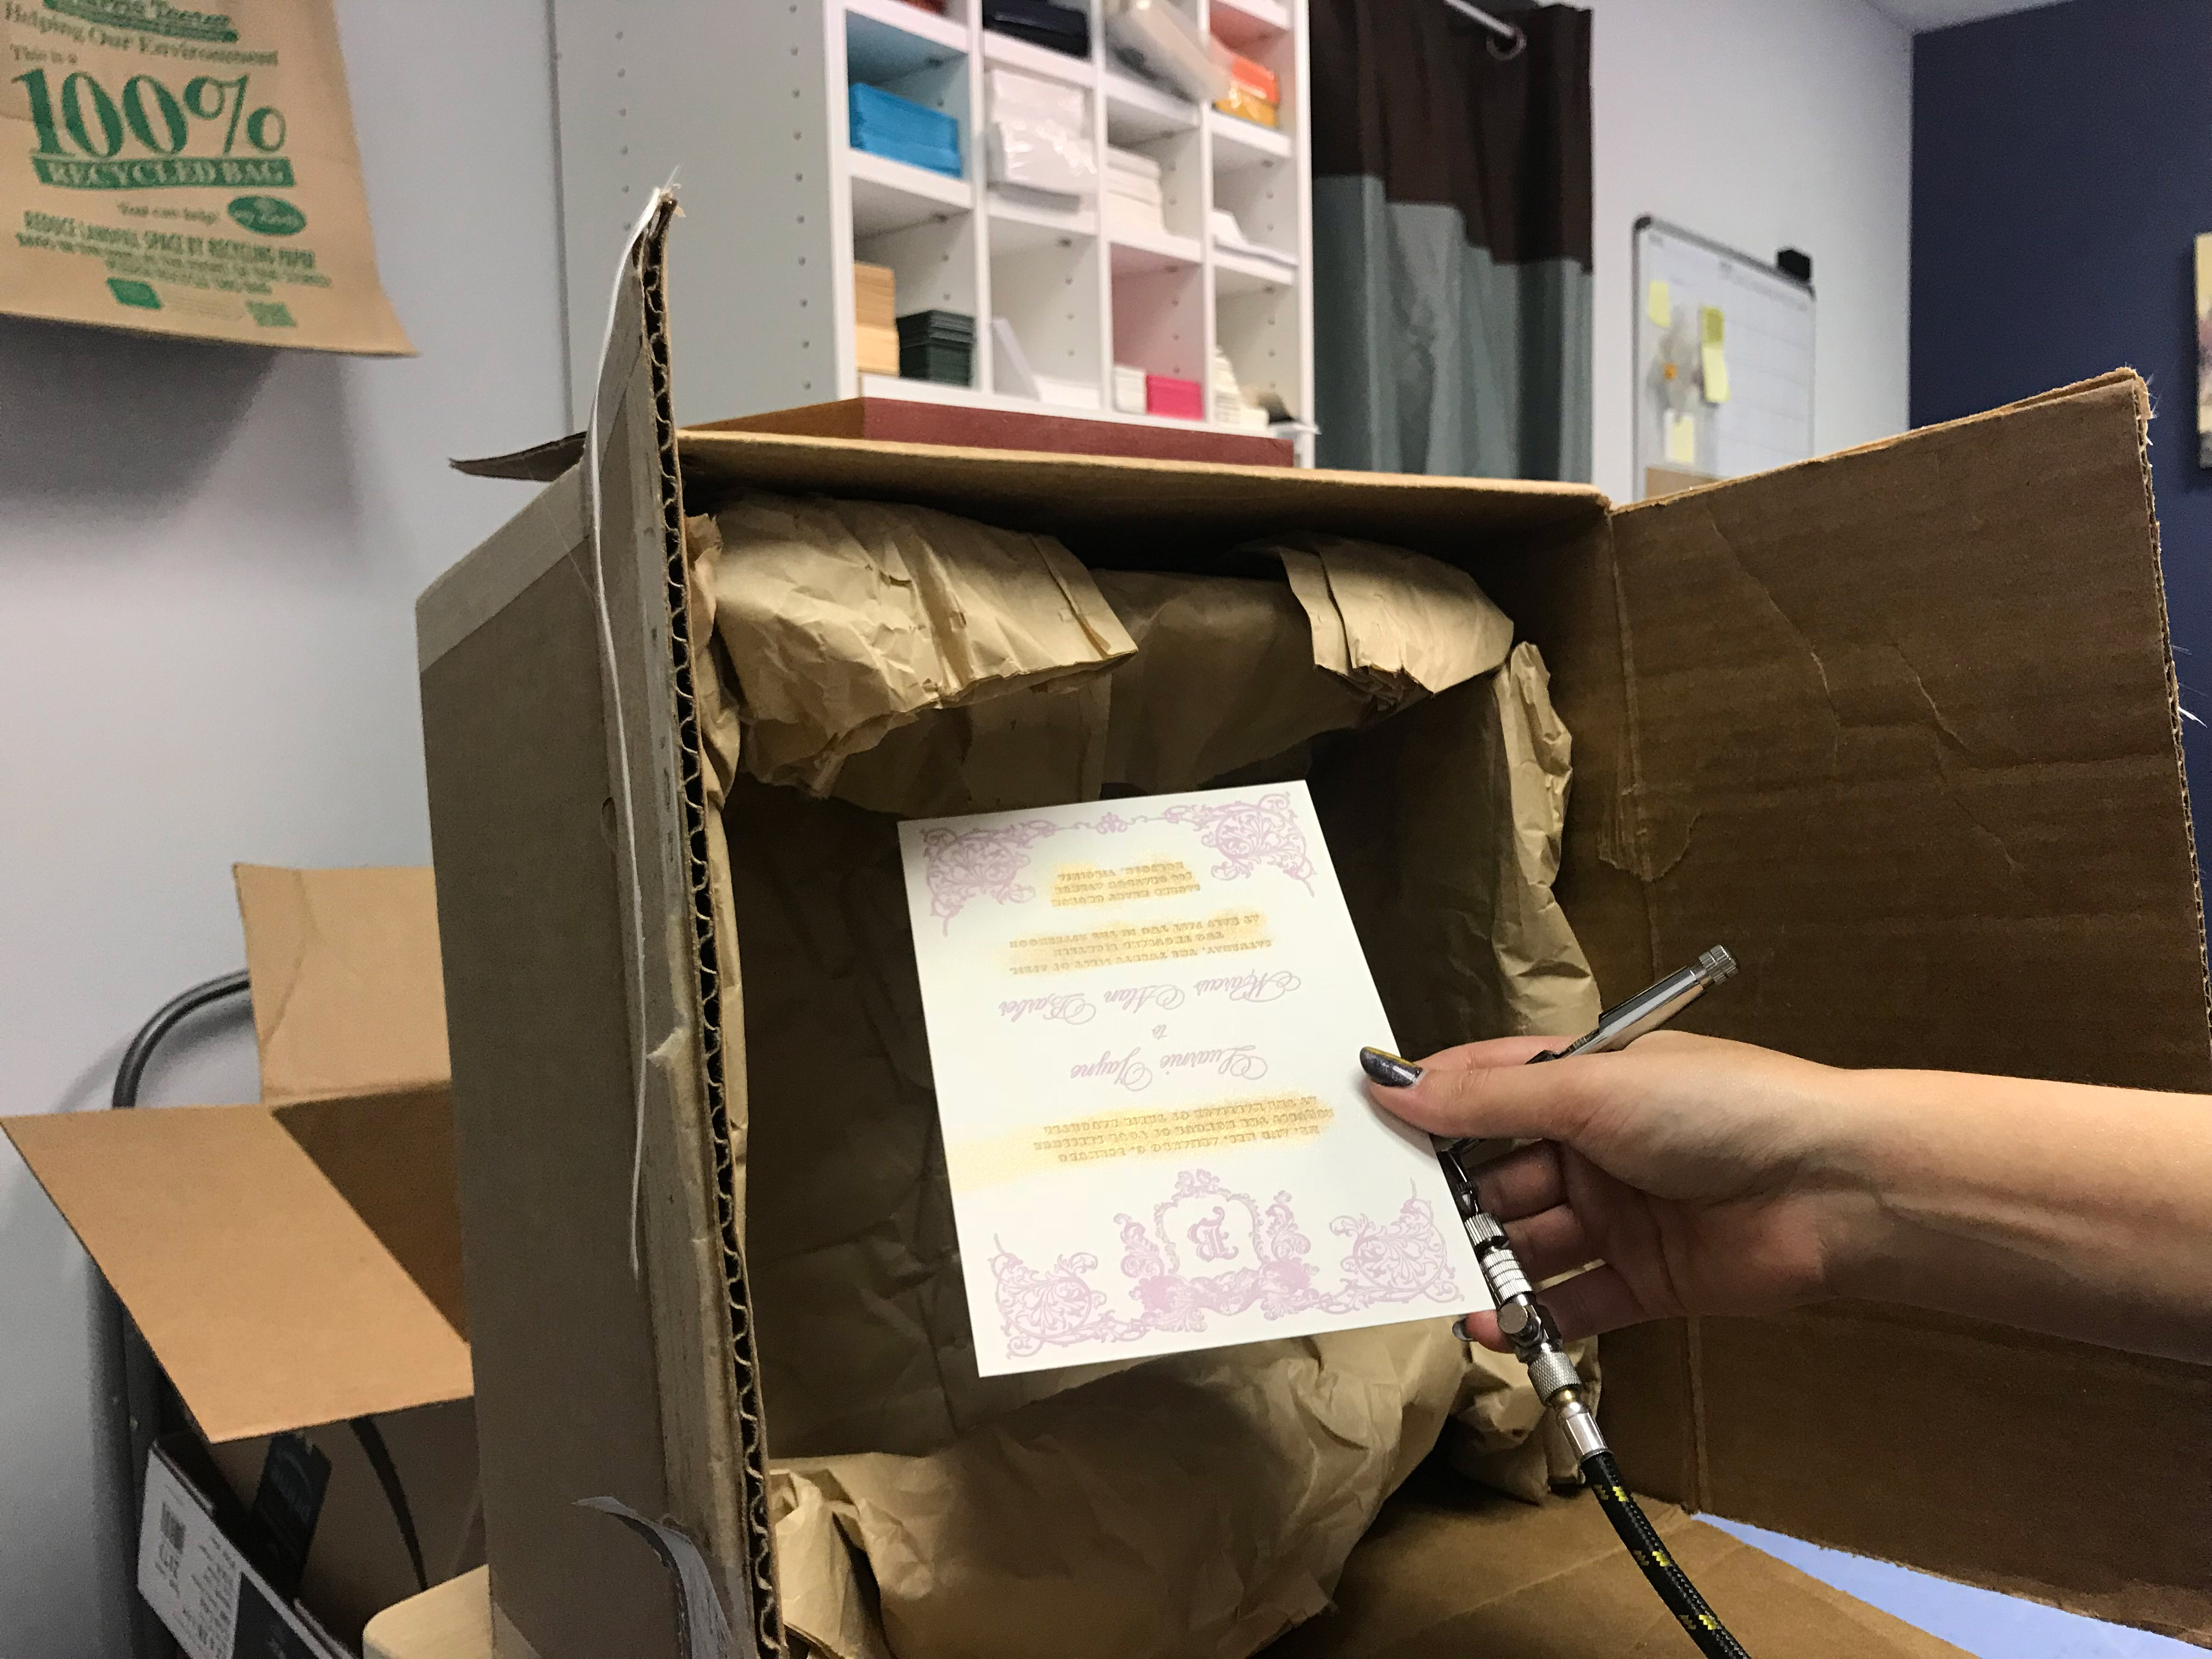
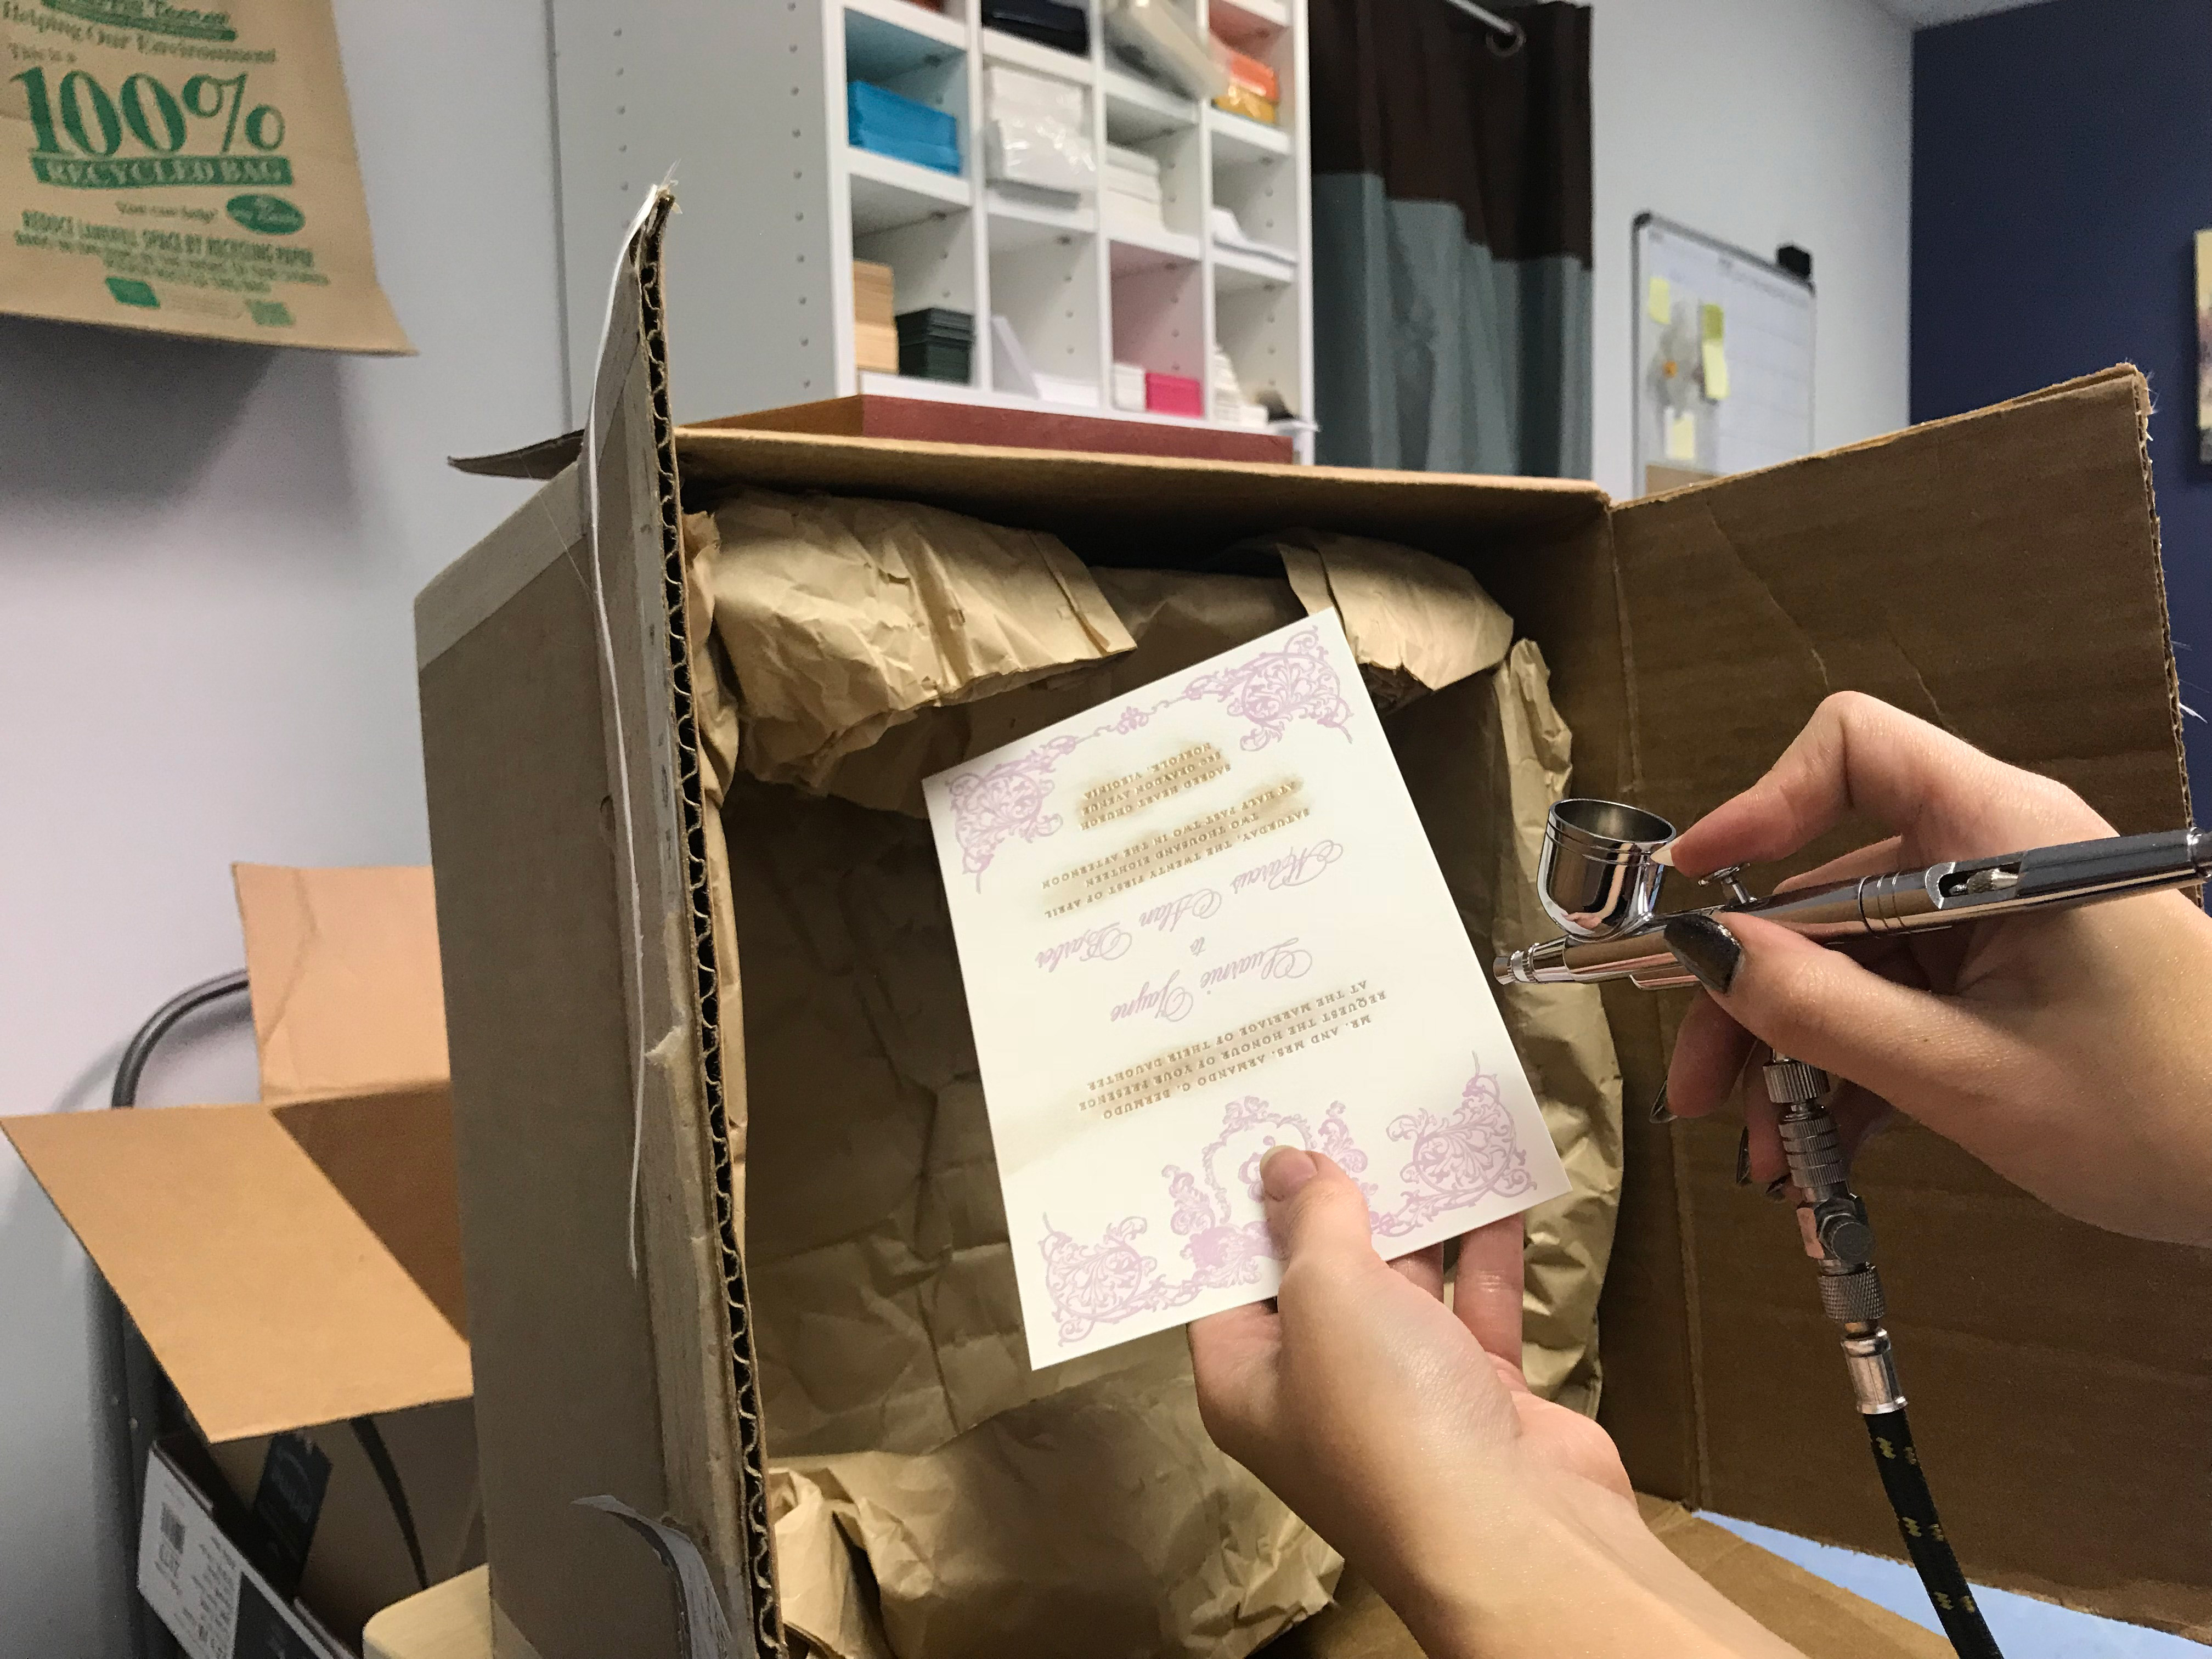
6. Remove Excess powder. Obviously I didn’t listen to my own good advice the first time around, so you’ll see these photos are done inside. Set up your airbrush and blast off the excess gold. You have to get the pressure pretty close, don’t be afraid to put the airbrush really close to the paper. I tried to use a box to contain the dust… yeah that didn’t work at all.

Conclusion: This takes. FOREVER. I spent 3-4 minutes on each print, gently tapping the gold, blasting off excess, interrupting my print run to do the small batches etc. If you were working with two people it may be worth it, but it’s not something I’m keen to do often. The larger the printed area you are bronzing the longer it takes as well. A small word or detail would be much more doable than a large area.
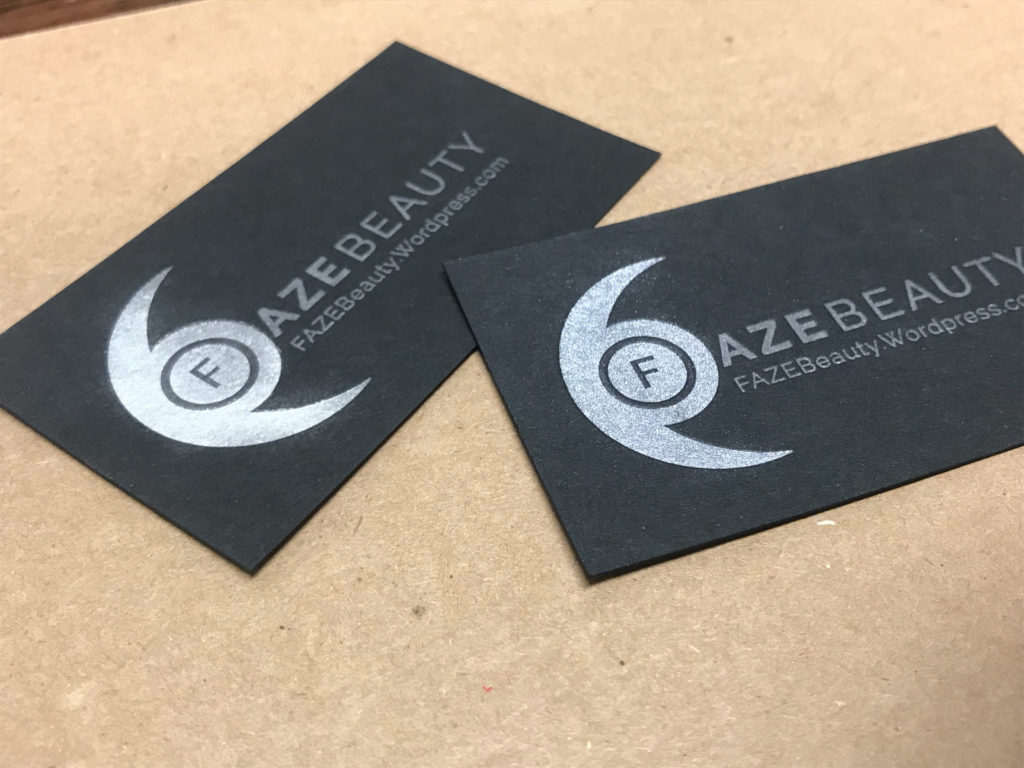
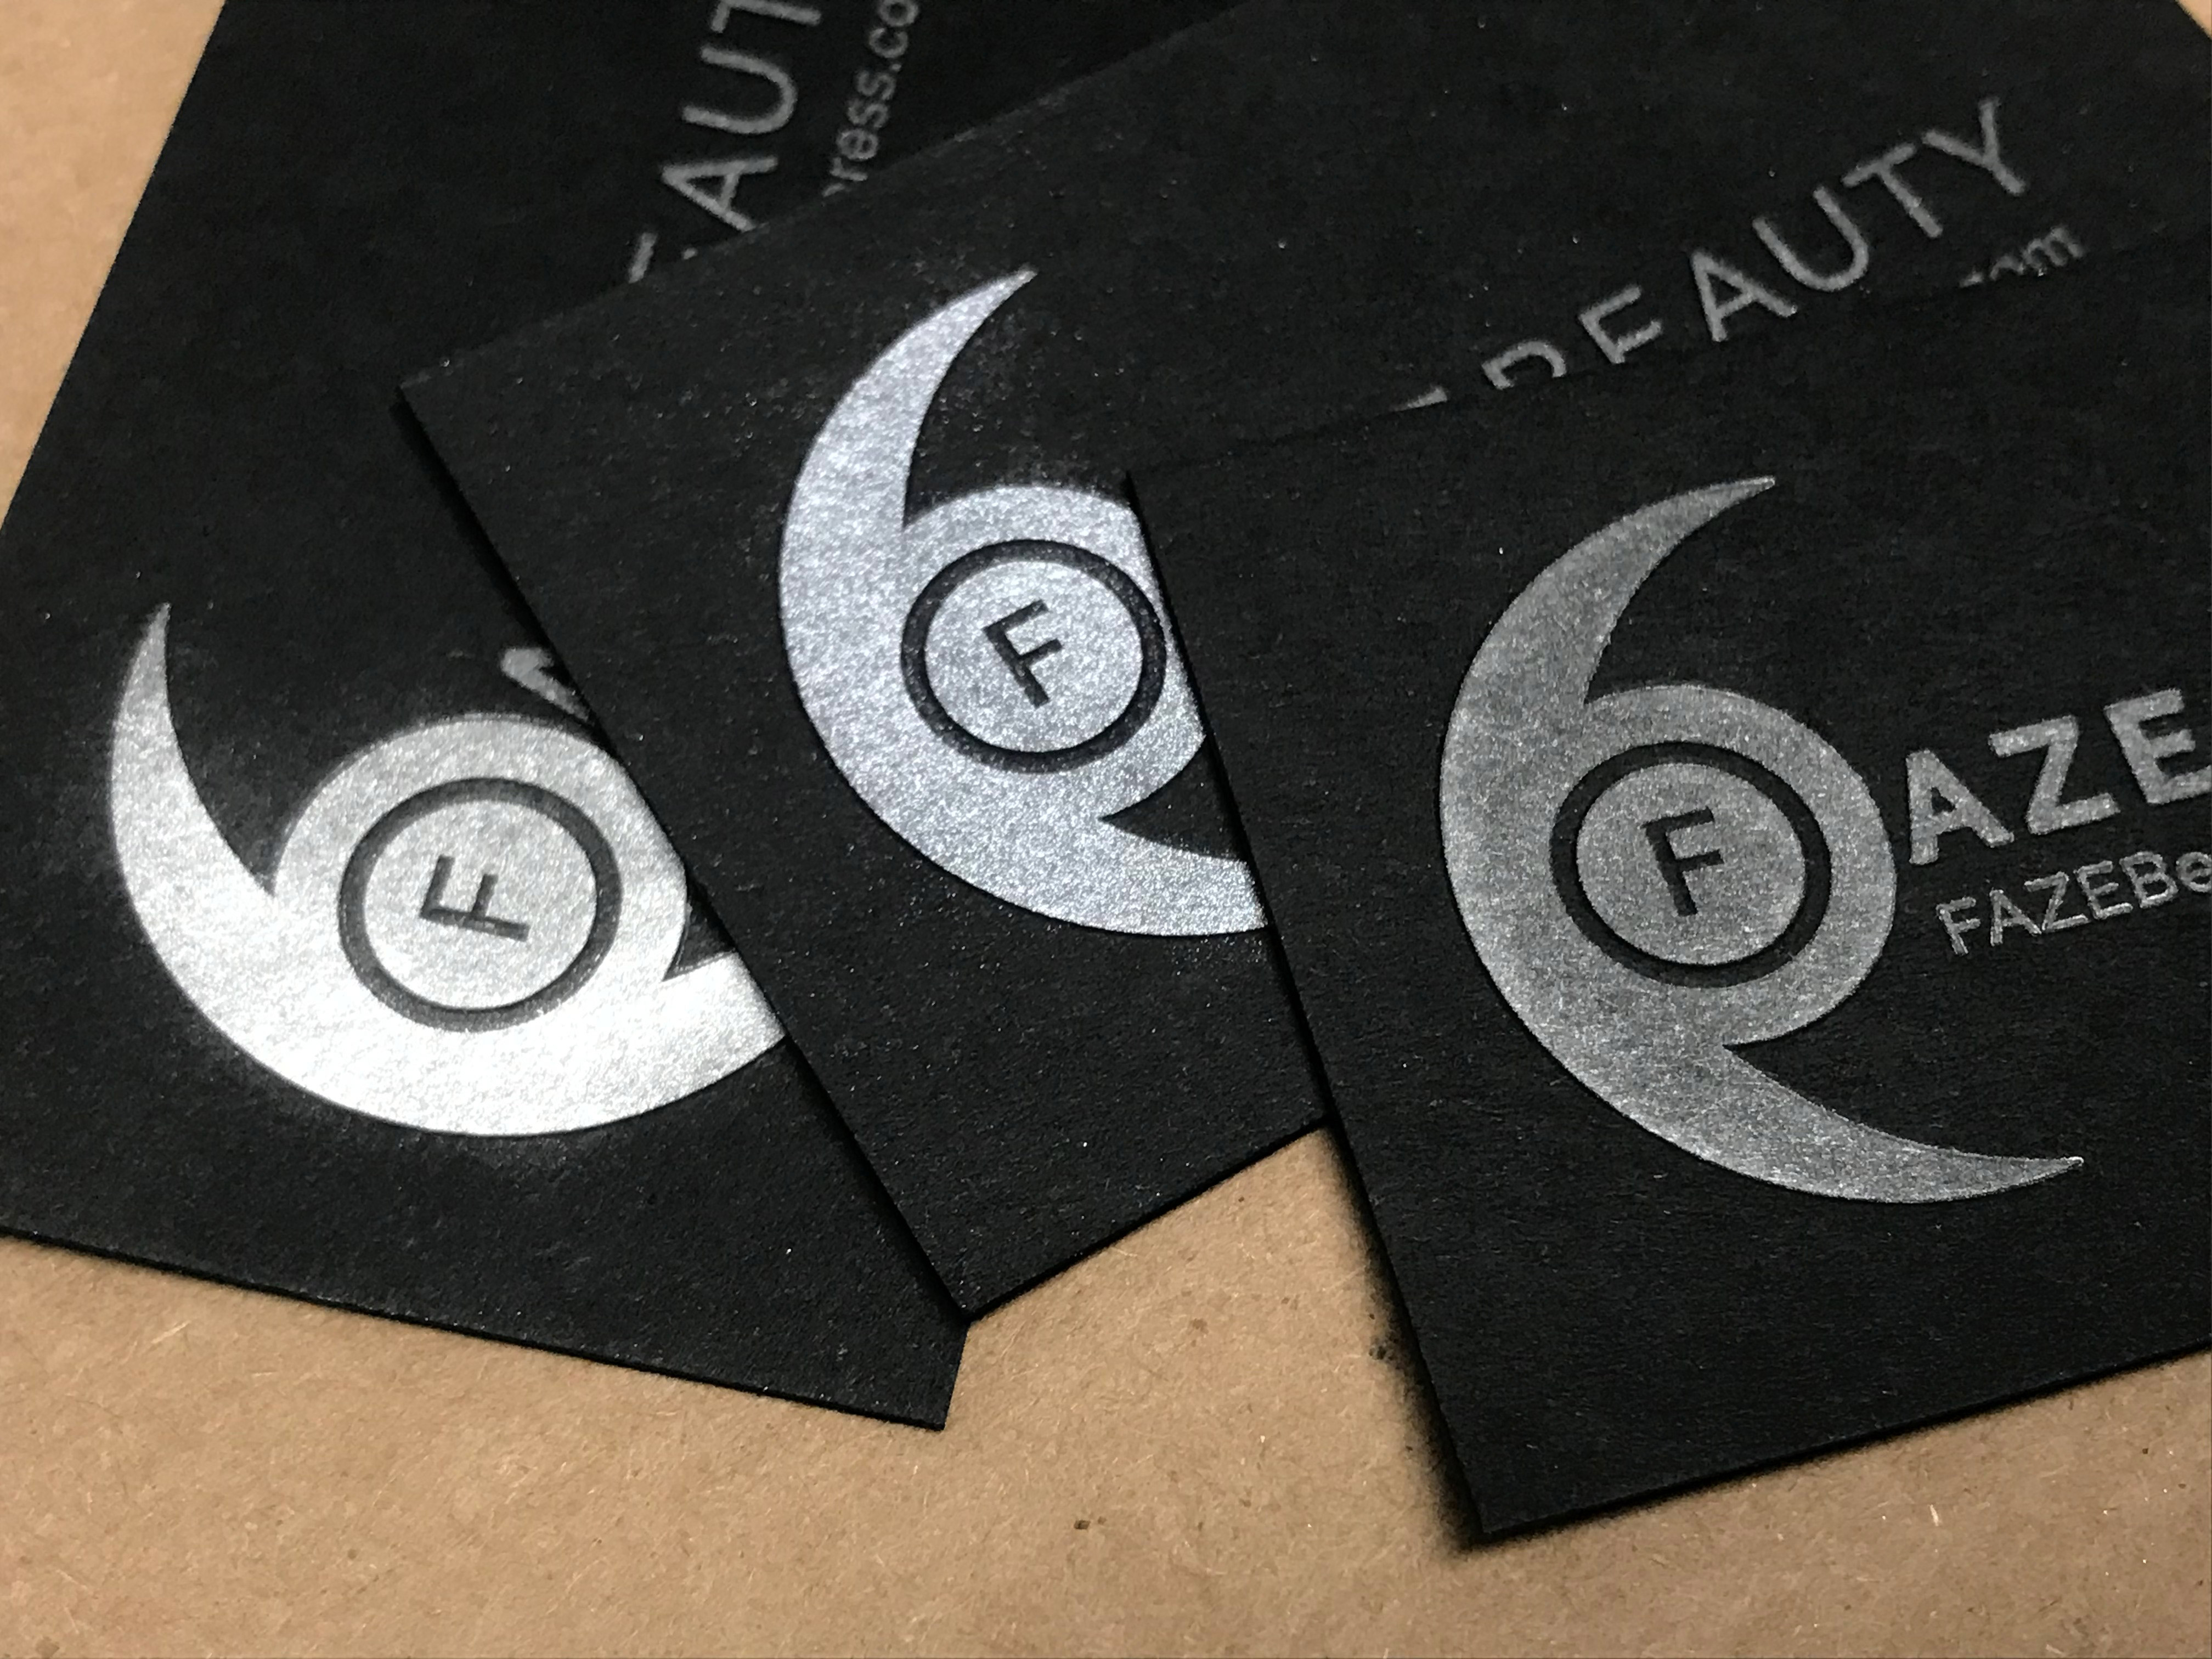
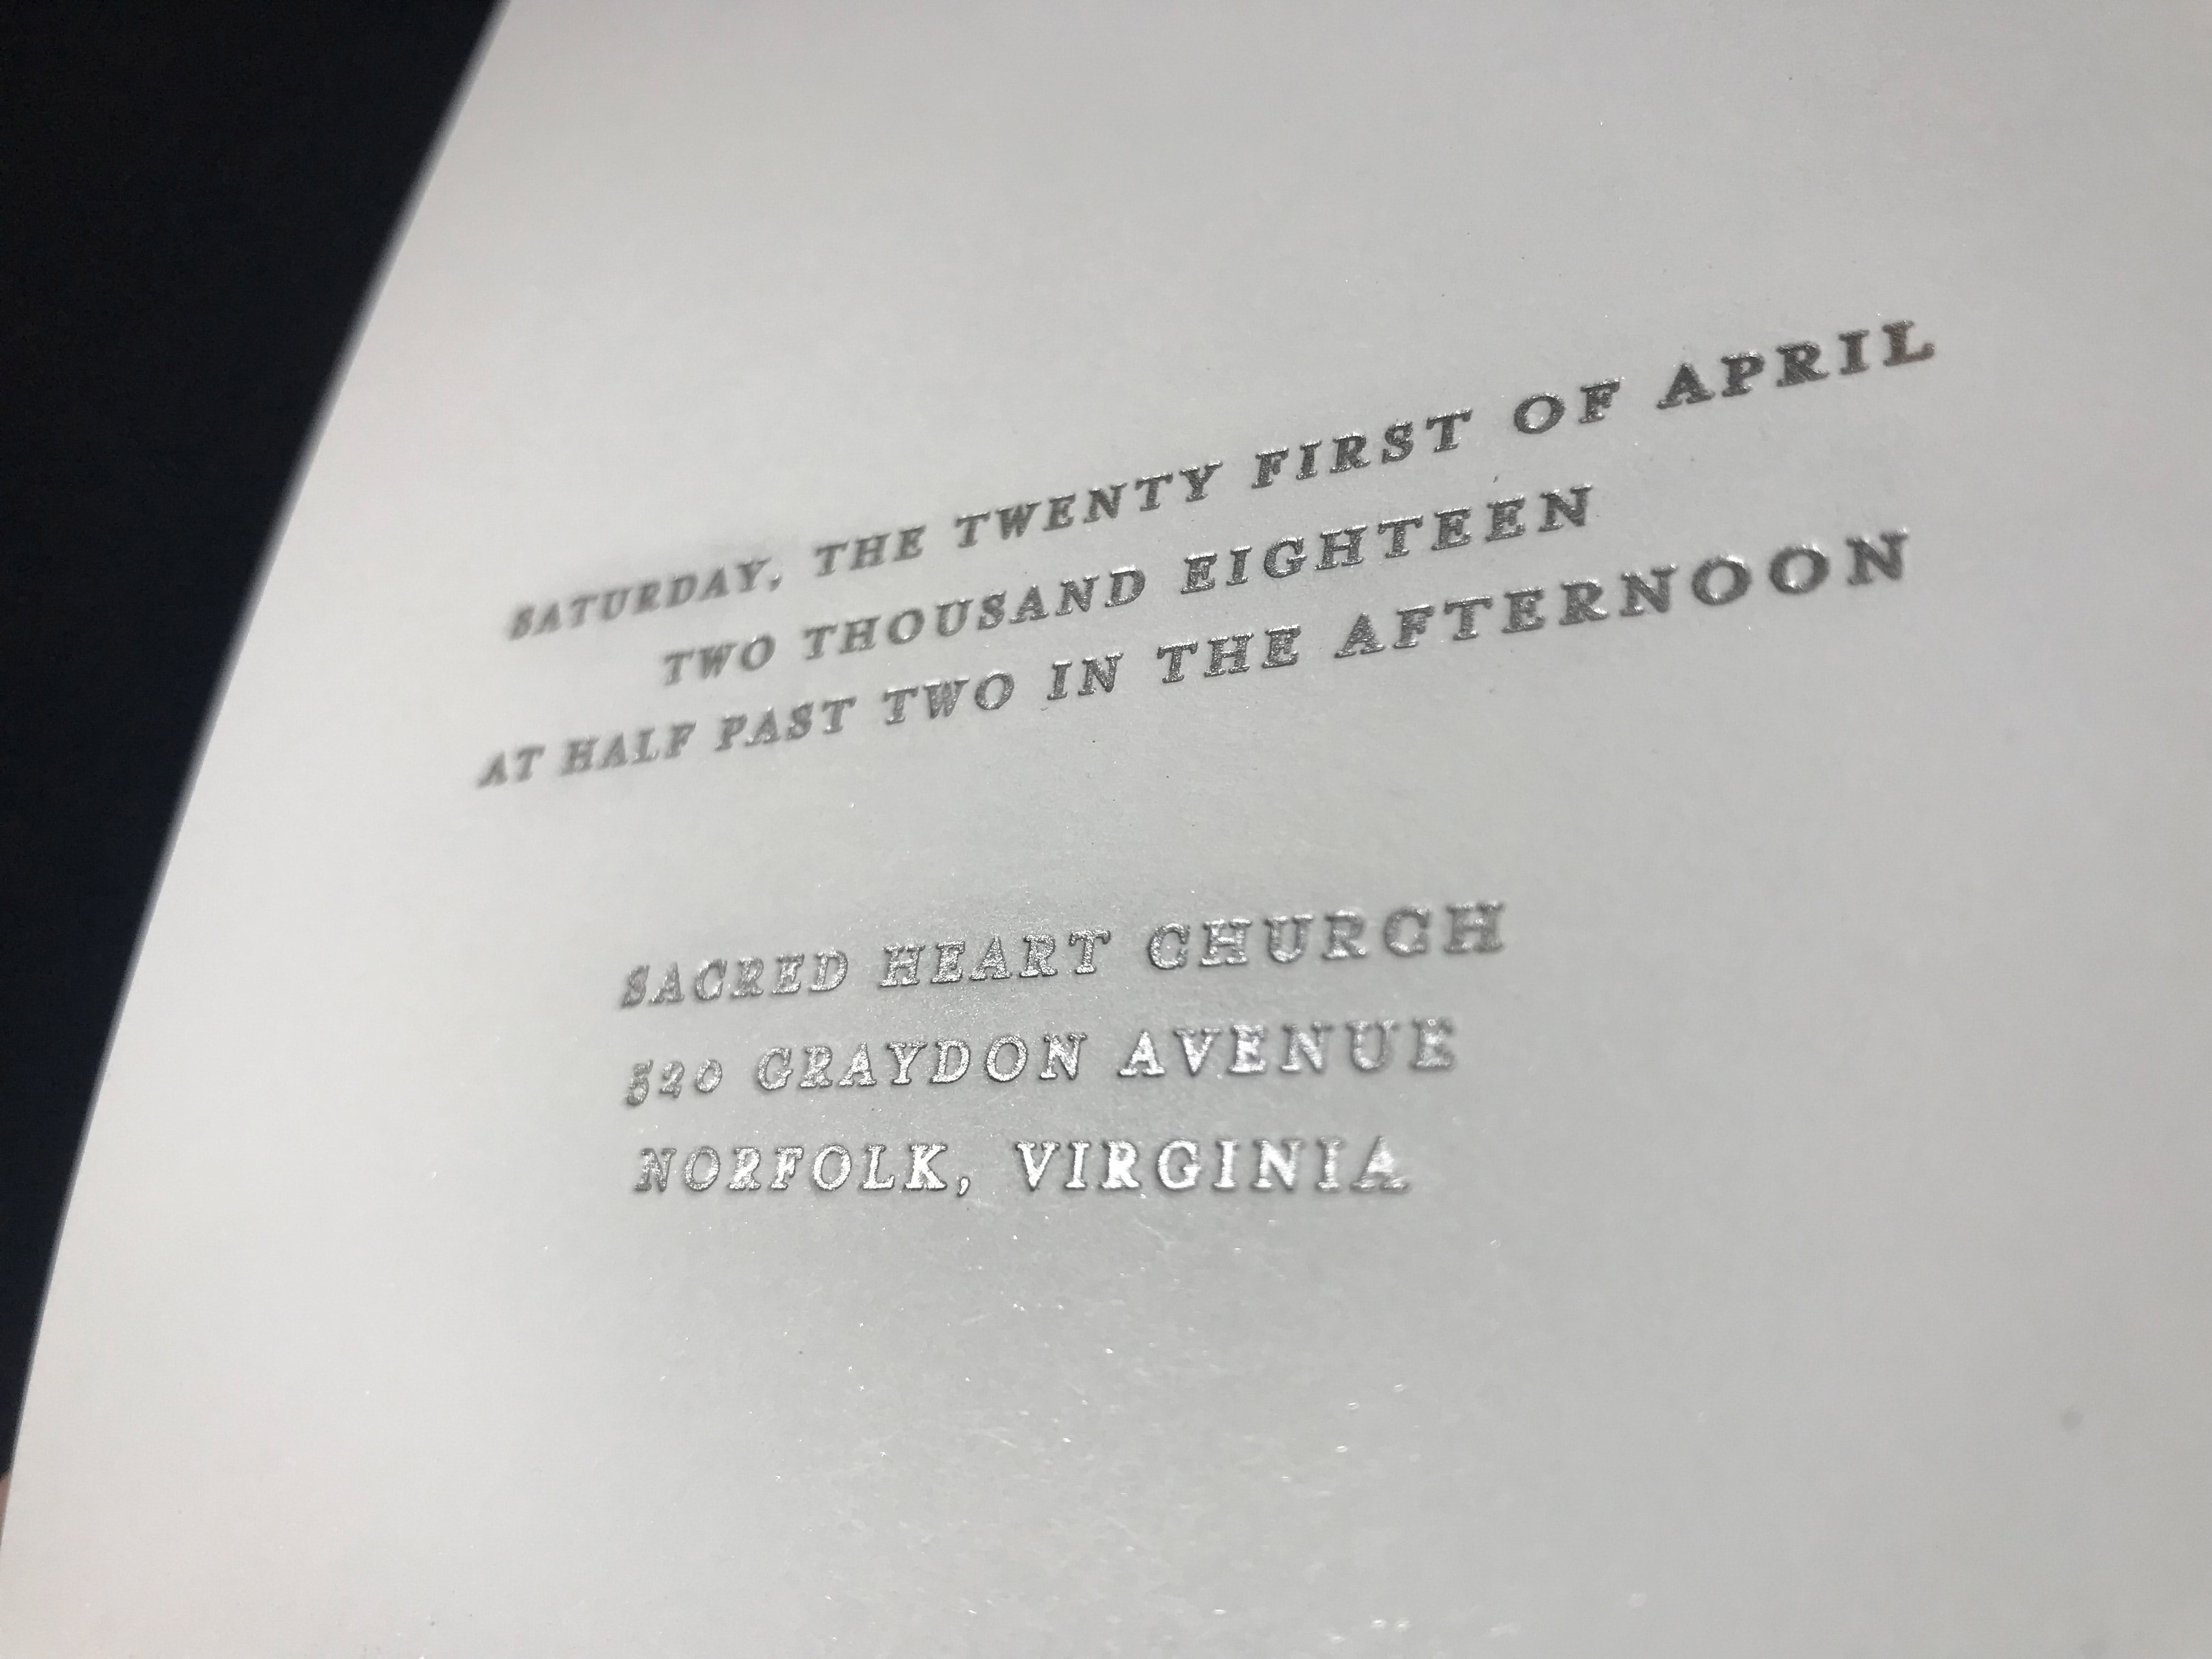
Comparison:
Above is the silver ink and below is the silver bronzing. In real life that silvery haze is not as distracting, although there is often a few specks of leftover glitter.
Here are some additional samples. 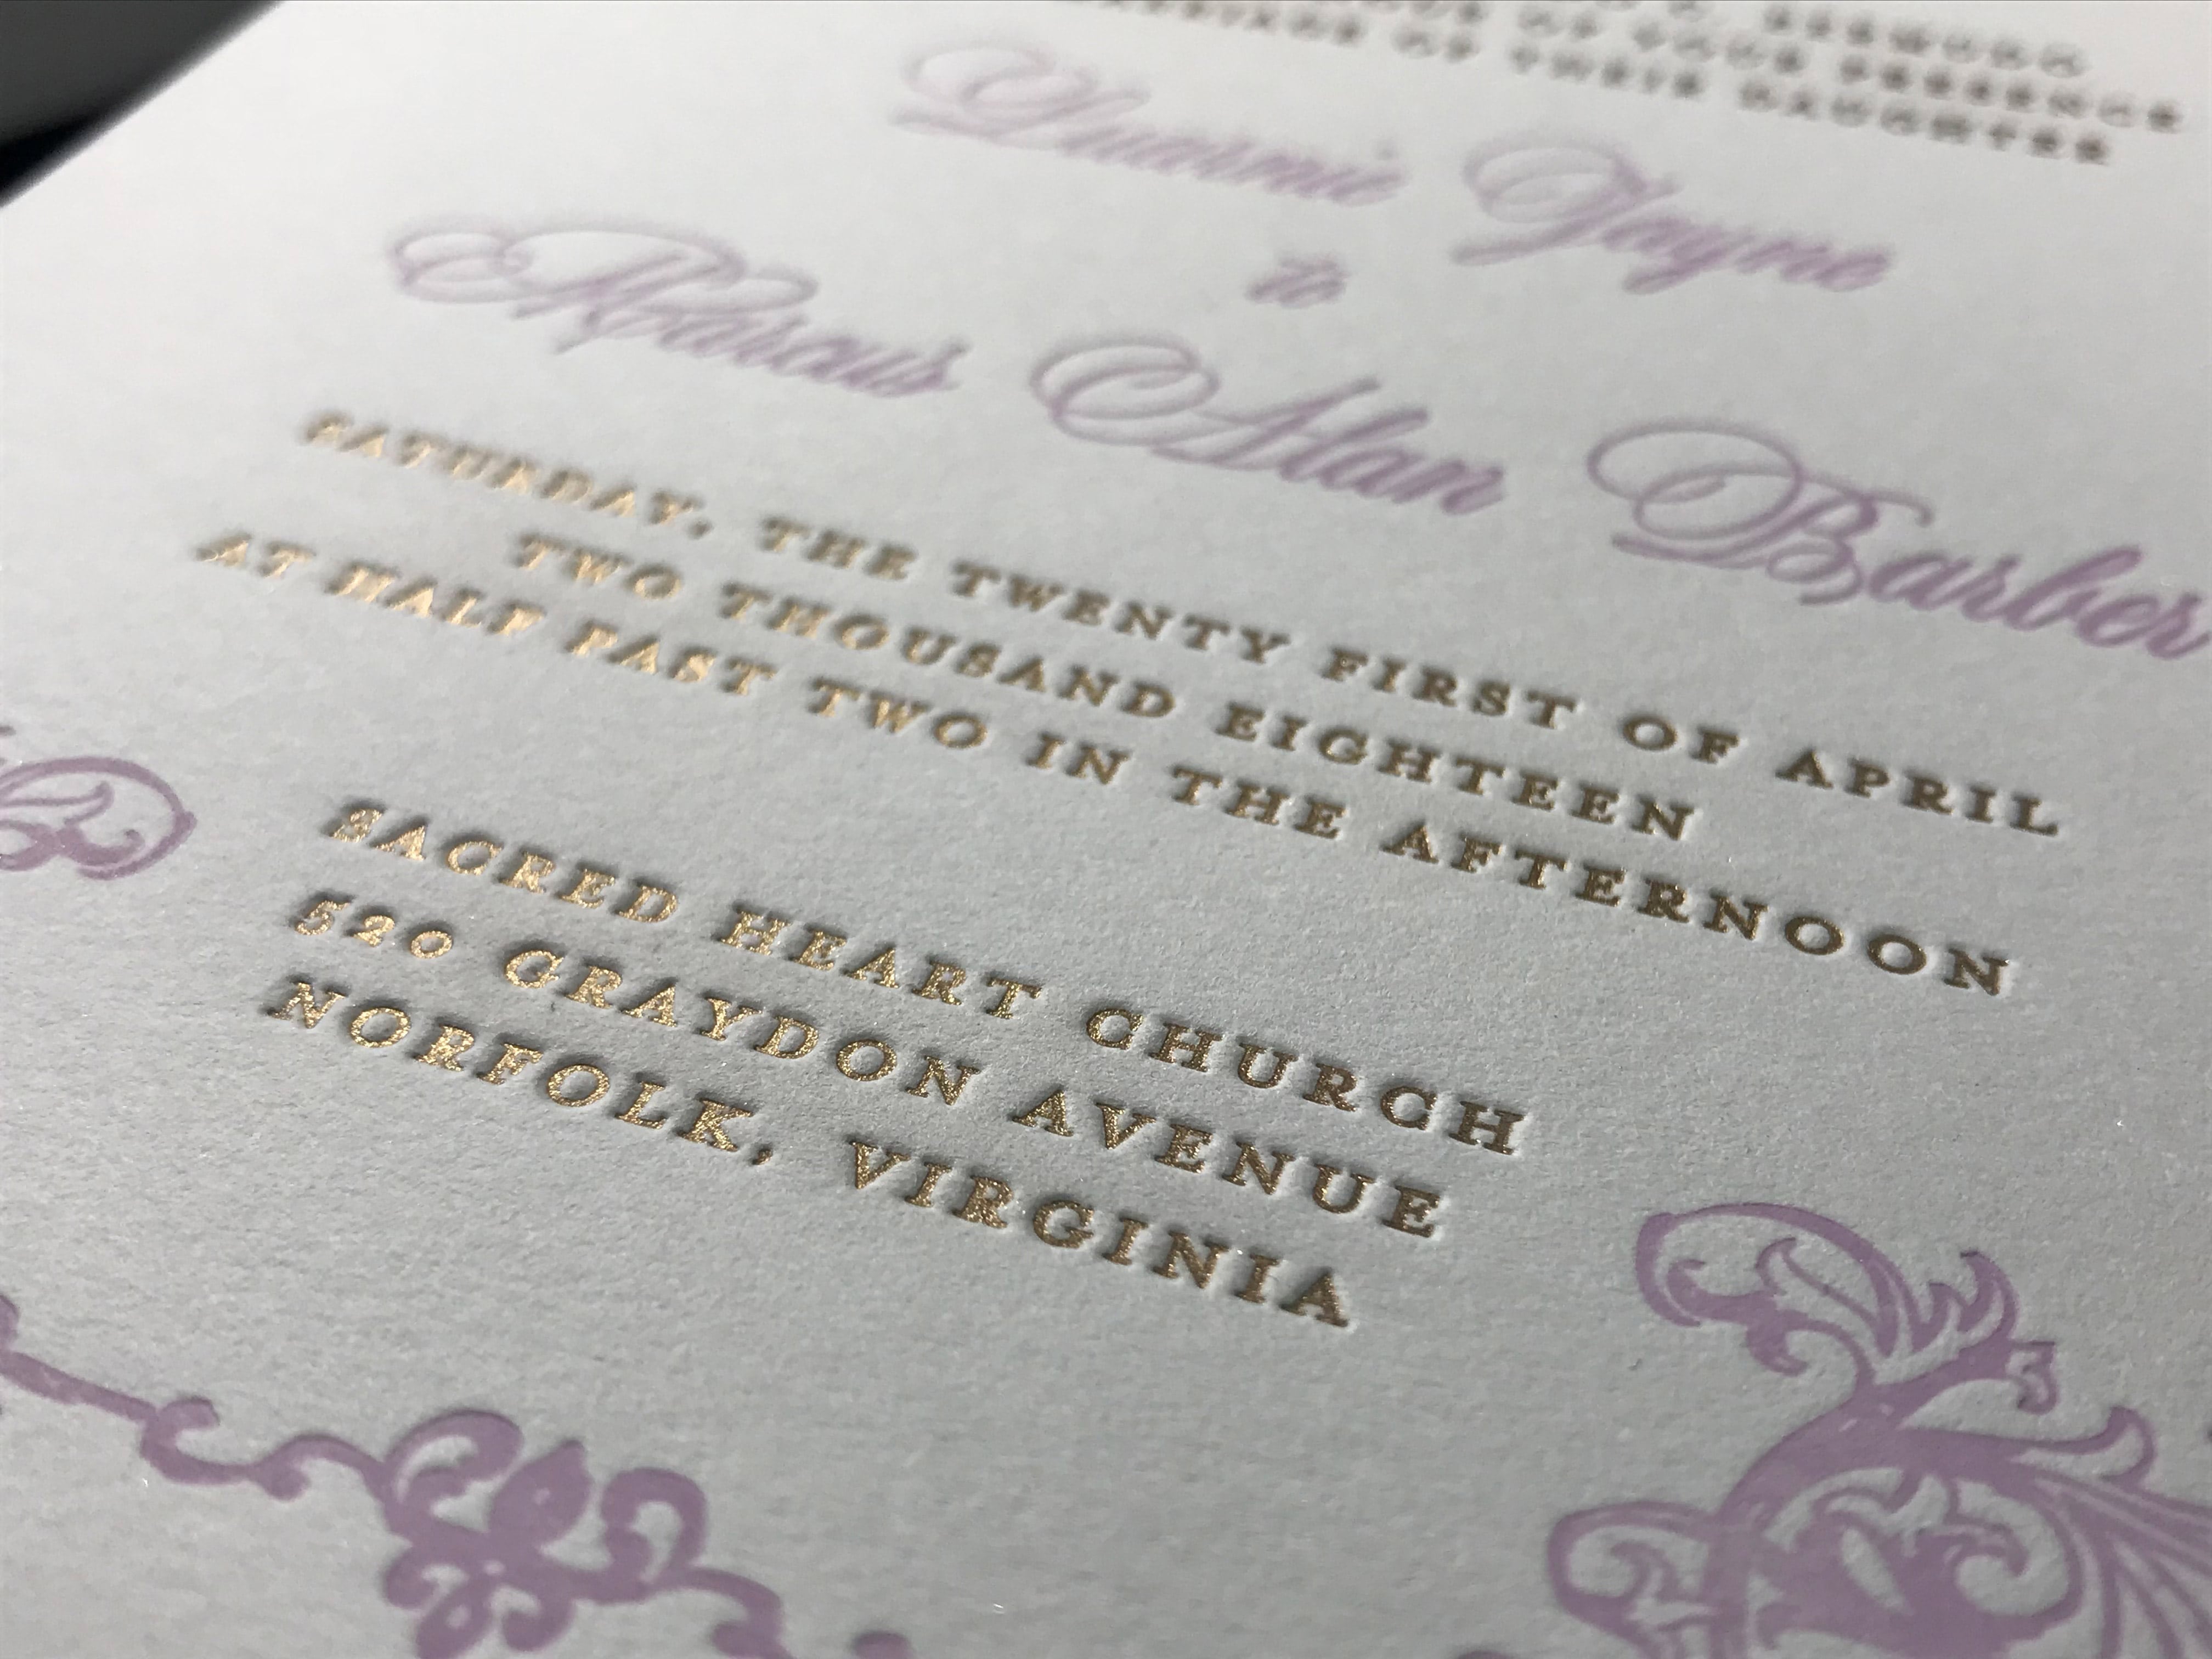
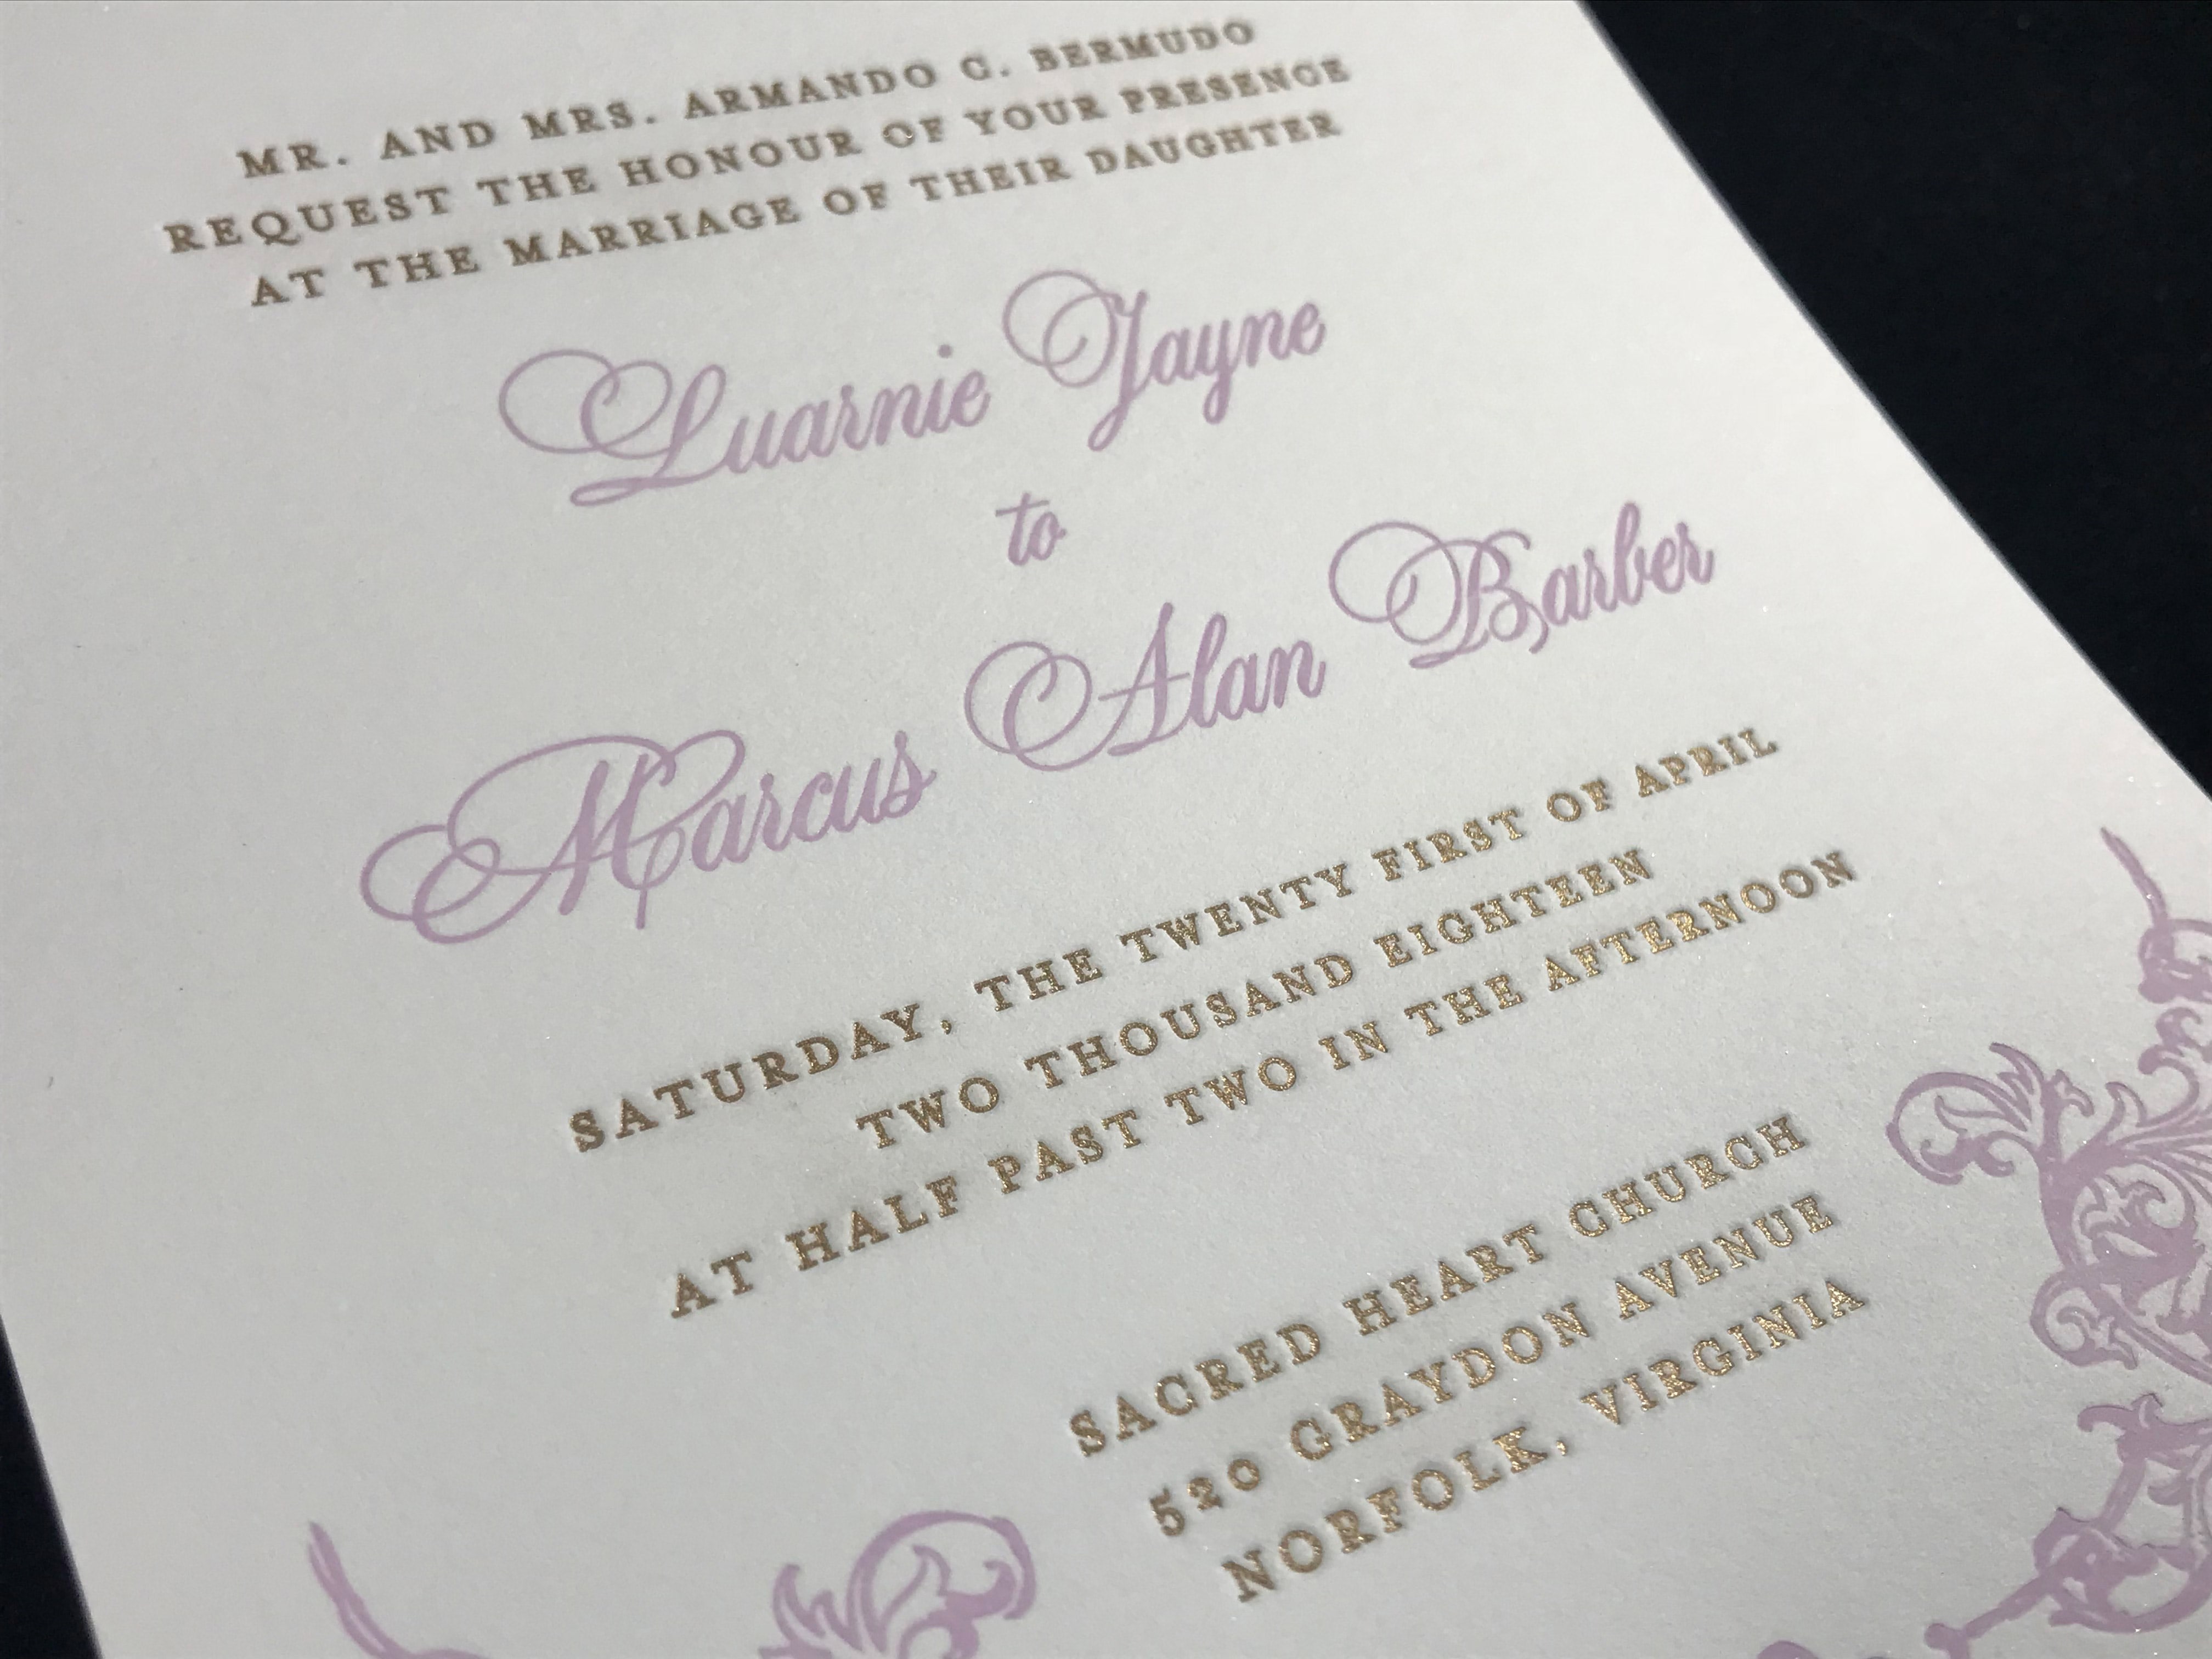
Here are the silver, copper, and gold:


In this sample below you can compare the unbranded silver pigment and the Peal Ex frosty purple color. You can see that the Pearl Ex is slightly more “glittery” as the particles are somewhat different. Both were highly metallic.