You are currently viewing Wax Seals & Ribbons

Wax Seals & Ribbons

About the Job

It’s been a while since posting a blog on this page as I mostly create laster blogs on my personal site.  However, this was definitely letterpress focused so I’ve decided to post it here. I was helping a colleague who is an invitation designer to complete these invitations, and it was my first time working with ribbon as she typically does all the fancy stuff after I print for her. If you’d like to see more of her work visit Paper Dolls Design. I had fun trying out the ribbons and decided to recreate the project with my baby shower invitations so I could create a blog about it. 

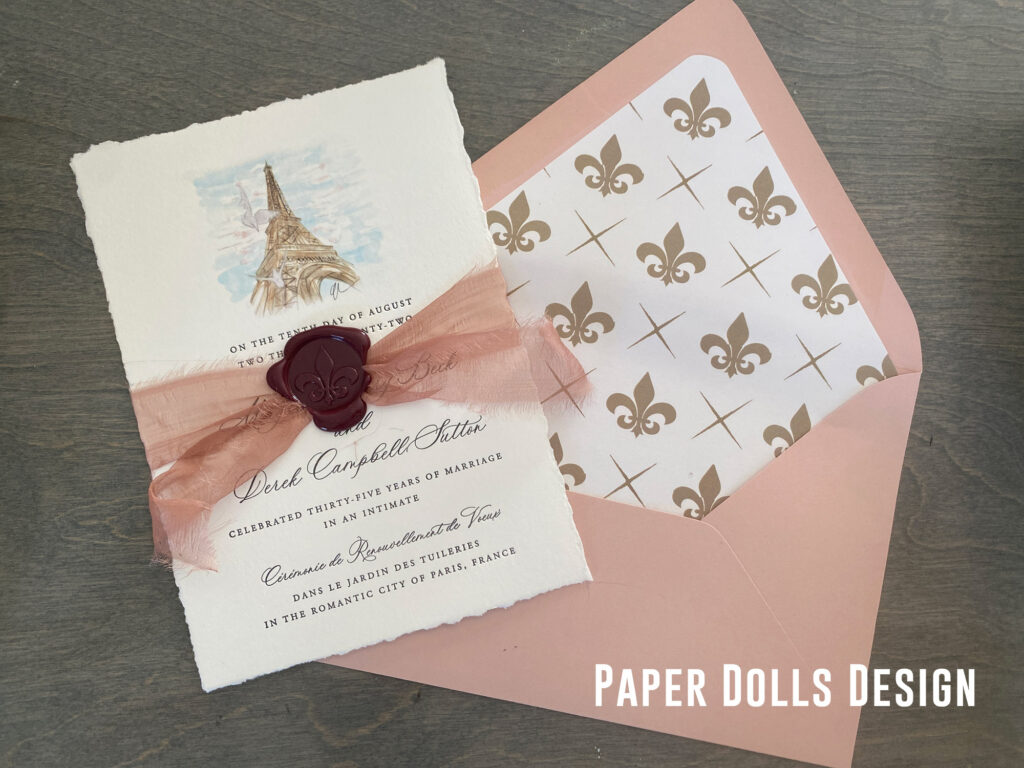
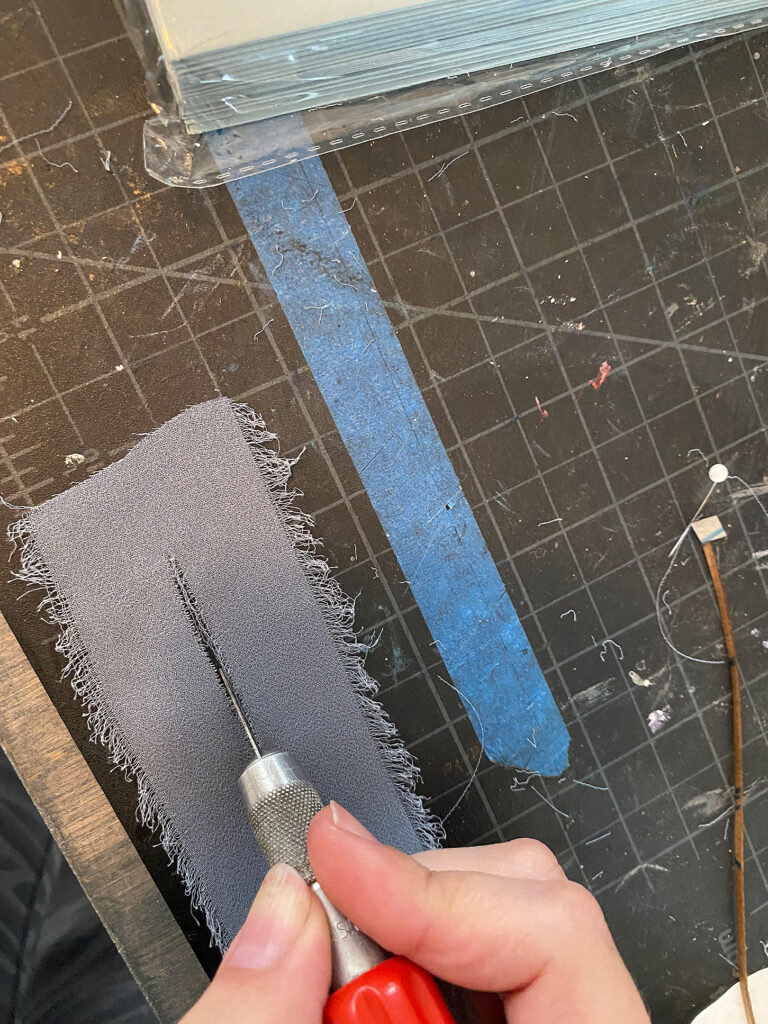
Can You Really Mail These?

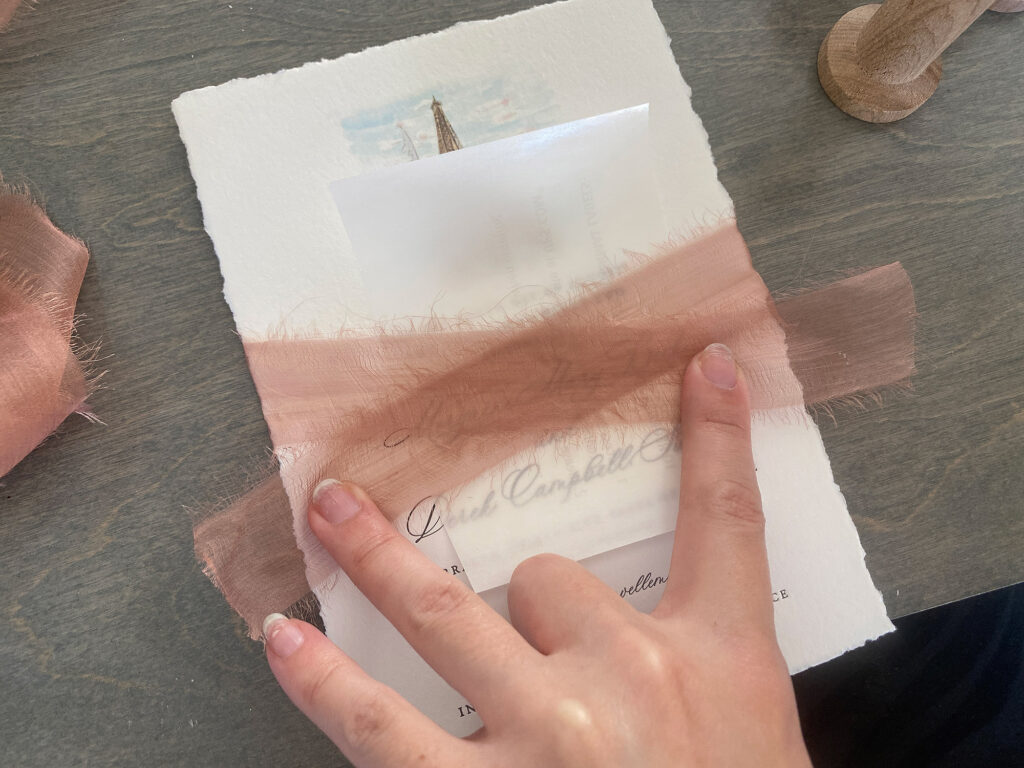
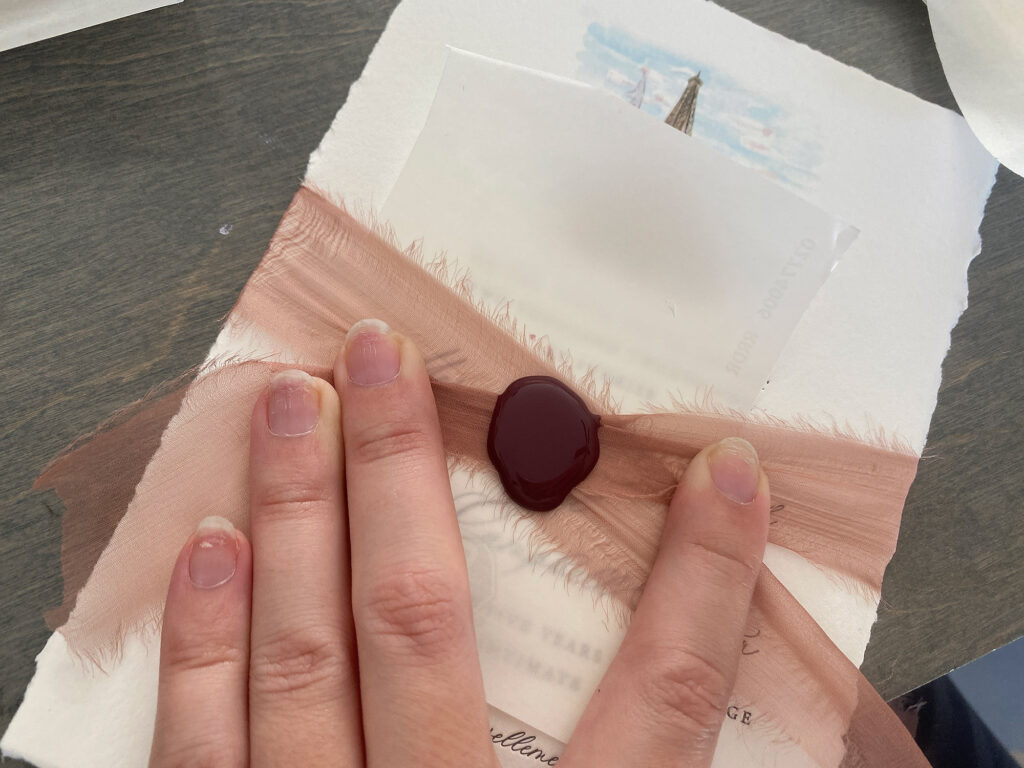
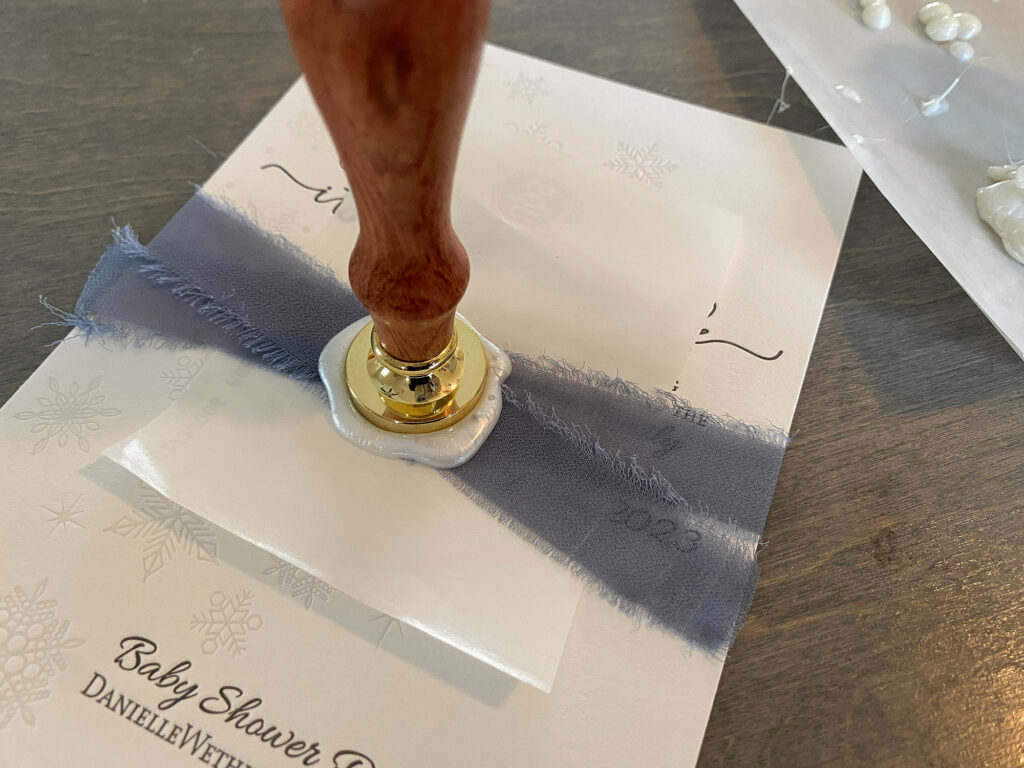
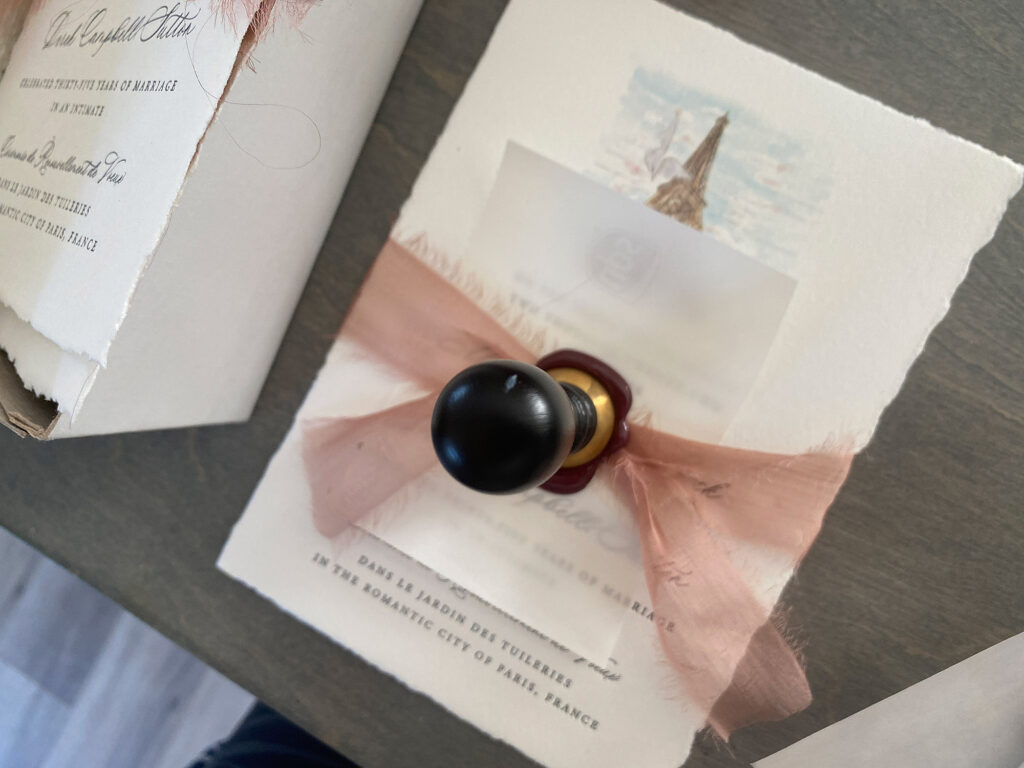
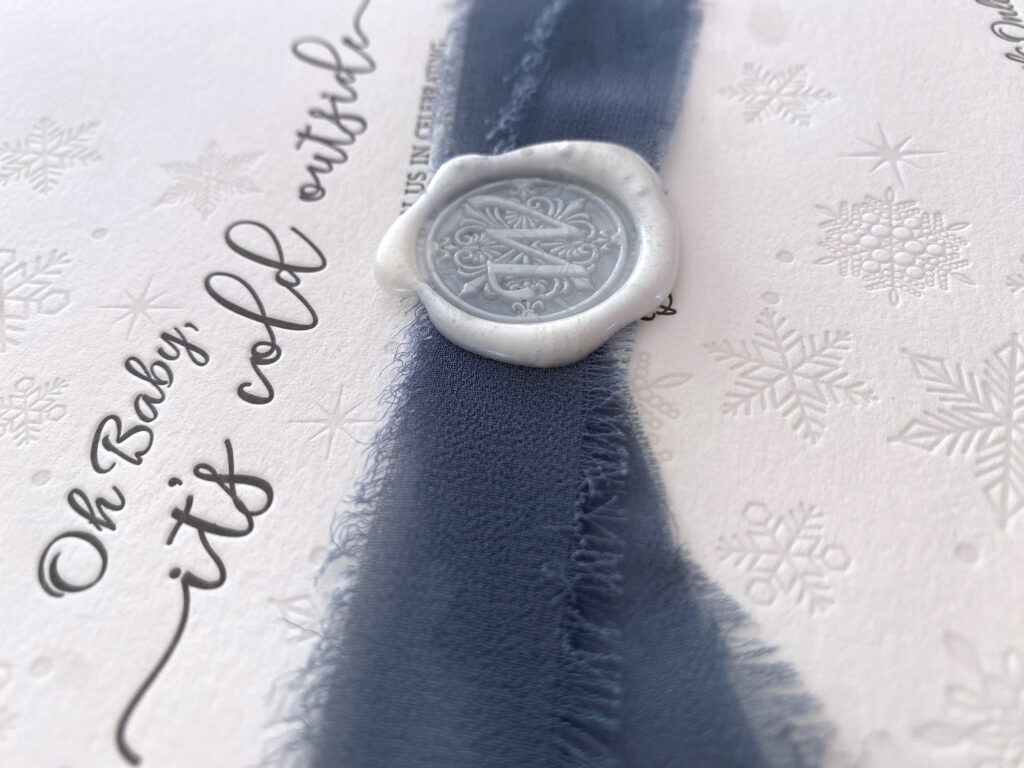
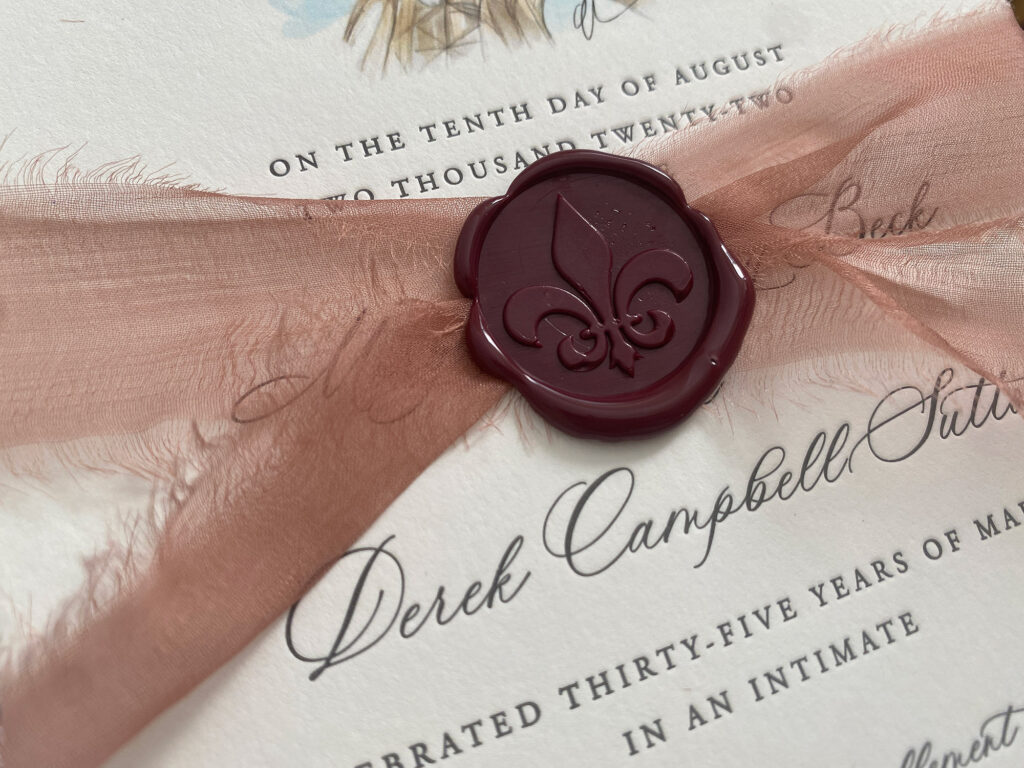
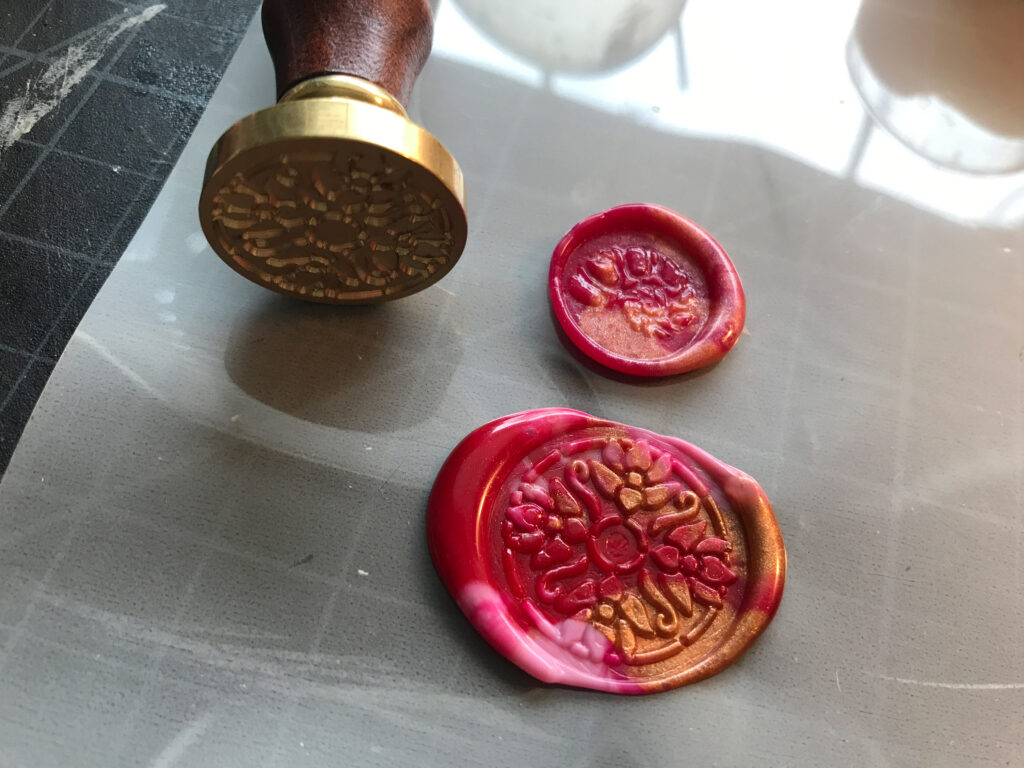
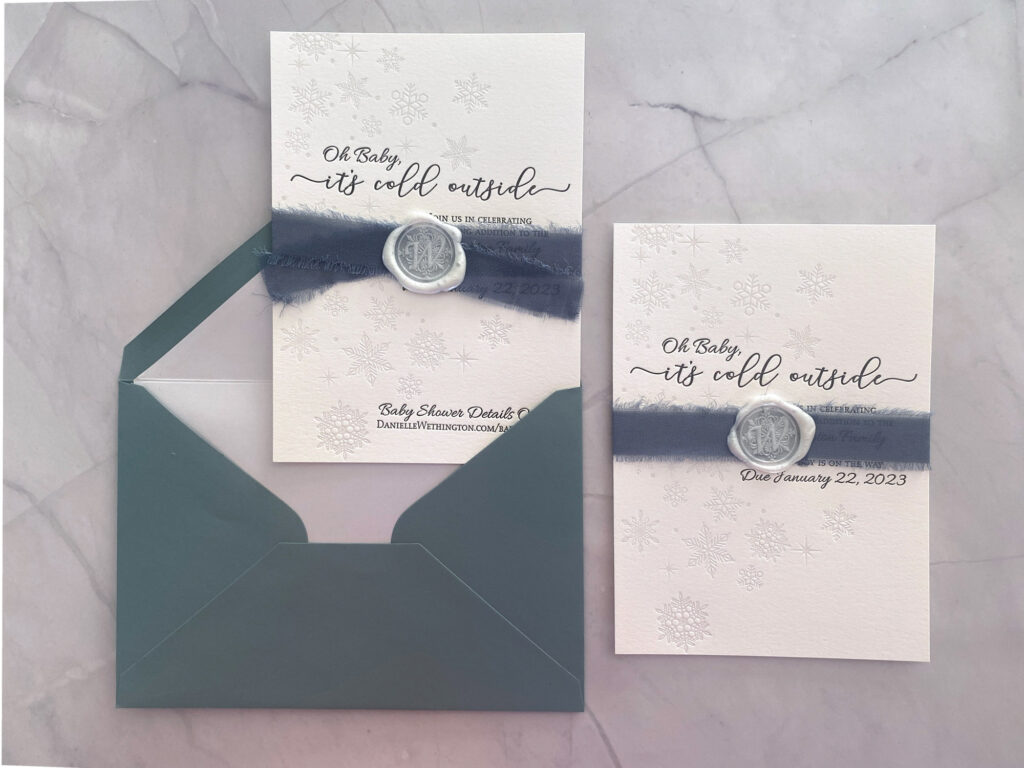
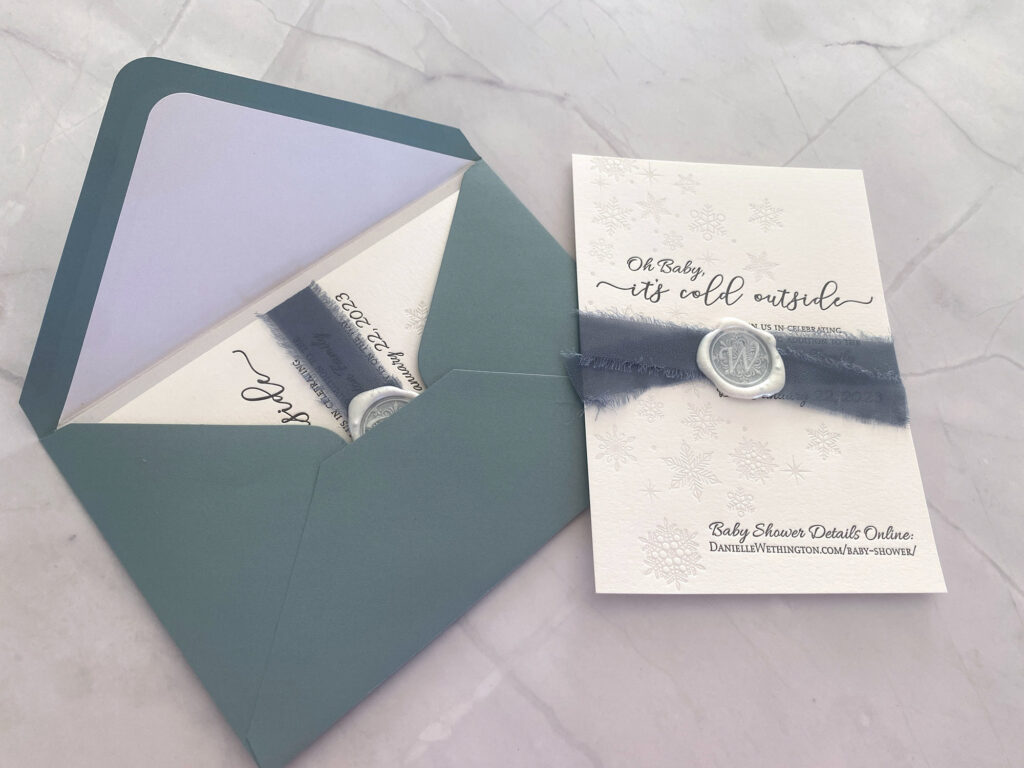
Yes, however there are a few considerations. First, it’s always better if the seal is inside the envelope as it protects it in the mail. Traditionally you’d even have a second envelope inside to protect the invite from the wax itself (you’d seal the inner envelope and then put it in an outer envelope that gets beat up in the postal service).

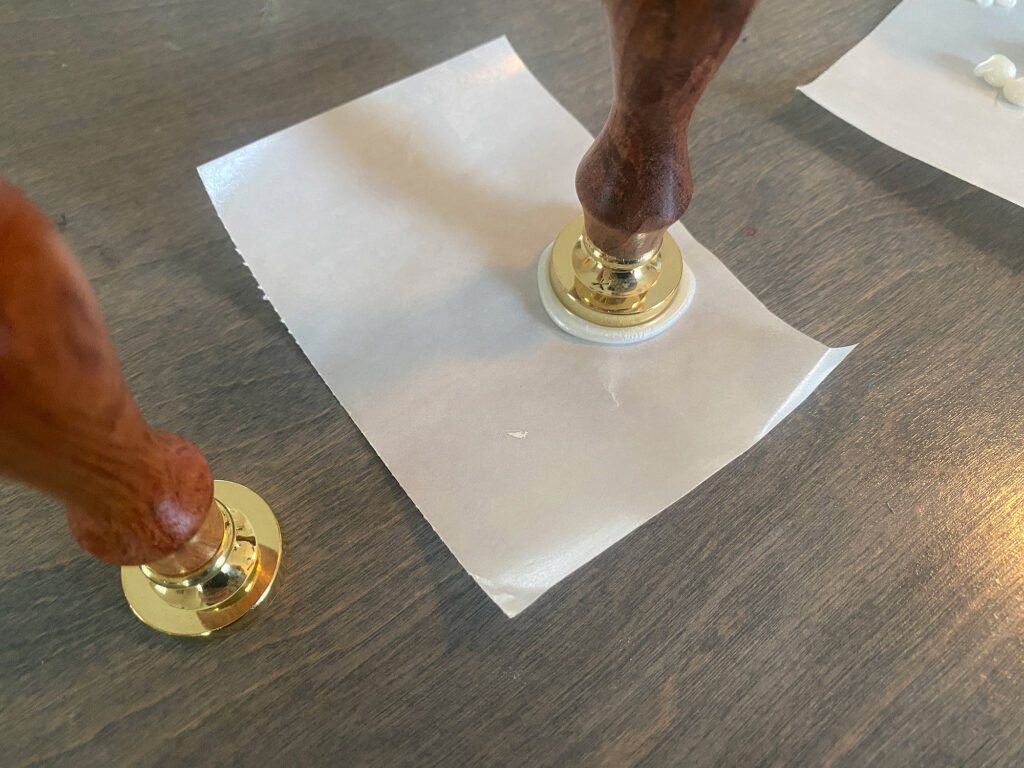
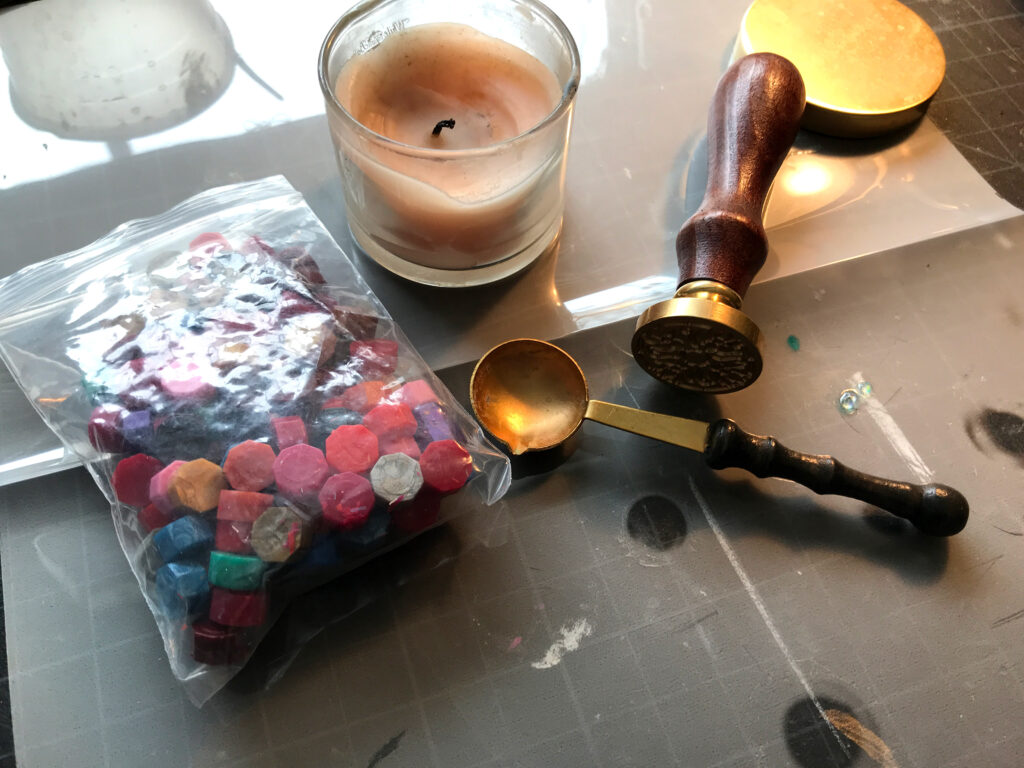
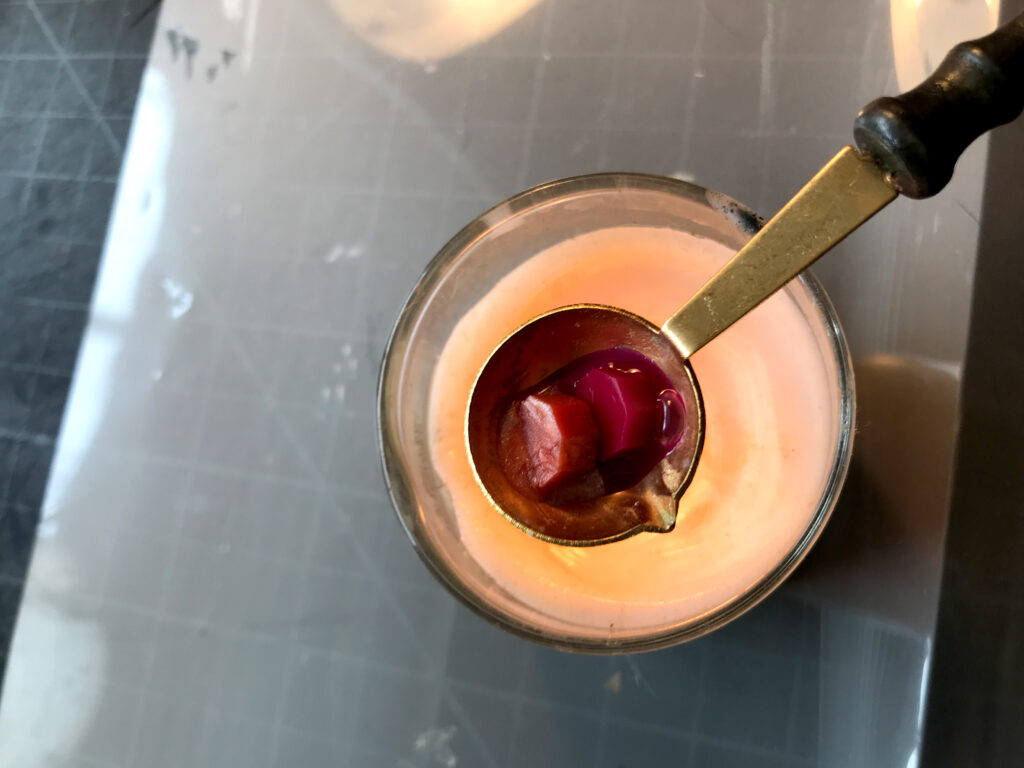
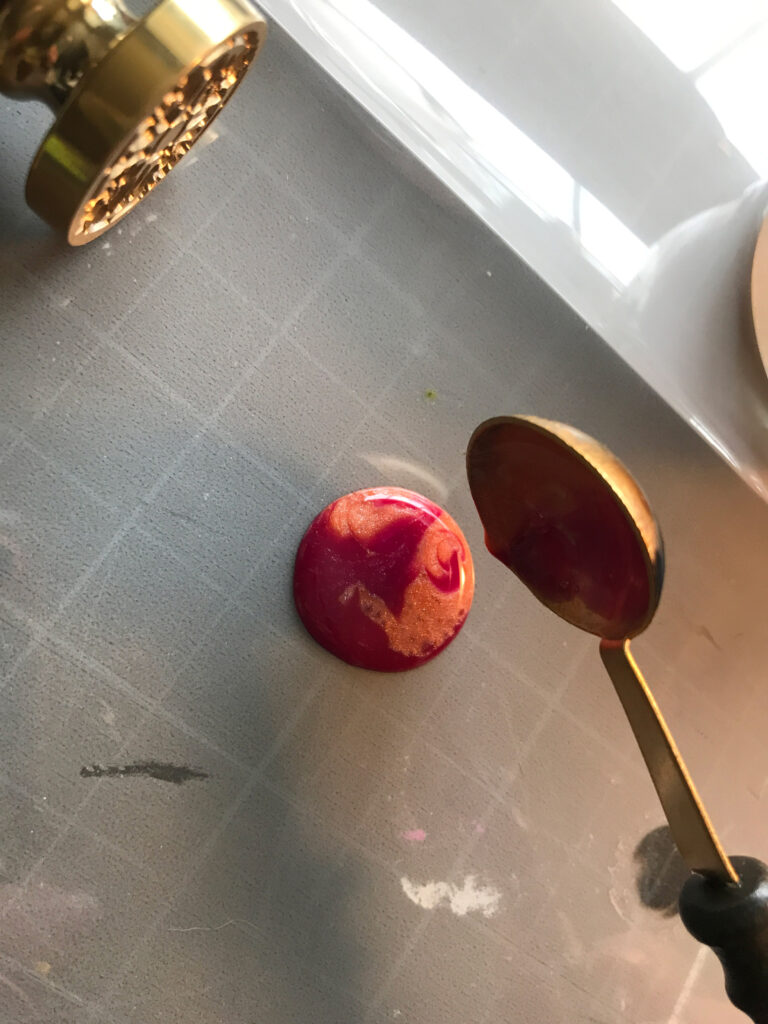
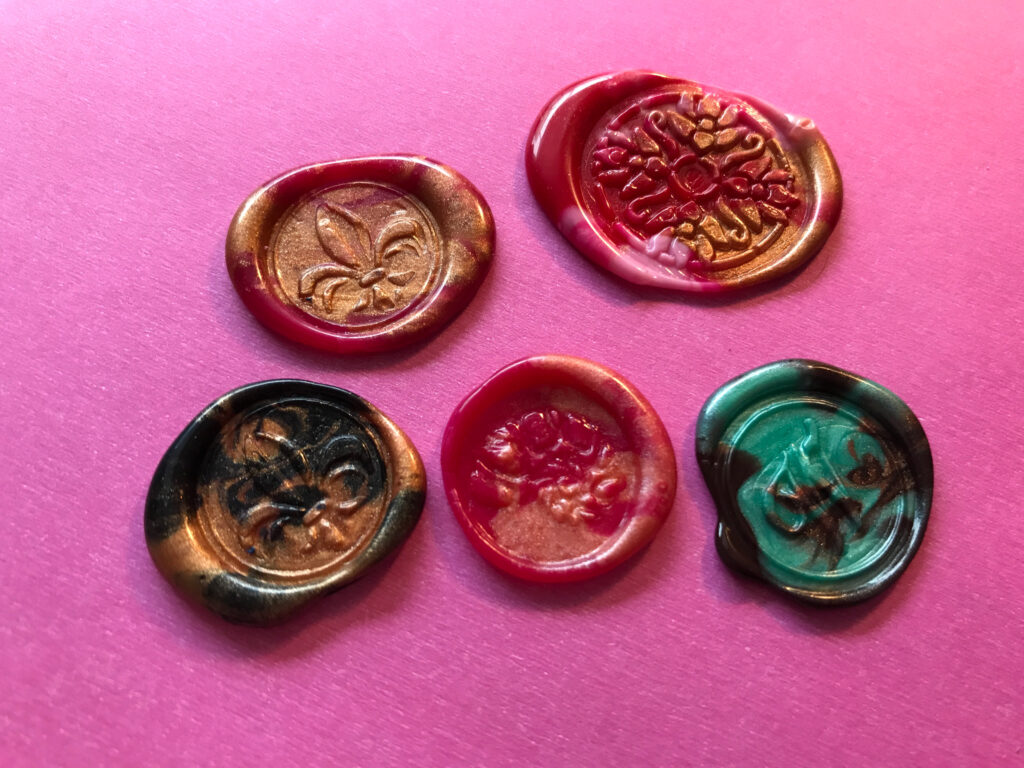
Today mail is sorted by machine (unless you pay for hand sorting which requires a unique postage stamp). Second, you need to use the correct wax. Don’t use candle wax. Use a proper sealing wax. Remember those sorting machines? Yeah they get hot and they will melt and smear the wrong waxes. 

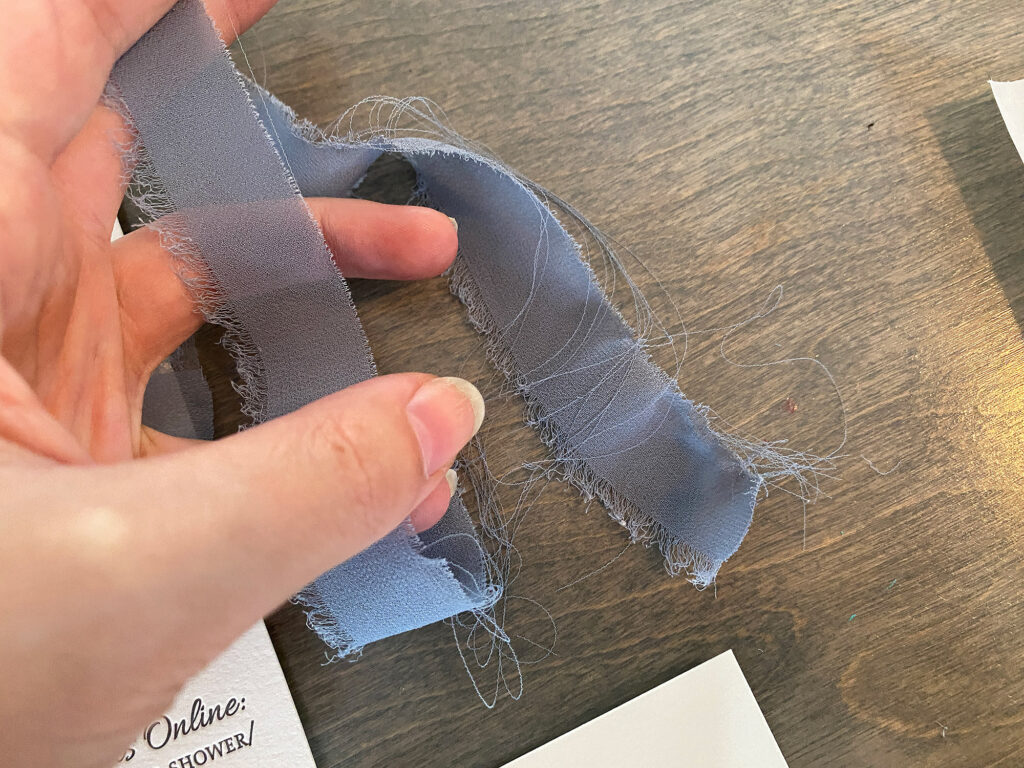
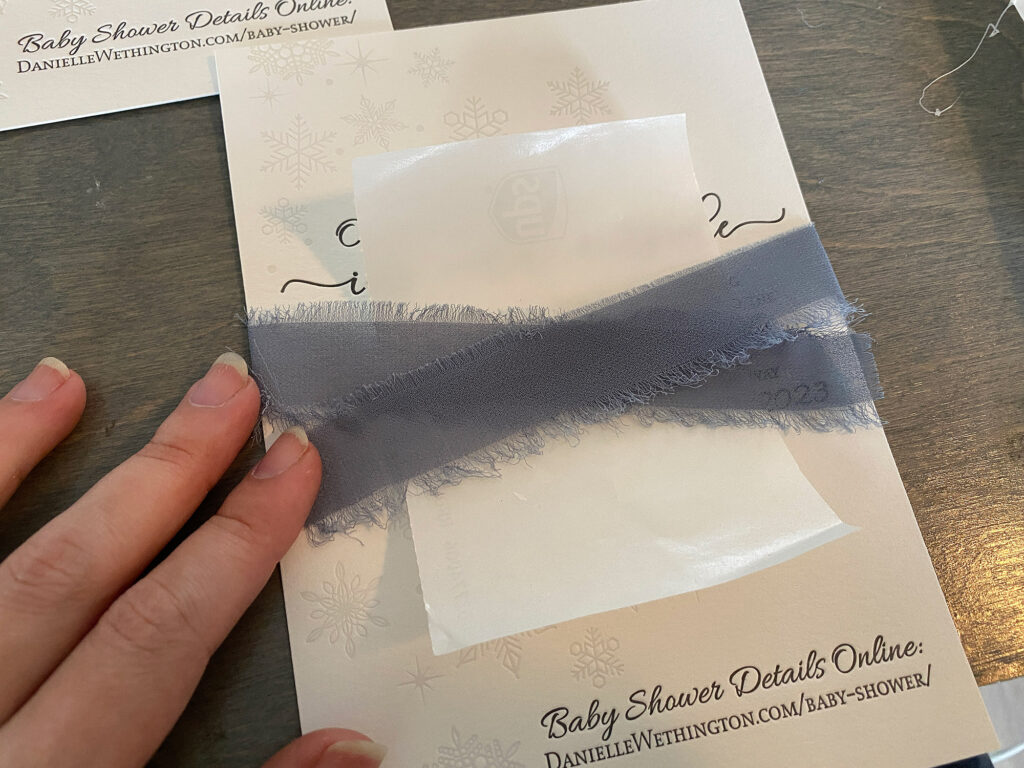
Finally, do understand the more doodads and things you do to your invitations the more they cost to mail. Rigid envelopes, exterior wax seals, inclusions etc. will require you to pay for hand sorting or oversized postage. 

Materials

  • Sealing Wax – do NOT use candle wax as it’s brittle. If you plan to mail your project it must be a sealing wax. I used the glue gun style wax seal sticks as this was most convenient.
  •  Ribbon – I used a chiffon, rough edged ribbon. I bought 2″ and tore it down to be thinner
  • Wax Seal – Whatever Design You want.
  • Scrap paper – I used the glossy sticker backing from my label maker.
  • Glass of Ice Water – As the seal heats up from multiple impressions you may need to cool it down or it begins to pull up the wax with it when you remove it. You can dip it in ice water, or better yet, just buy two wax seals and alternate (they tend to be pretty affordable). 

STEP ONE: Measure & Cut Your Ribbon

In order to have your ribbon fully wrap your invite you need to make sure it’s at least 2.5-3x the width of the invite. So for a 5×7″ Invite your lengths should be 15″. This allows both “tails” to fully cross the front. You can go shorter, but that’s about what I went for. To easily cut the ribbon find an item (scrap cardboard in my case) the length you need and wrap the ribbon around once (on each side) for each invitation. Then cut at the top and bottom and you’ll have even lengths. 

My ribbon (not the one shown above) was too thick for the look I was going for so I had to tear it down. This won’t work for all types of ribbon (satin for example), but for the gauzy chiffon style it wasn’t hard to recreate the rough edge simply by snipping the end and tearing it in half. It easily followed the “grain” of the ribbon and stayed even. This was MUCH better than trying to cut the roll with a knife (another option I tried). Sometimes the ribbon is stubborn and you need to sort of tear it against the knife. What I mean by this is I took an x-acto knife, lined it up and then ran it through through the ribbon while tightly holding one end. It still followed the grain/weave and so both pieces remained even. 

You can also cut into the ribbon a bit, and hold the knife still against a mat/board and then pull the ribbon from the top. It’ll be the same effect, just do what feels easier and safer to you. 

You’ll end up with lots of little strings. Just pull these away and set aside. The more of them you remove the longer your fray/fringe will be. 

STEP TWO: Place Your Waxy Paper and Wrap

I used some old sticker backers from my shipping label maker. I keep these because they make good disposable palettes for glue or quick painting pallets. You only need one or two pieces, as you’ll remove it after each stamp dries (which doesn’t take long). Place it between your ribbon and your invite to protect the invite from getting stuck to the seal (which may discolor the paper or tear it when pulled free)

STEP THREE: Apply your Wax

When using a glue gun this is very easy, just squeeze out a puddle a little bit SMALLER than the wax seal. It spreads out, so you do not need a GIGANTIC circle larger then the stamp size. You can do that if you prefer a very large seal, but you don’t need it. 

If your ribbon doesn’t want to stay in place while you grab your glue gun, just set an item on it like I did below. In some cases I also adopted a very odd hand posture to hold the ribbons down as I applied the wax. 

STEP FOUR: Stamp

TIP: Make sure you know which way is up on your stamp – you can do this by taking a maker and marking the top/center or bottom of the stamp on the brass or handle. This way you avoid stamping it upside down. Just look for the mark and align it the same each time. 

As you’re stamping you want to “stir” the wax a little bit. You’re using a level stirring motion to push the wax out a bit as you settle the stamp. This minimizes air bubbles and helps ensure wax squishes out evenly around the stamp.

Then let it sit for a few seconds. Don’t stamp and immediately pull. Maybe 10-15 seconds (more if your stamp is very hot from continued used) and then gently rock the stamp out while holding the invite flat. If you find you’re not getting nice even borders of wax you may want to apply a little but more for the next one. I found one full trigger of the glue gun was about right for me and my 1″ stamp. 

With the red one above I could probably have used a little more wax, but I don’t mind them each being a little unique. 

ALTERNATE METHOD

If you want to pre-make your wax seals you can! Just make bunches of them on wax paper and buy peel and stick dots for them (they sell “wax stamp peel and stick stickers” specifically for this purpose. You can also just hot glue gun them or glue them into place after. This allows you to make all kinds of different ones using wax beads of different colors (try mixing two colors at a time!)

When using wax beads, you can easily mix colors. This is slower going than the glue gun method. You’ll need a candle, a wax spoon, and wax beads. I believe that have little electric wax seal spoon heater bases now though. Add 2-3 to the spoon and heat until melted. Then pour and stamp. You can also stamp your brass seal on a metallic stamp pad to add contrast to your design, drop some glitter into your hot wax, and more. There are a lot of possibilities. 

FINAL RESULTS

Below you can see the final invitations all done. 

Leave a Reply