I’ve been meaning to make this post for a while, but a recent mishap on press brought it back to mind. Recently while printing the tape on my rails lifted up on the left side and wrapped itself around the rollers, frightening me half to death (no harm done though). It had a good run through, the last time I taped the rails was about five years ago and it’s given me no issues in that time. I suppose the adhesive just wore down through the years.
All of this process will be made more clear in the video I’m working on, but here is the overview of the process below.
- First thing I did was re-do my packing. It just seemed like a good time to do so. The last time I did my packing I used strapping tape, but it wasn’t sticking well.
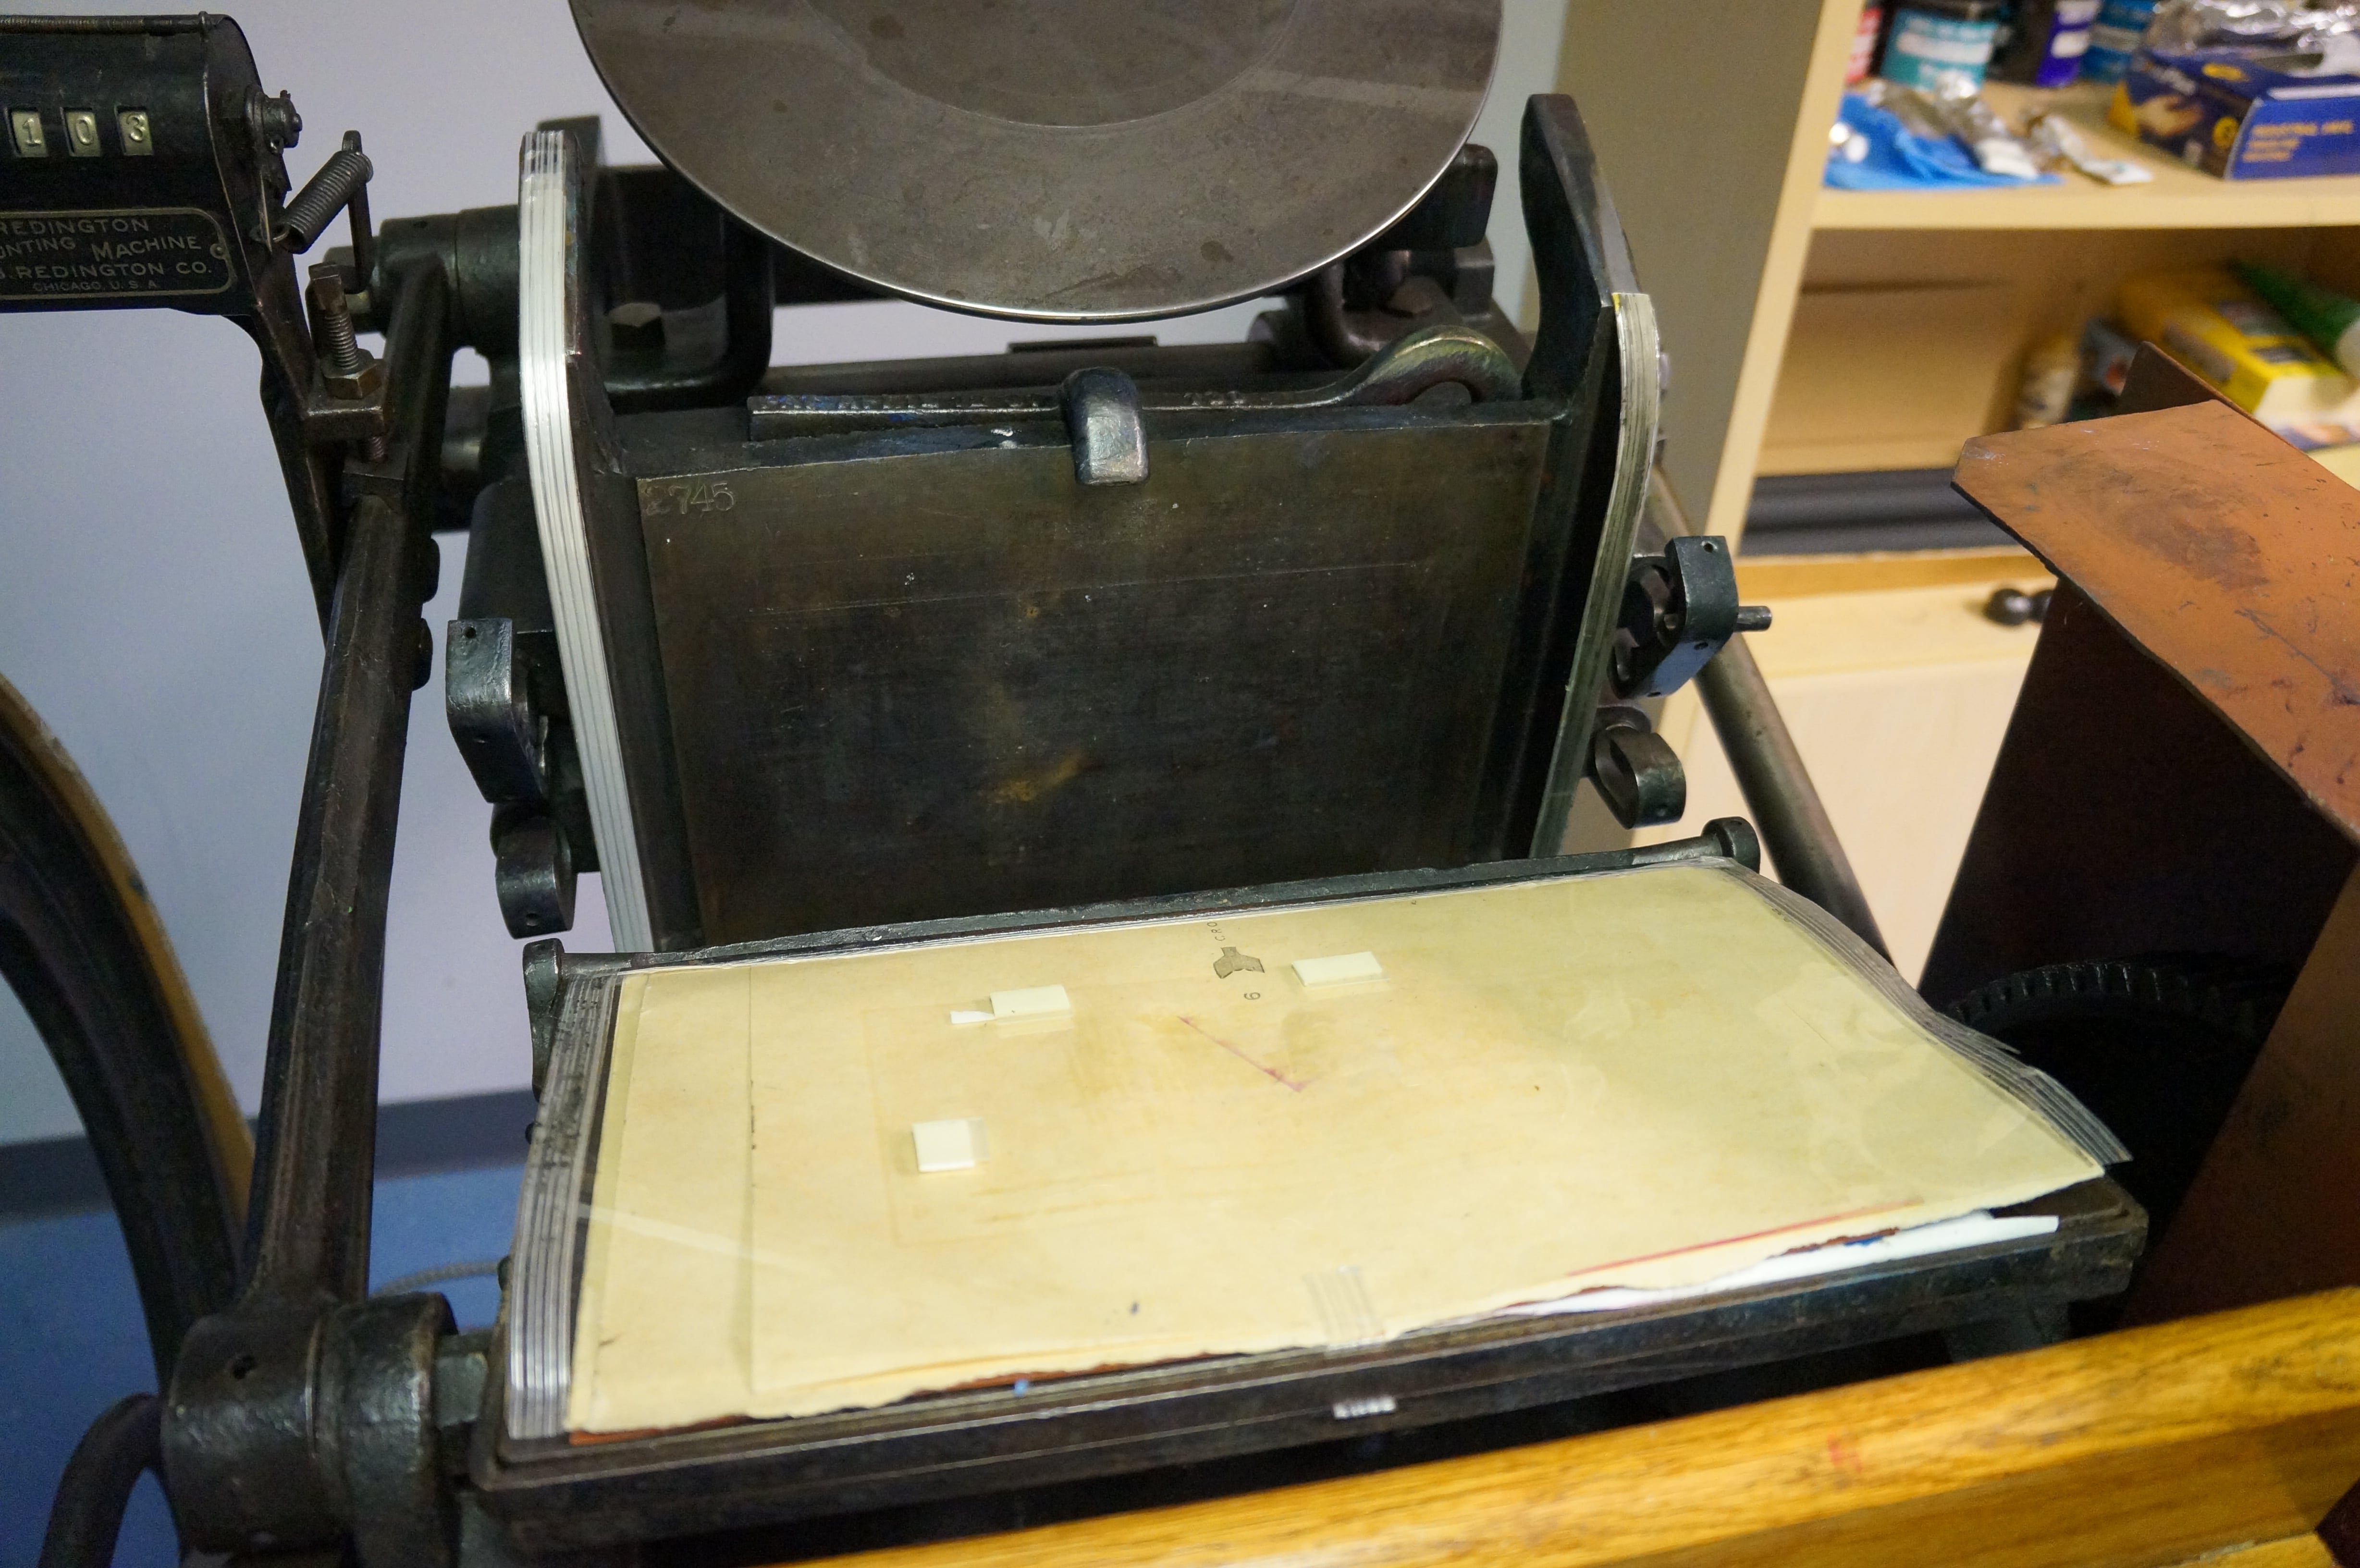
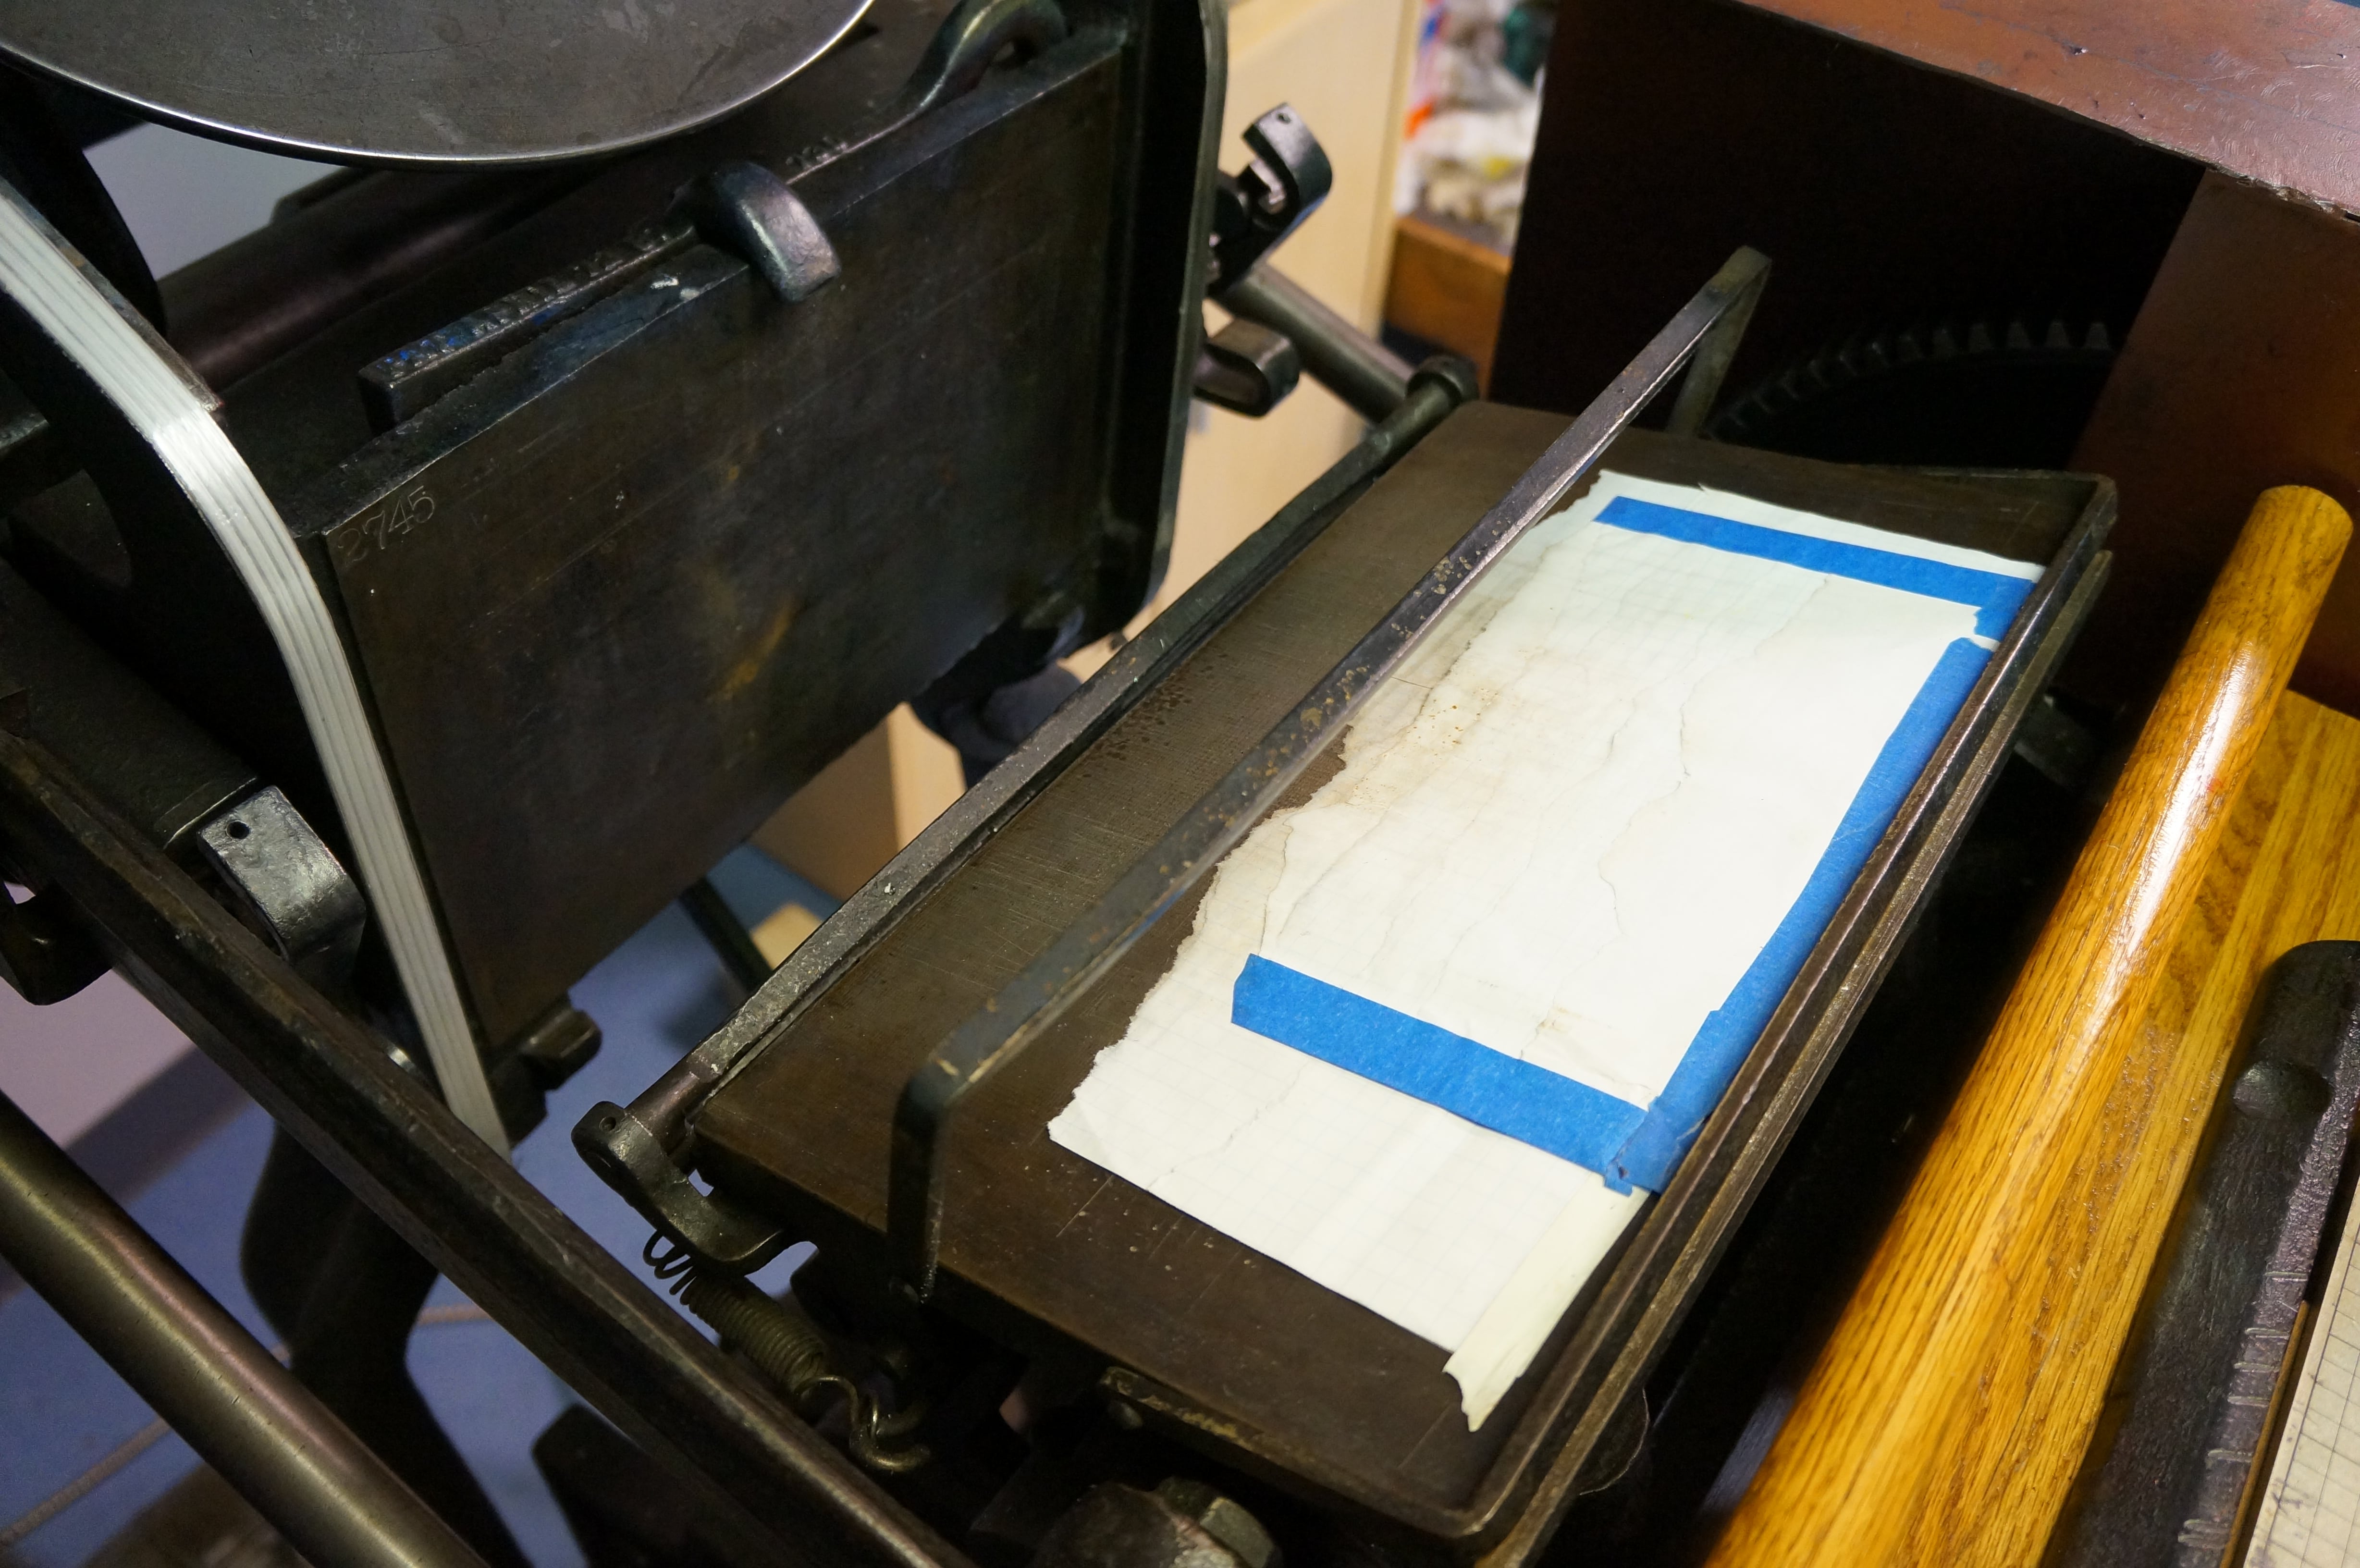
I always tape down an acetate top sheet over my tympan. It’s easy to wipe clean if ink gets on it, and you can see any makeready you slip behind it when trying to level/adjust a print. I prefer blue painters tape for this. It is easily lifted and re-stuck multiple times without leaving residue. This time though I only had acid free artist’s masking tape on hand so that’s what I used. For the bottom gripper, I have it close down just on the tape holding onto the top sheet (not any of the packing itself). The tympan packing is cut just to fit the platen. This means I can lift the top gripper bar and add or remove sheets from behind the acetate top sheet without having to unhook the lower bar (which is really tight and likes to get stuck).
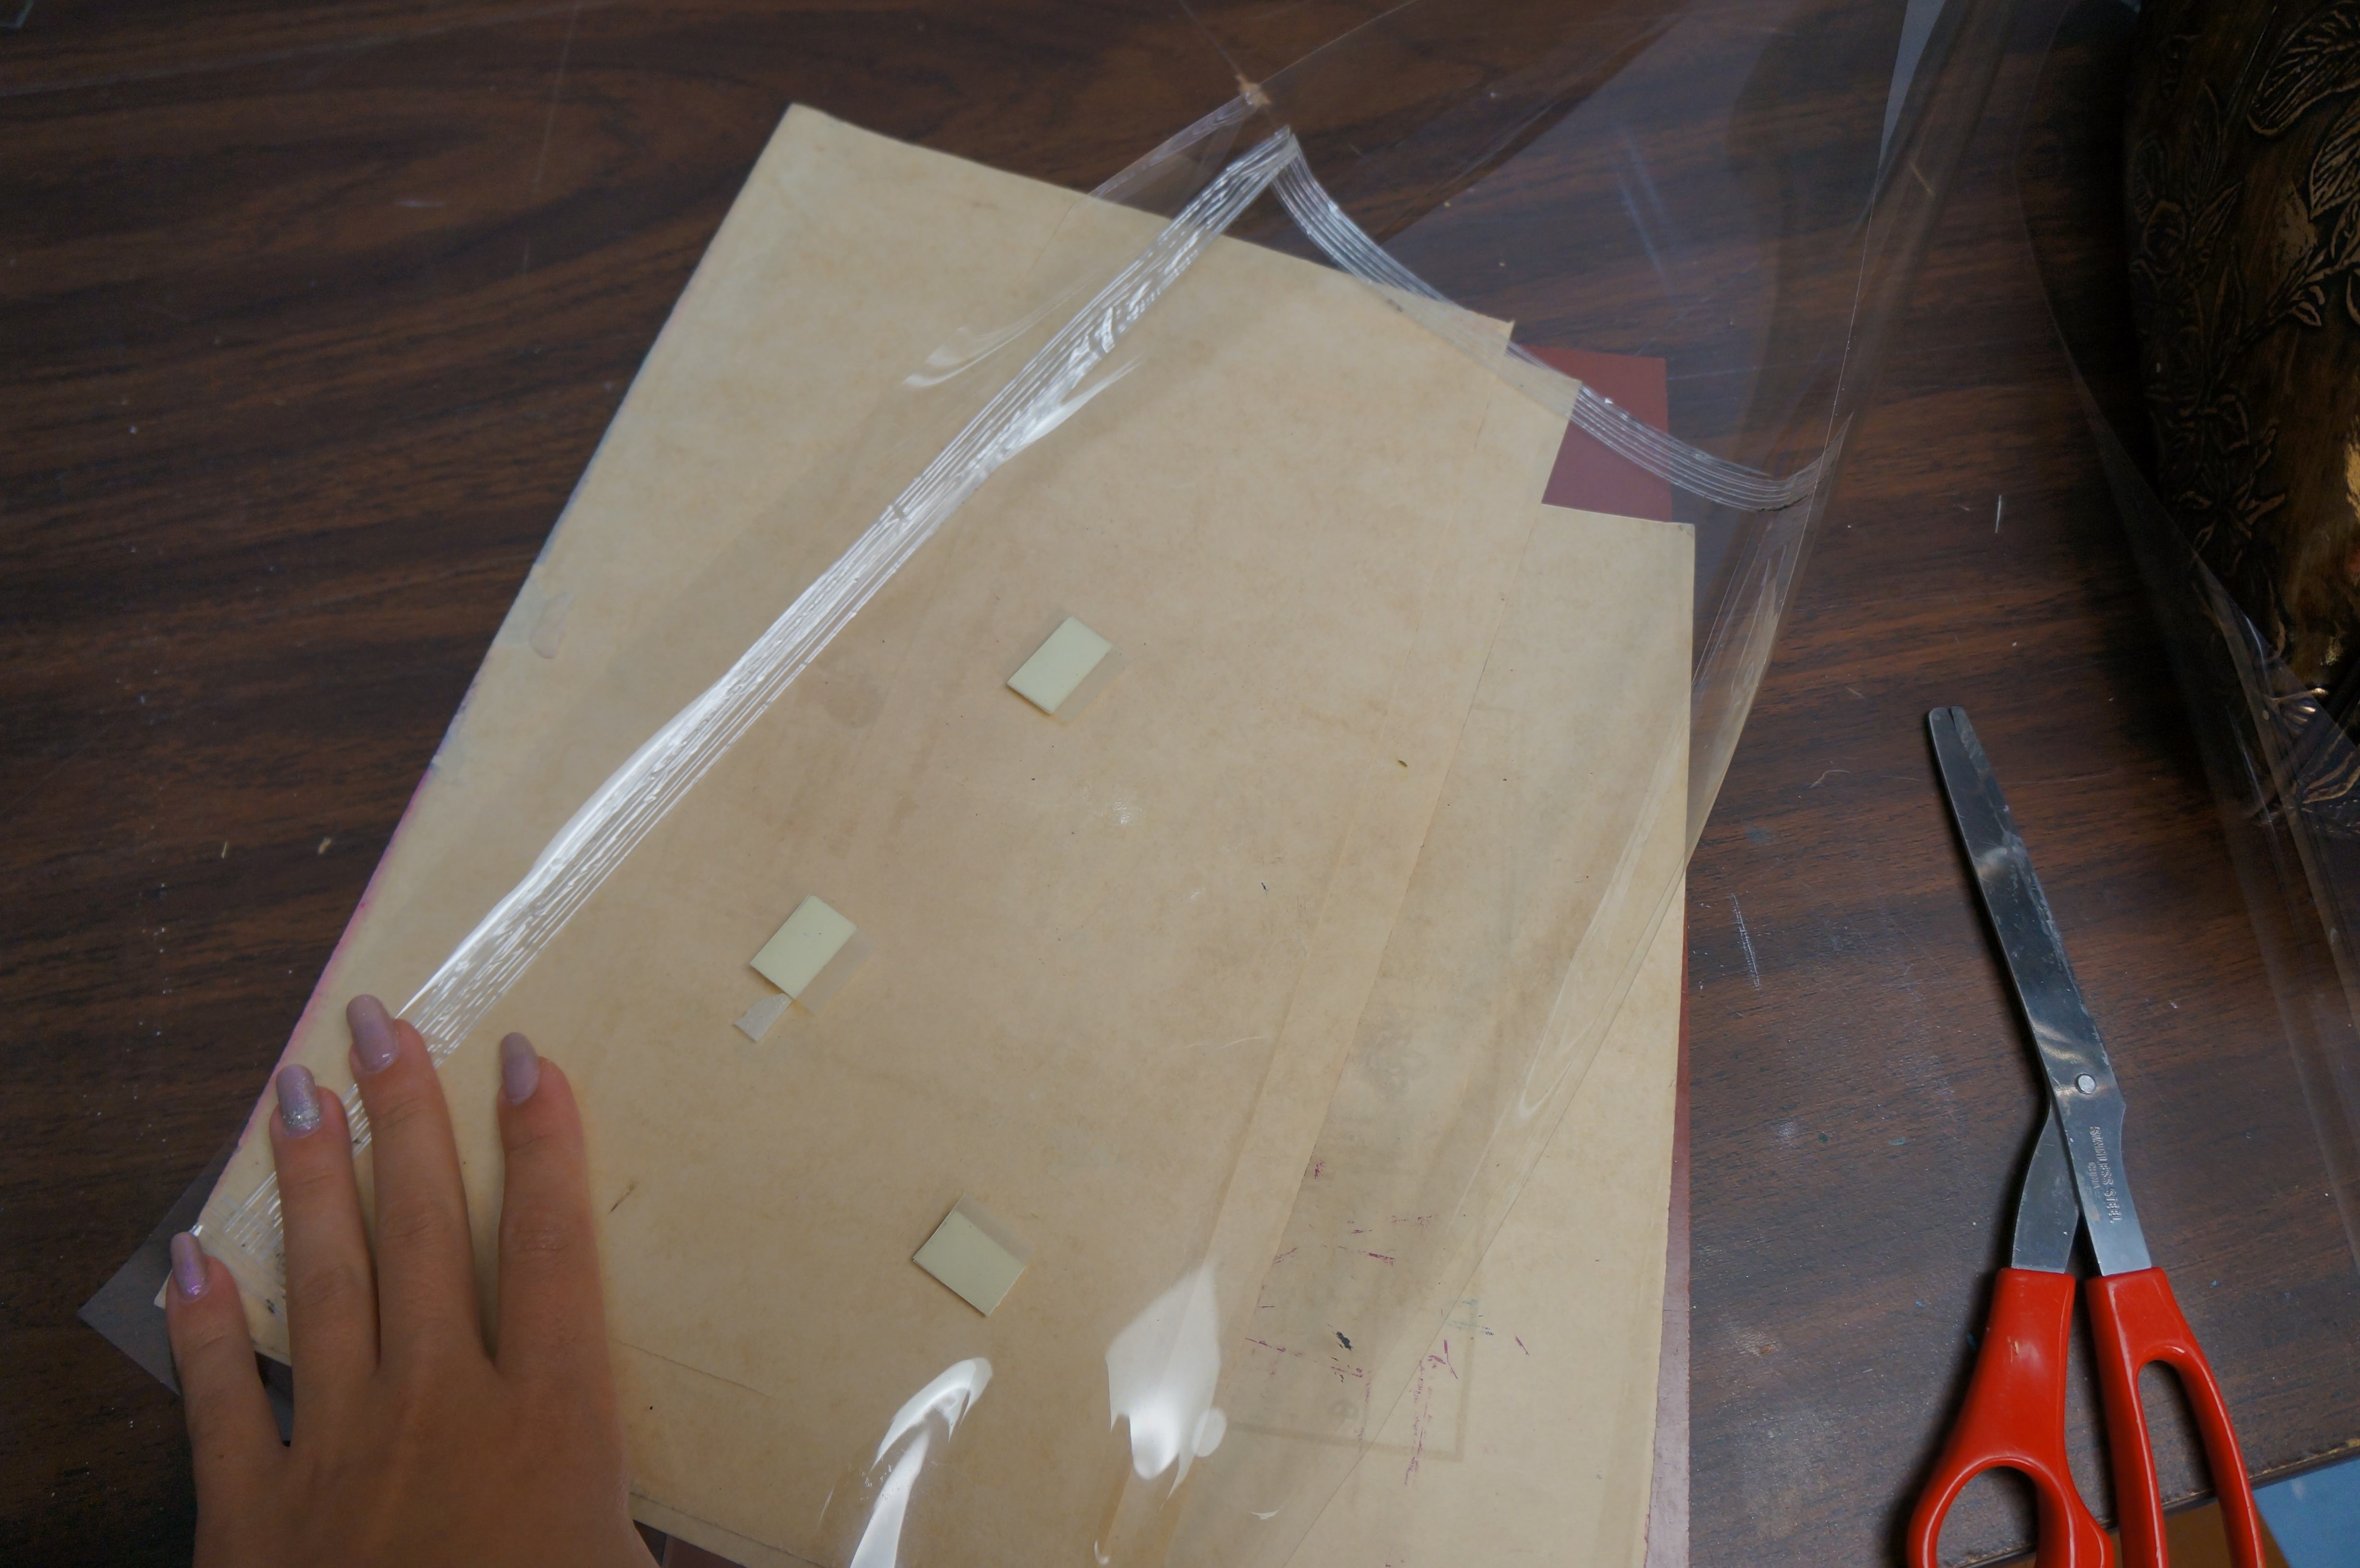
My platen is a bit off level, but it’s not wise to fiddle with it if you don’t know what you’re doing so I made a layered tissue paper “wedge” to go behind the packing.
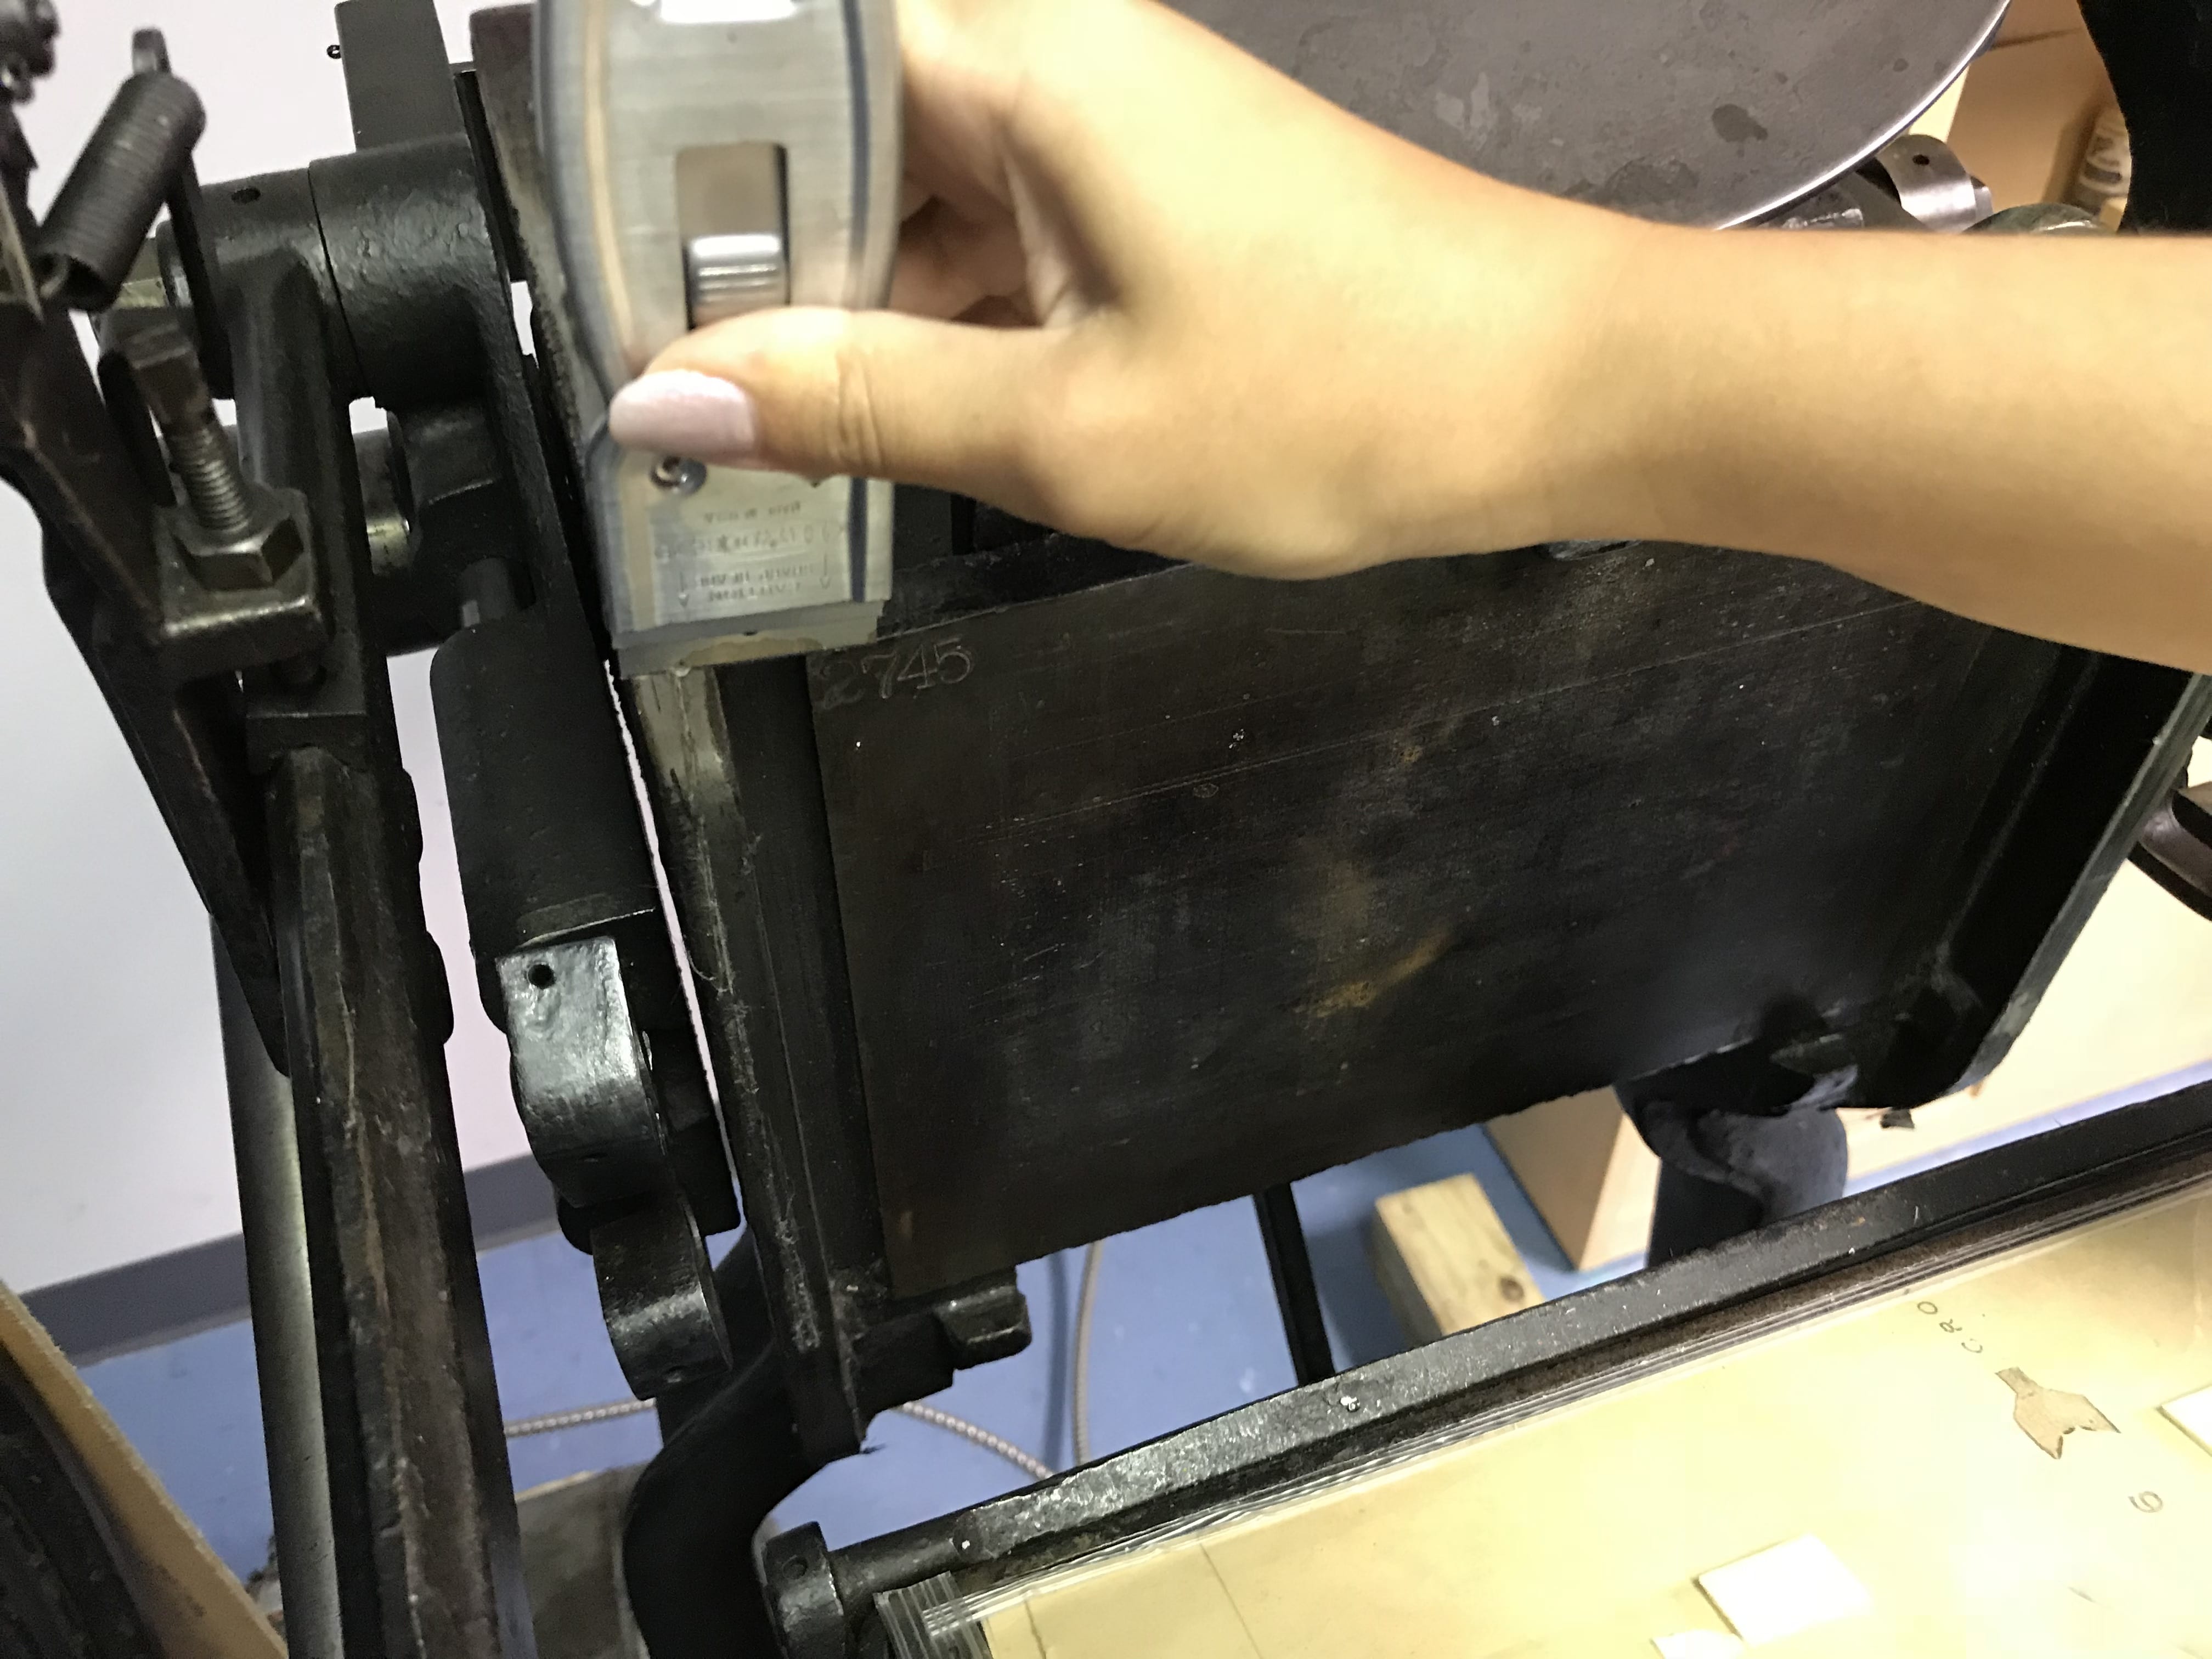
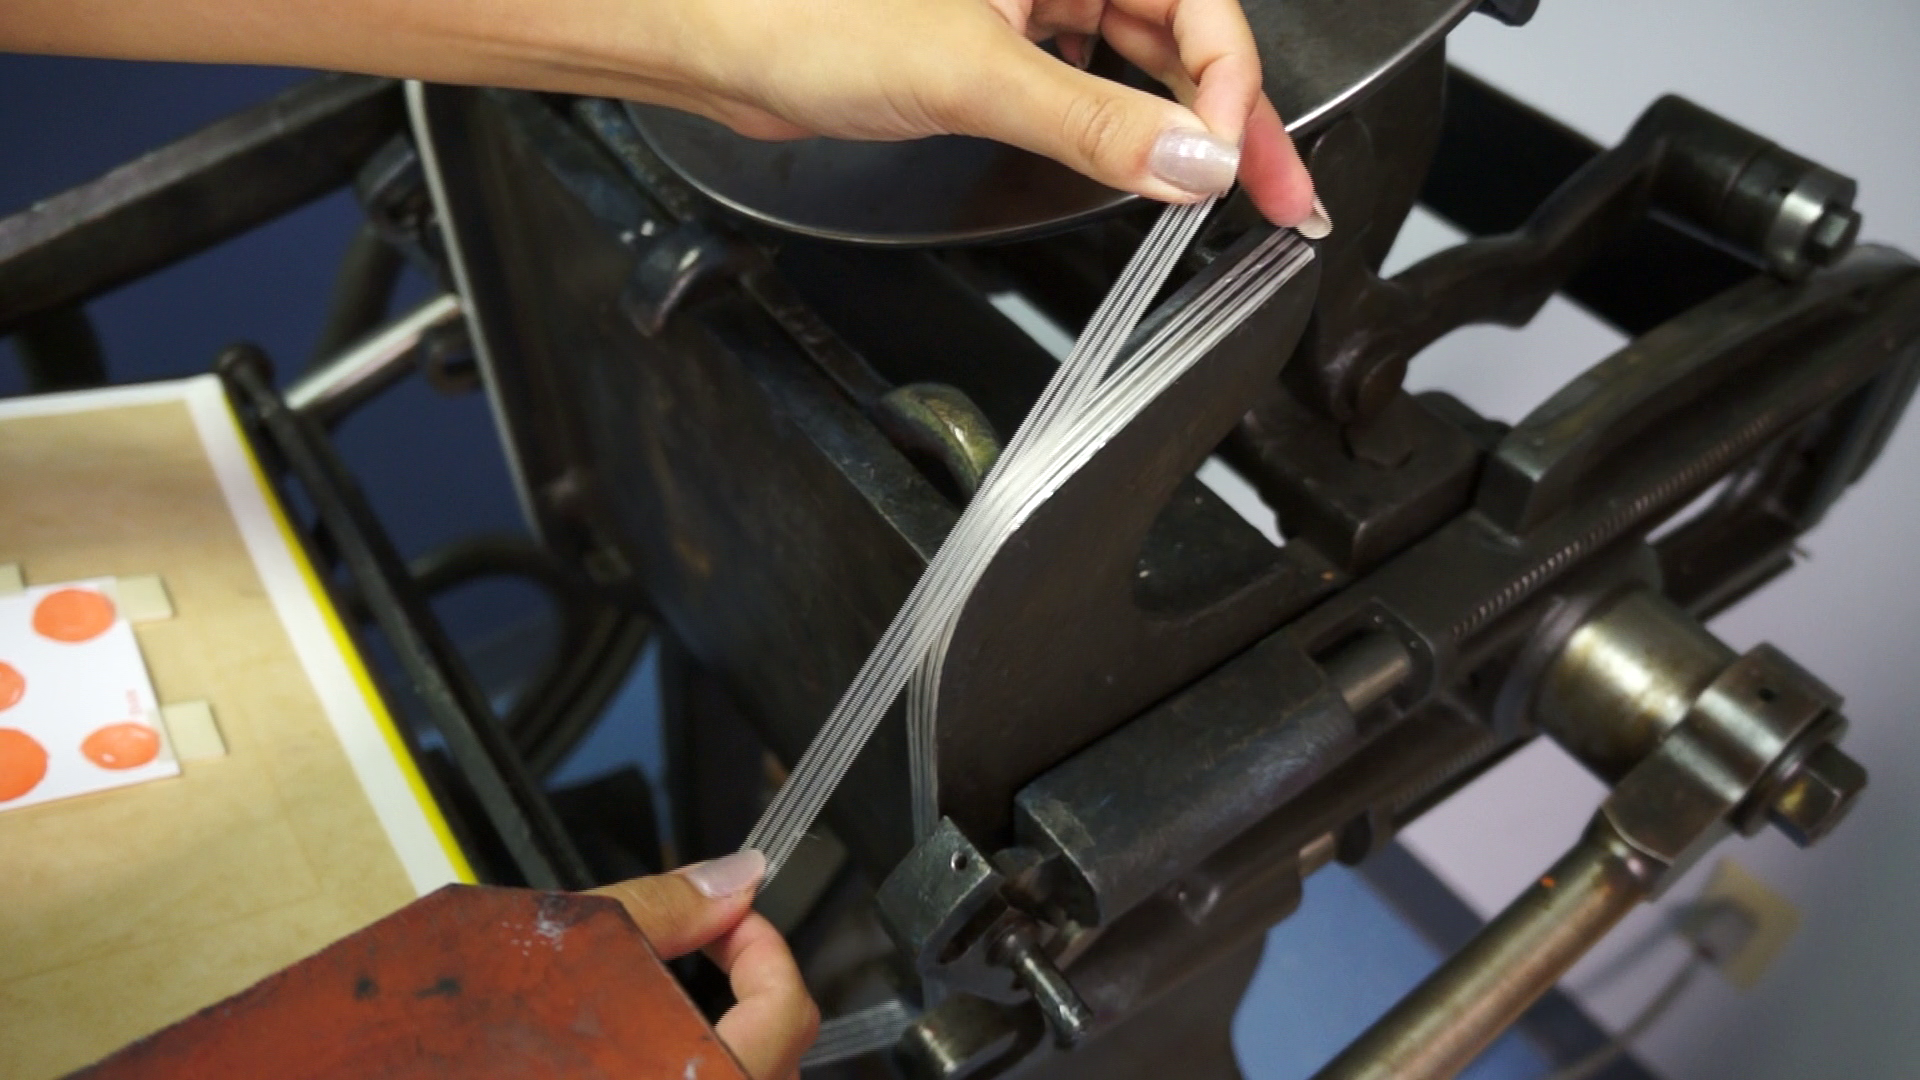
2. After my packing was done I removed one side of rail tape and measured it with a caliper. I also took some time to try and “dissect” it by peeling it apart to see how many layers there were (I couldn’t remember how many I had done originally), but this was hard to do as it was very sticky and basically fused together from the many years of printing. I figured it to be about 10-13 strips, so I went with 10, knowing later I may need to add strips if my new rail tape compressed over time.

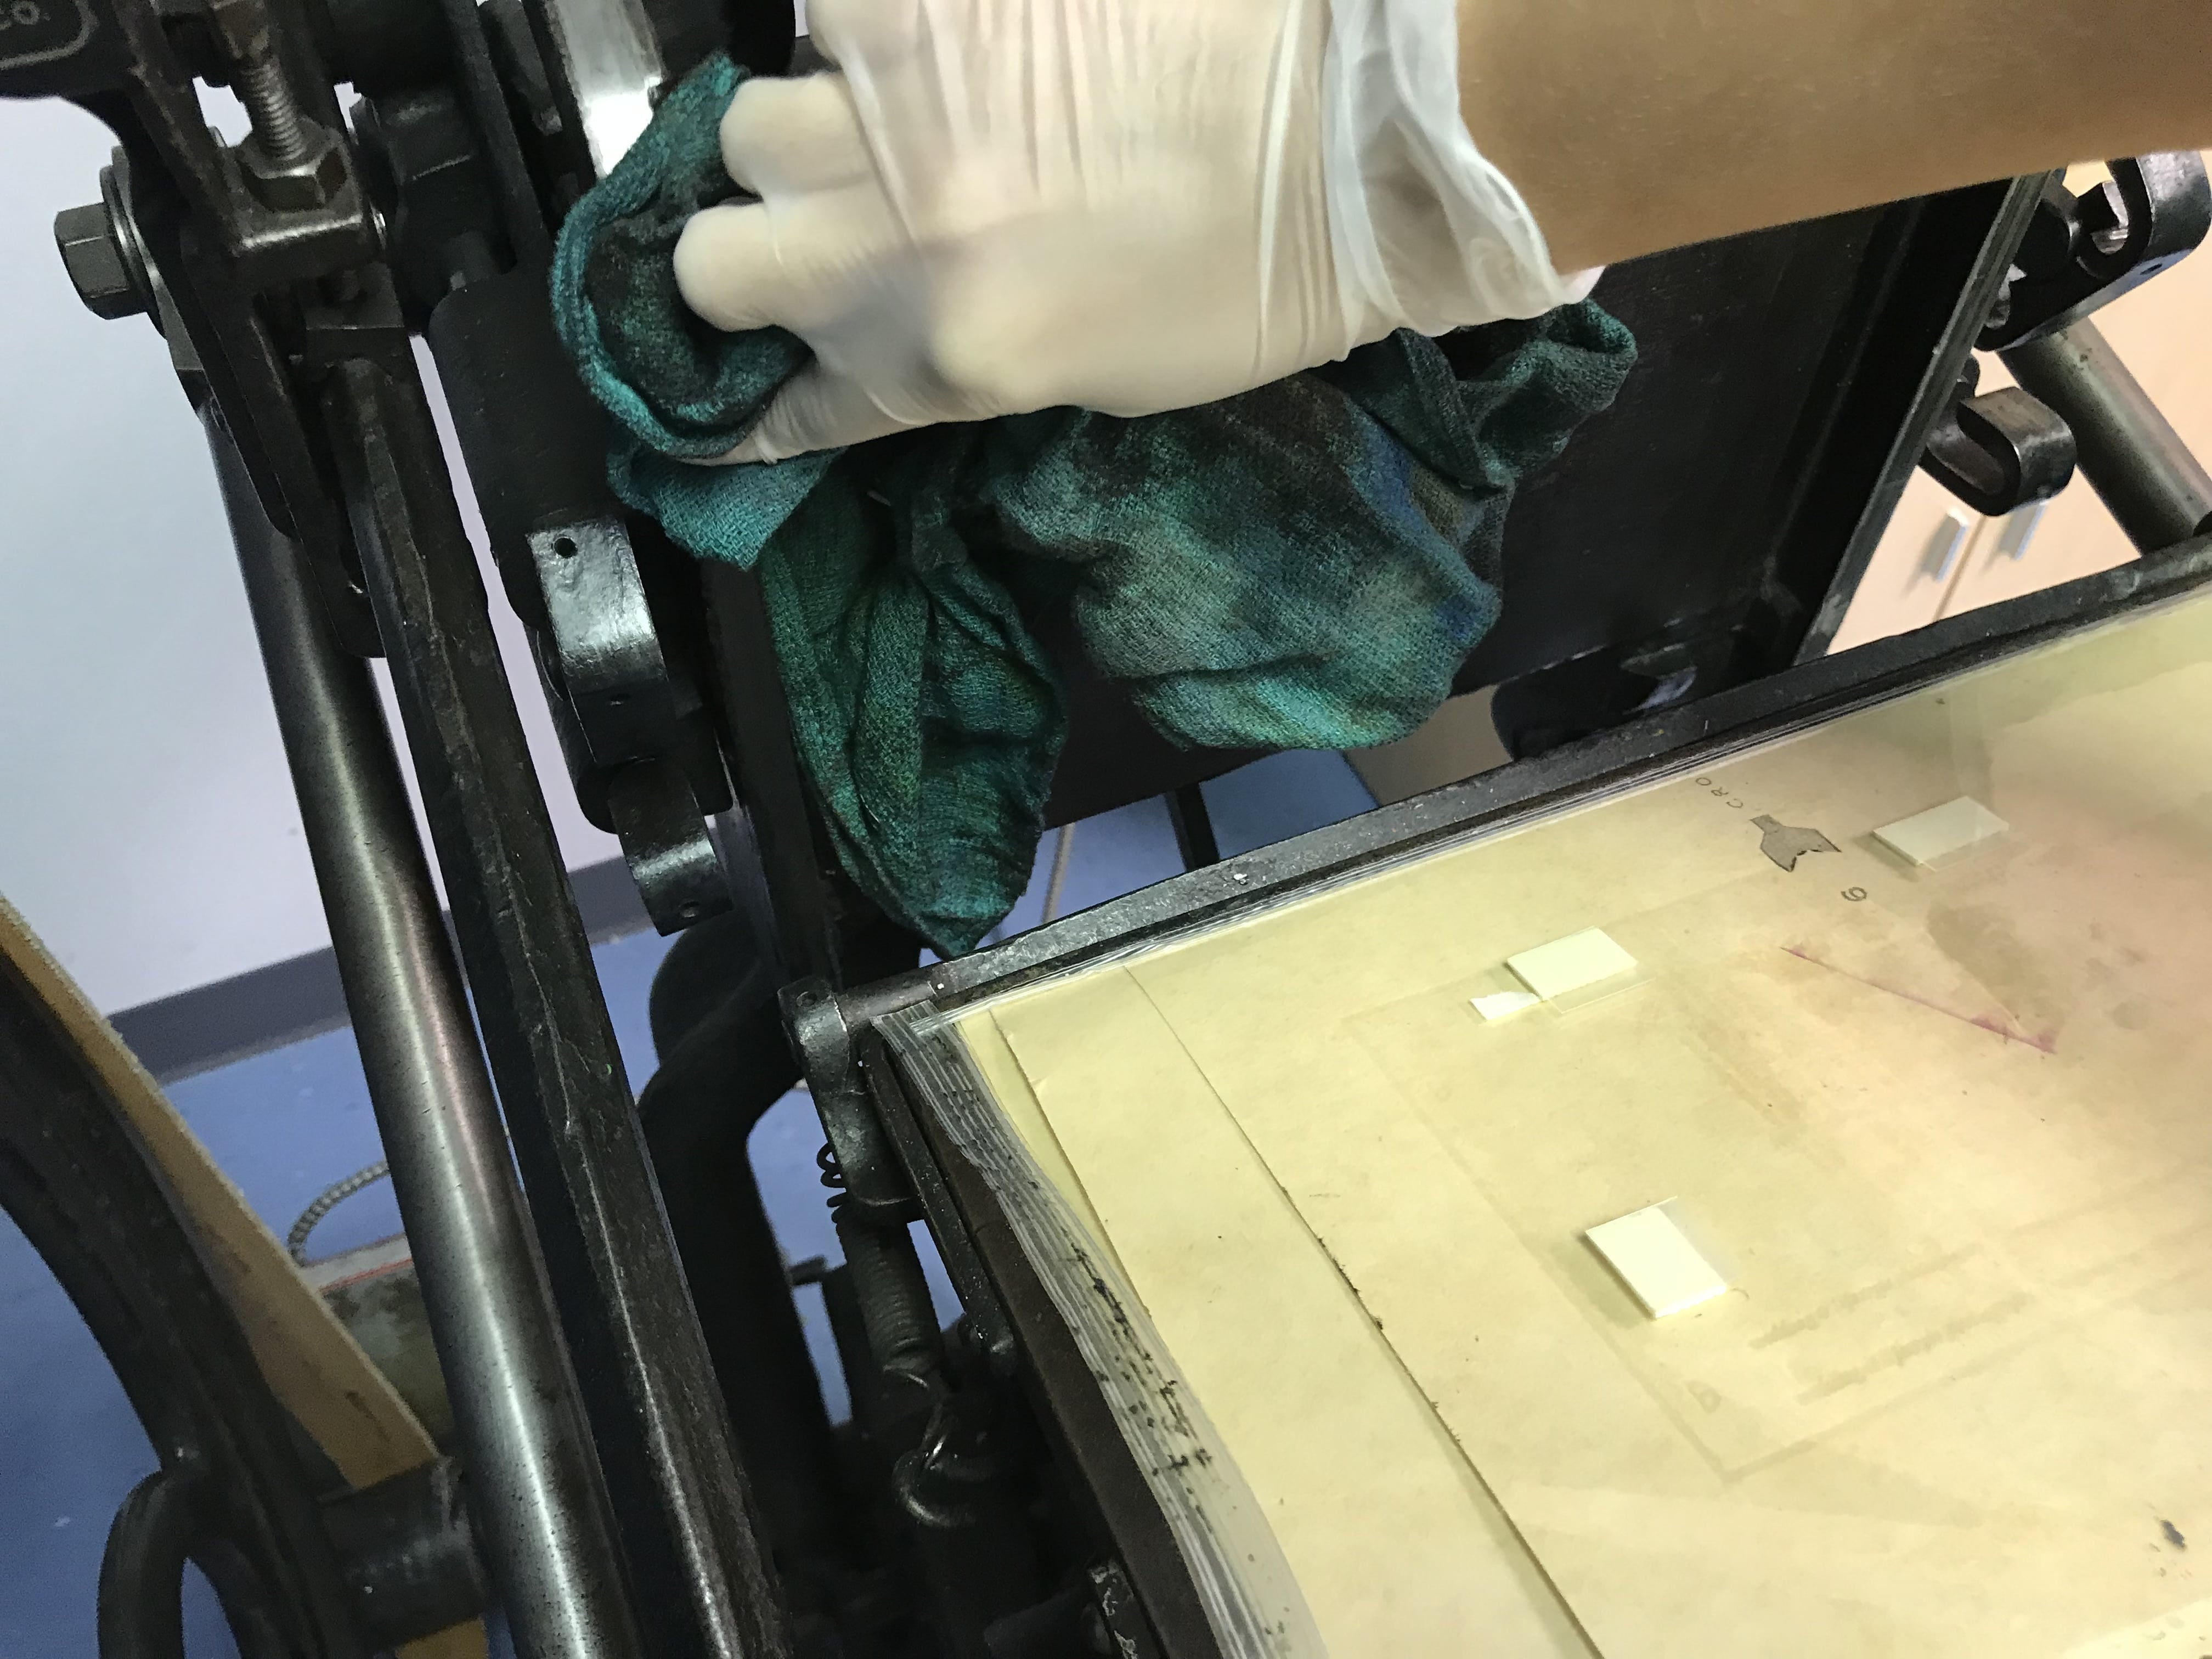
3. Then it was time to clean the rail. I scraped it with a blade to remove any tape and wiped it down with mineral spirits to get it free of any remaining residue.
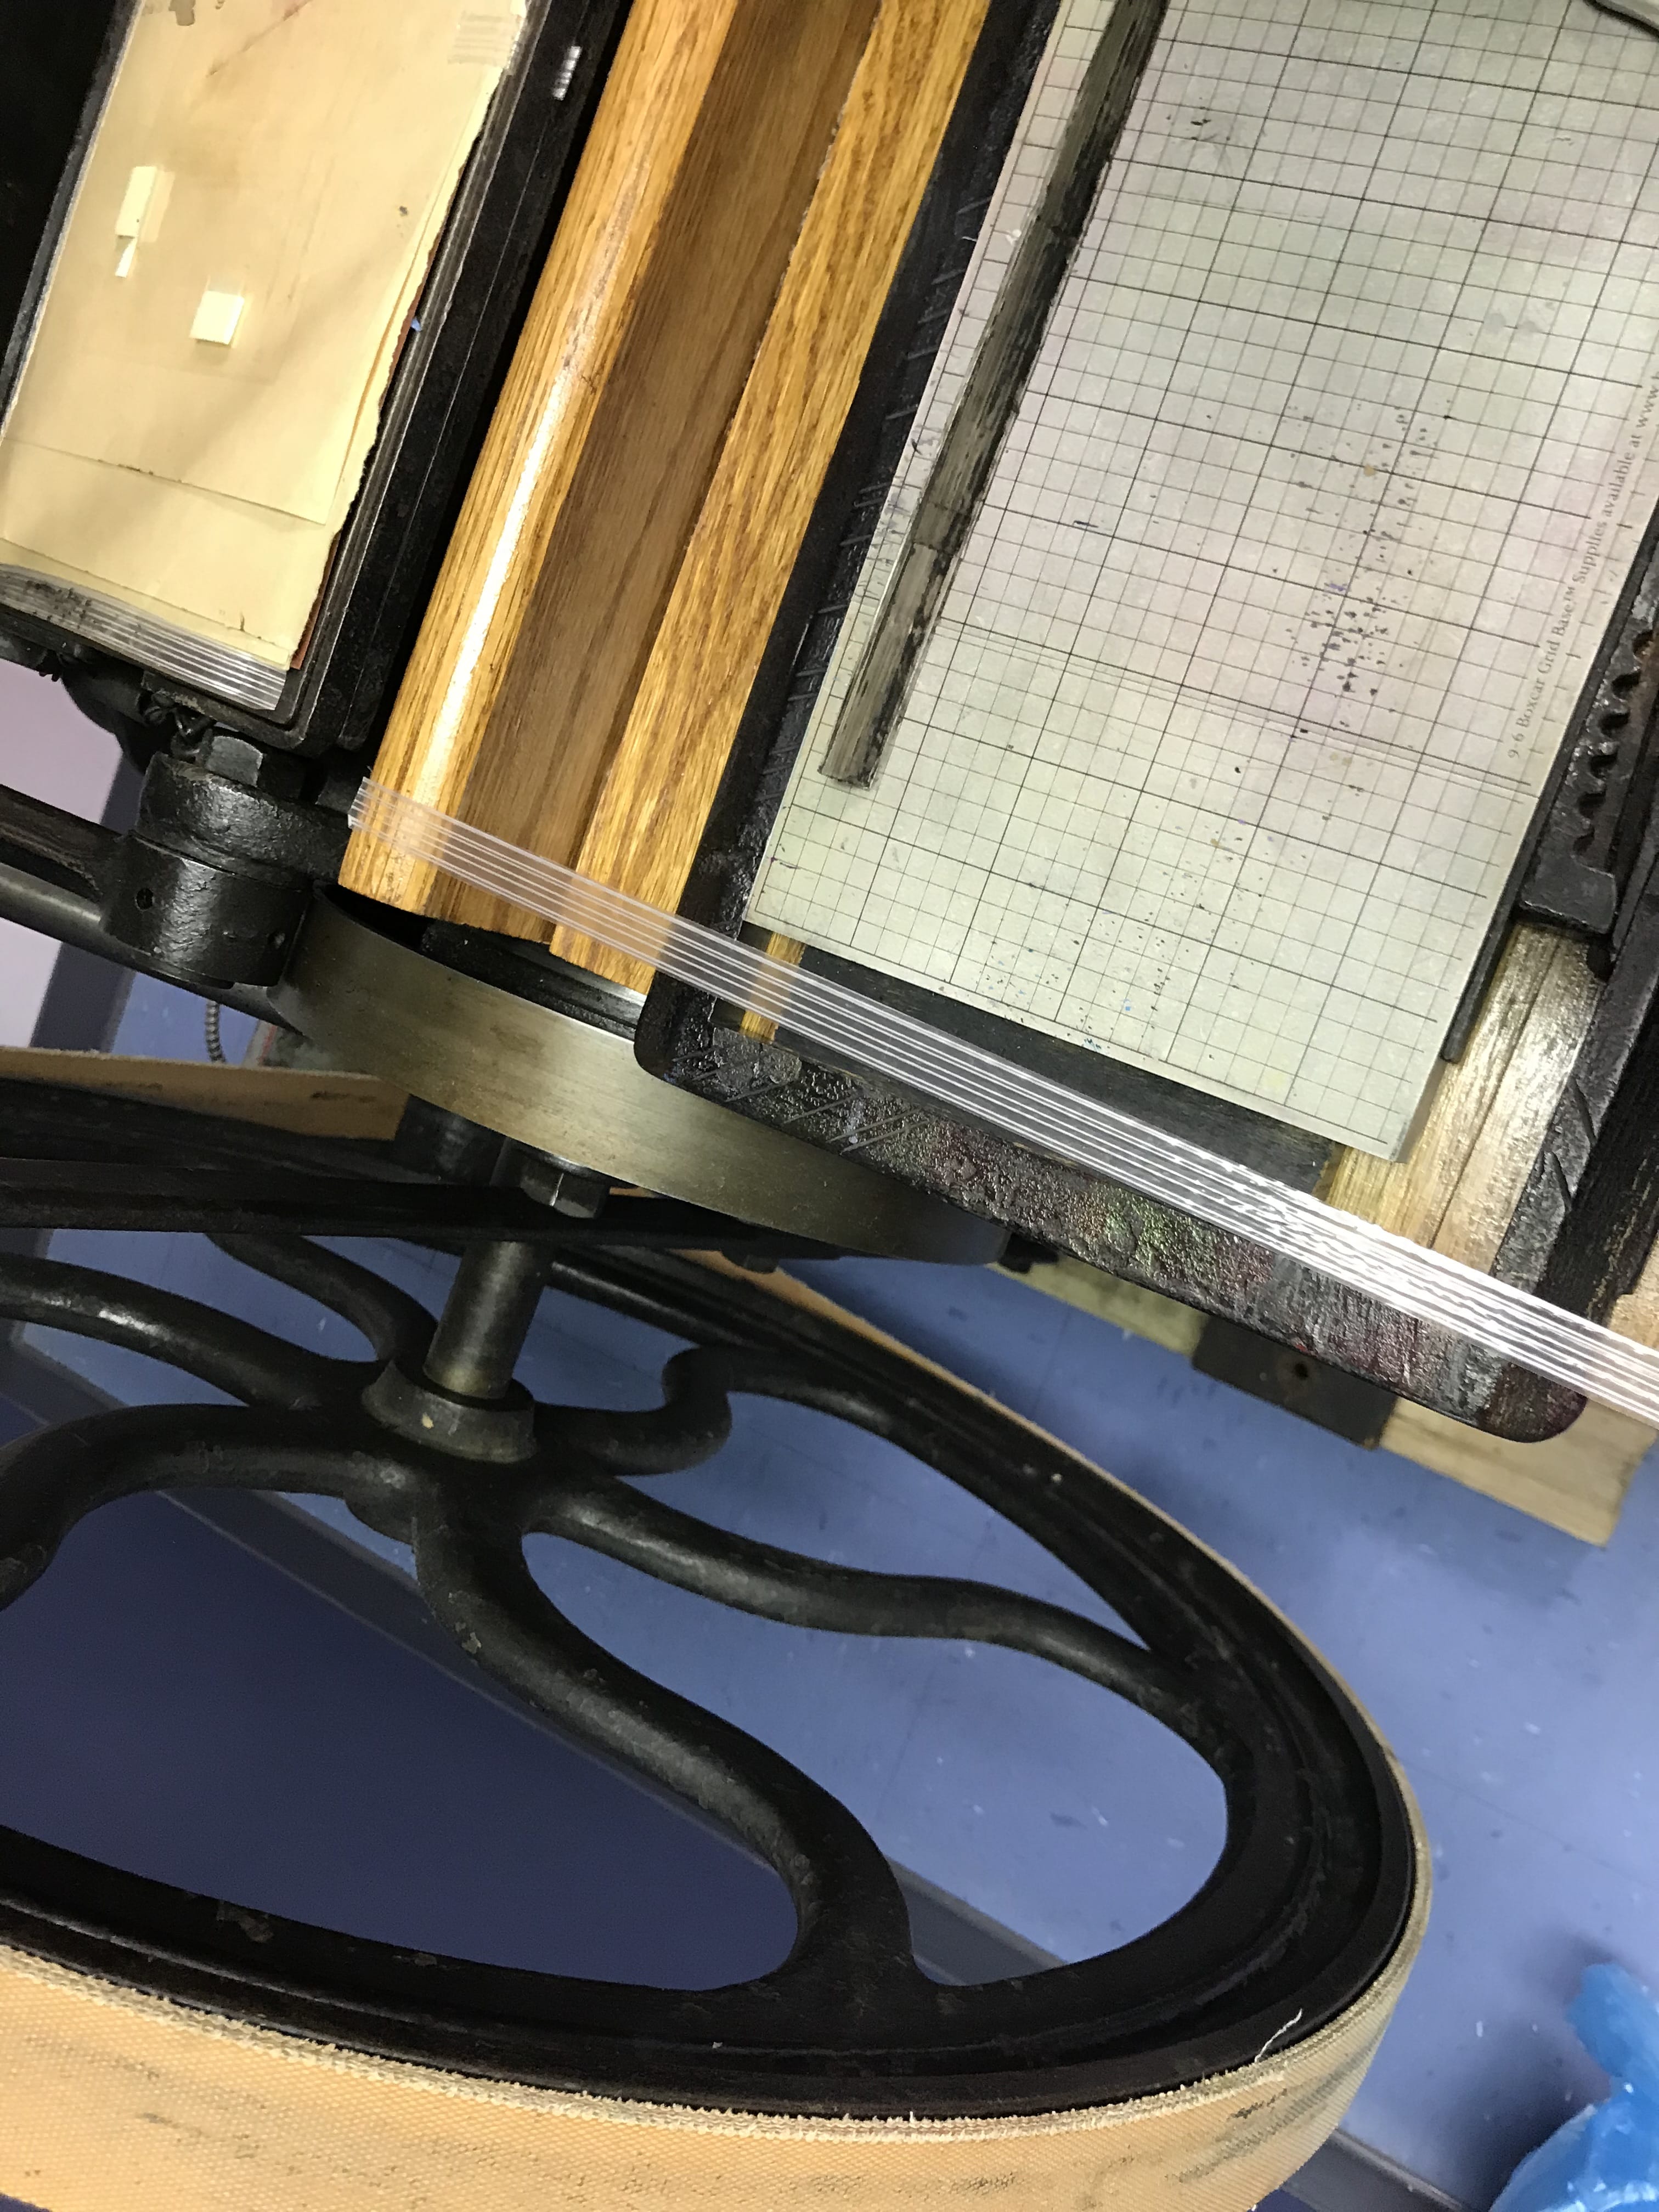
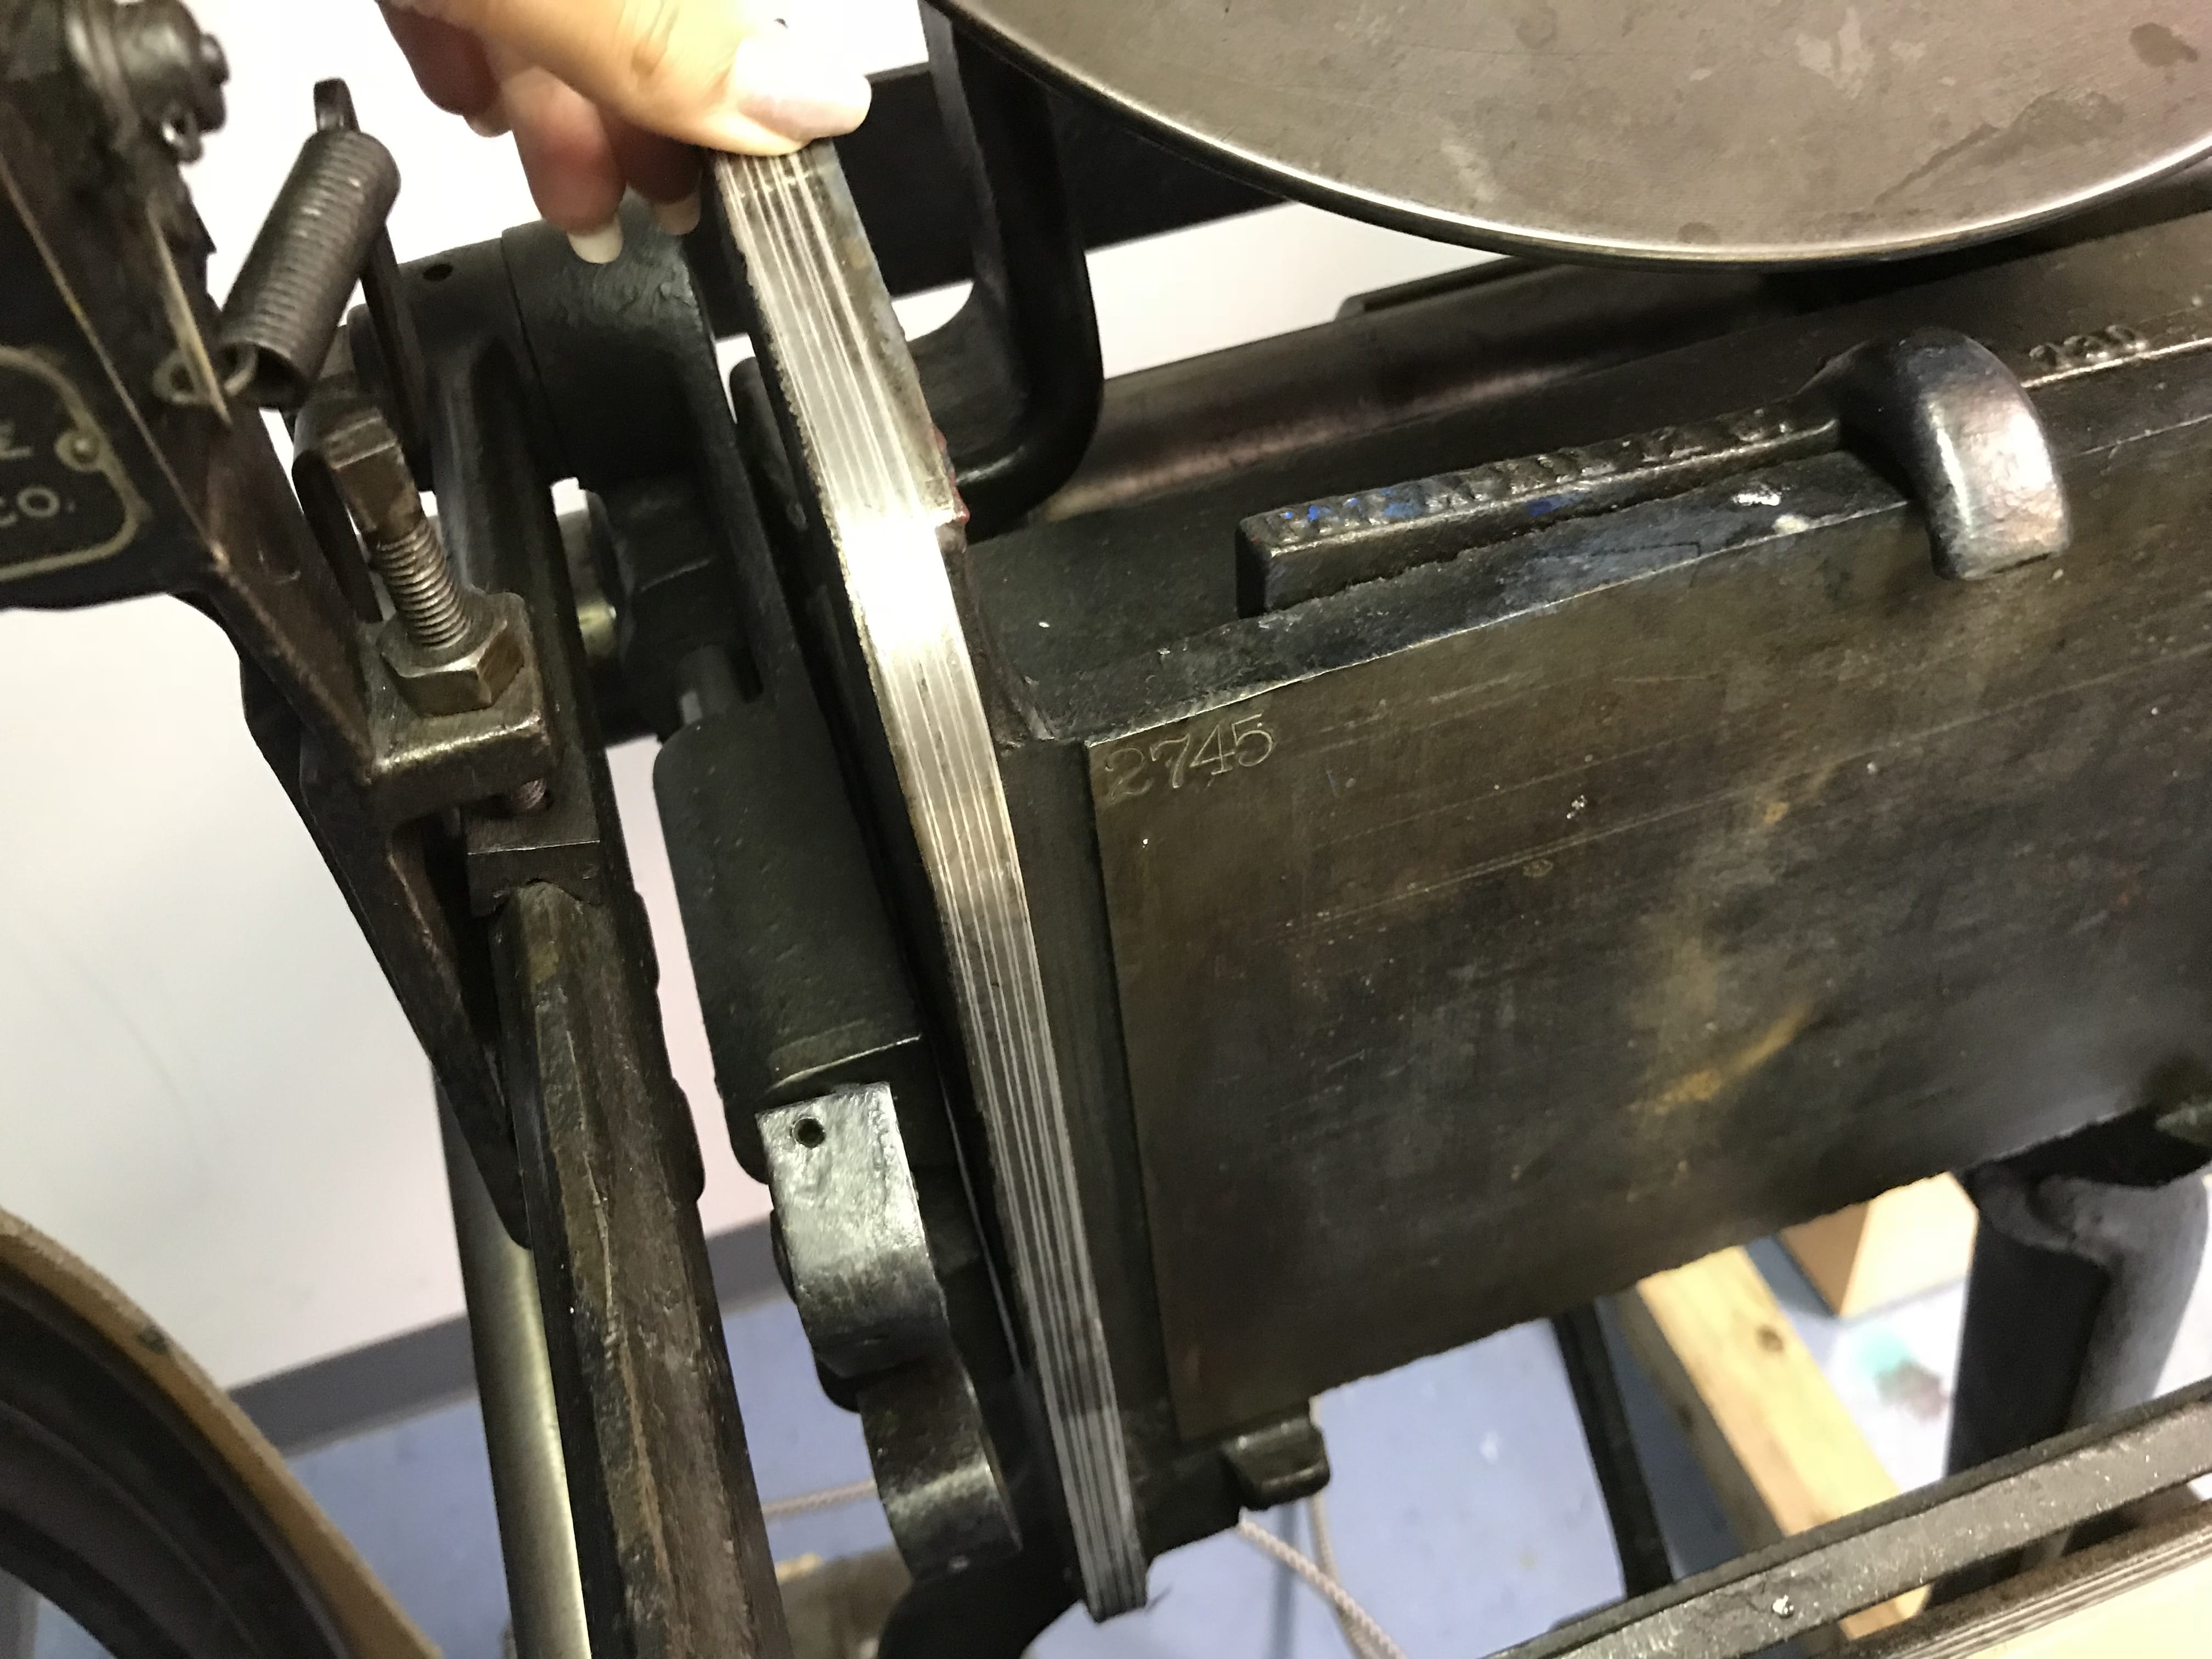
4. Then I began adding tape. Smoothing it down strip by strip. The only tape I’ve found works well for this is strapping tape. Do NOT try electrical tape. It has too much stretch and will not work. Strapping tape is best because it does not stretch (and thus won’t pull itself away from the rail) and doesn’t compress much, meaning you won’t have to adjust it once it gets just right.
 .
.
Wait, wait wait. You might be wondering – “well how much do I add if this is my first time taping the rails?” I have the luxury of having figured it out once. If you have not, then I suggest starting with a few strips, but staggering the ends at the top or gently folding over the very ends so you have little tabs to pull them off.
- You will want to ink up your press and put something on to print – preferably something with delicate type that is long from side to side so you can confirm a good ink up.
- Rotate the flywheel and see if your form inks. If it doesn’t, add another tape strip. If it does, then take a print and see how it looks.
- Generally, I think it’s easiest to add tape until the form won’t ink (wipe the form in between each check/test) and then remove tape from each side one by one until it just inks the form.
- Then you can take a few prints and test. Ultimately, you just have to keep playing with it until you get a perfect print. For a few odd jobs I have to add a strip of tape to adjust the inking on one or the other side, but this is rare.
* Additional Note: Many people use a “lollipop” or roller gauge to check the rollers. For some reason my press prints photopolymer best if the rollers are too high for the lollipop to show a strip of ink. They can be helpful, but I don’t use mine as I mostly print photopolymer. I prefer to just test with a plate locked up on press, but if I wanted to print metal type I would just remove a few strips of tape until it was right. 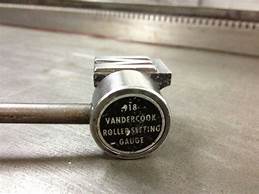
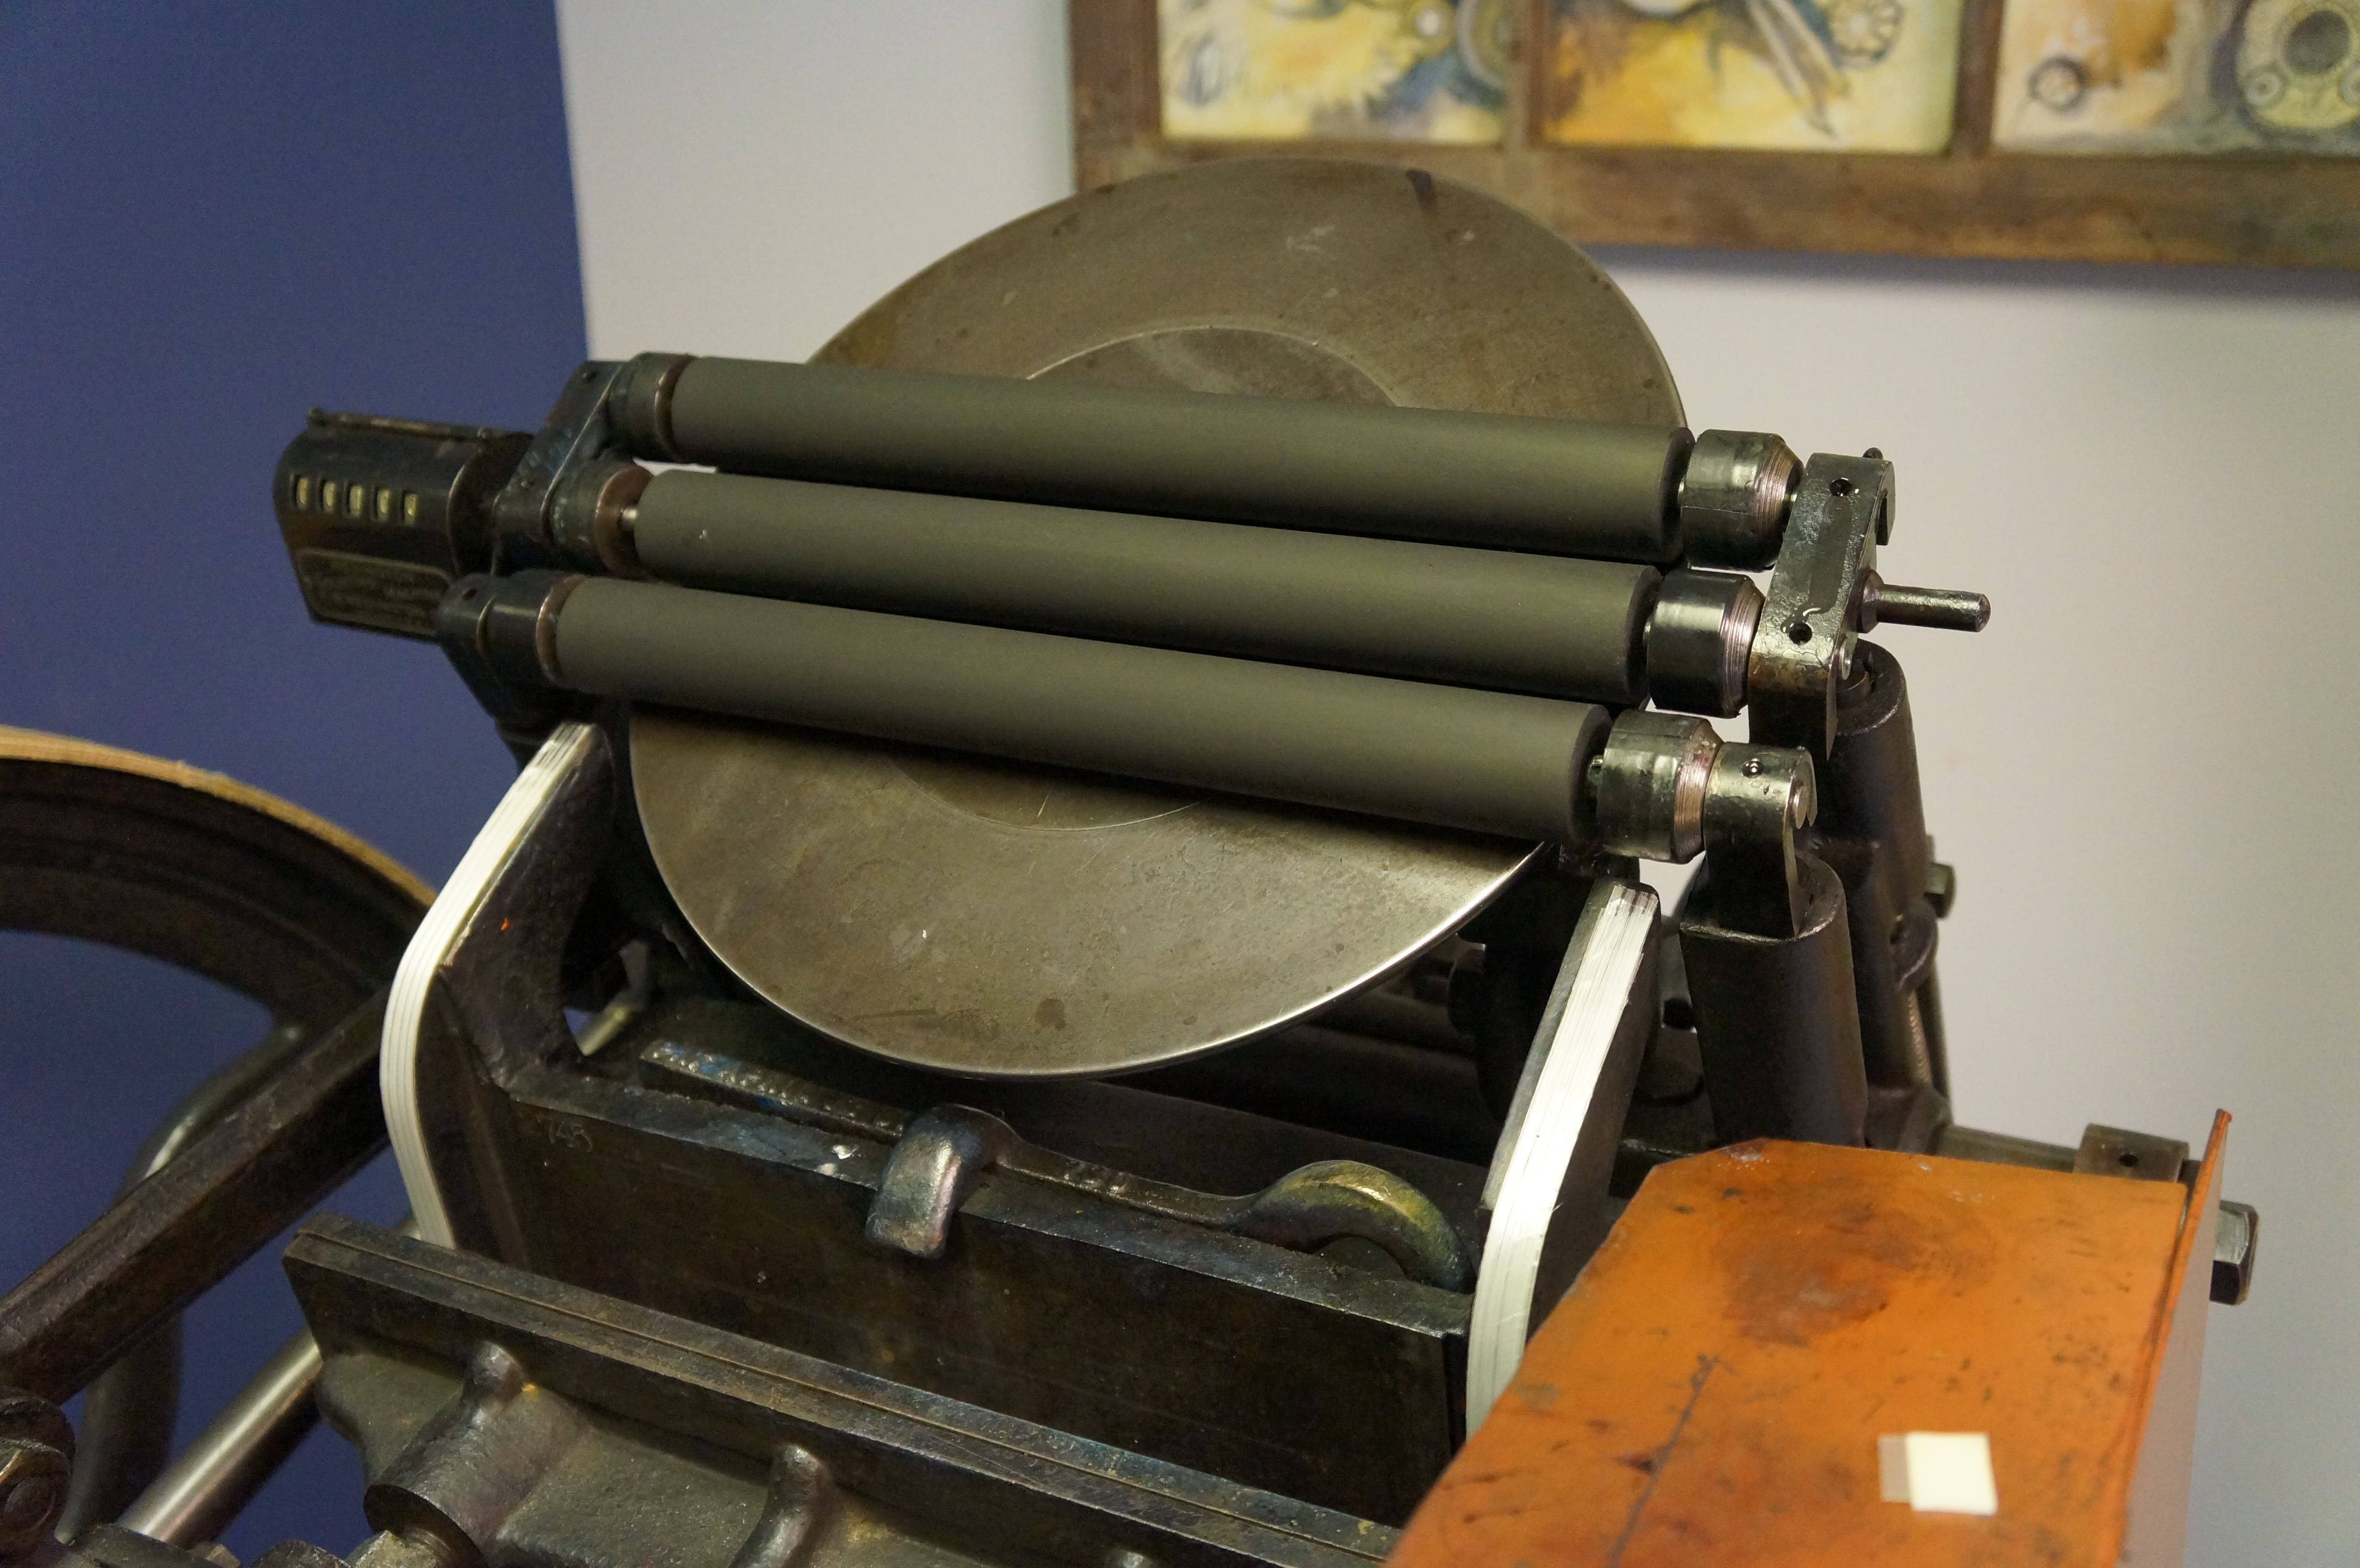
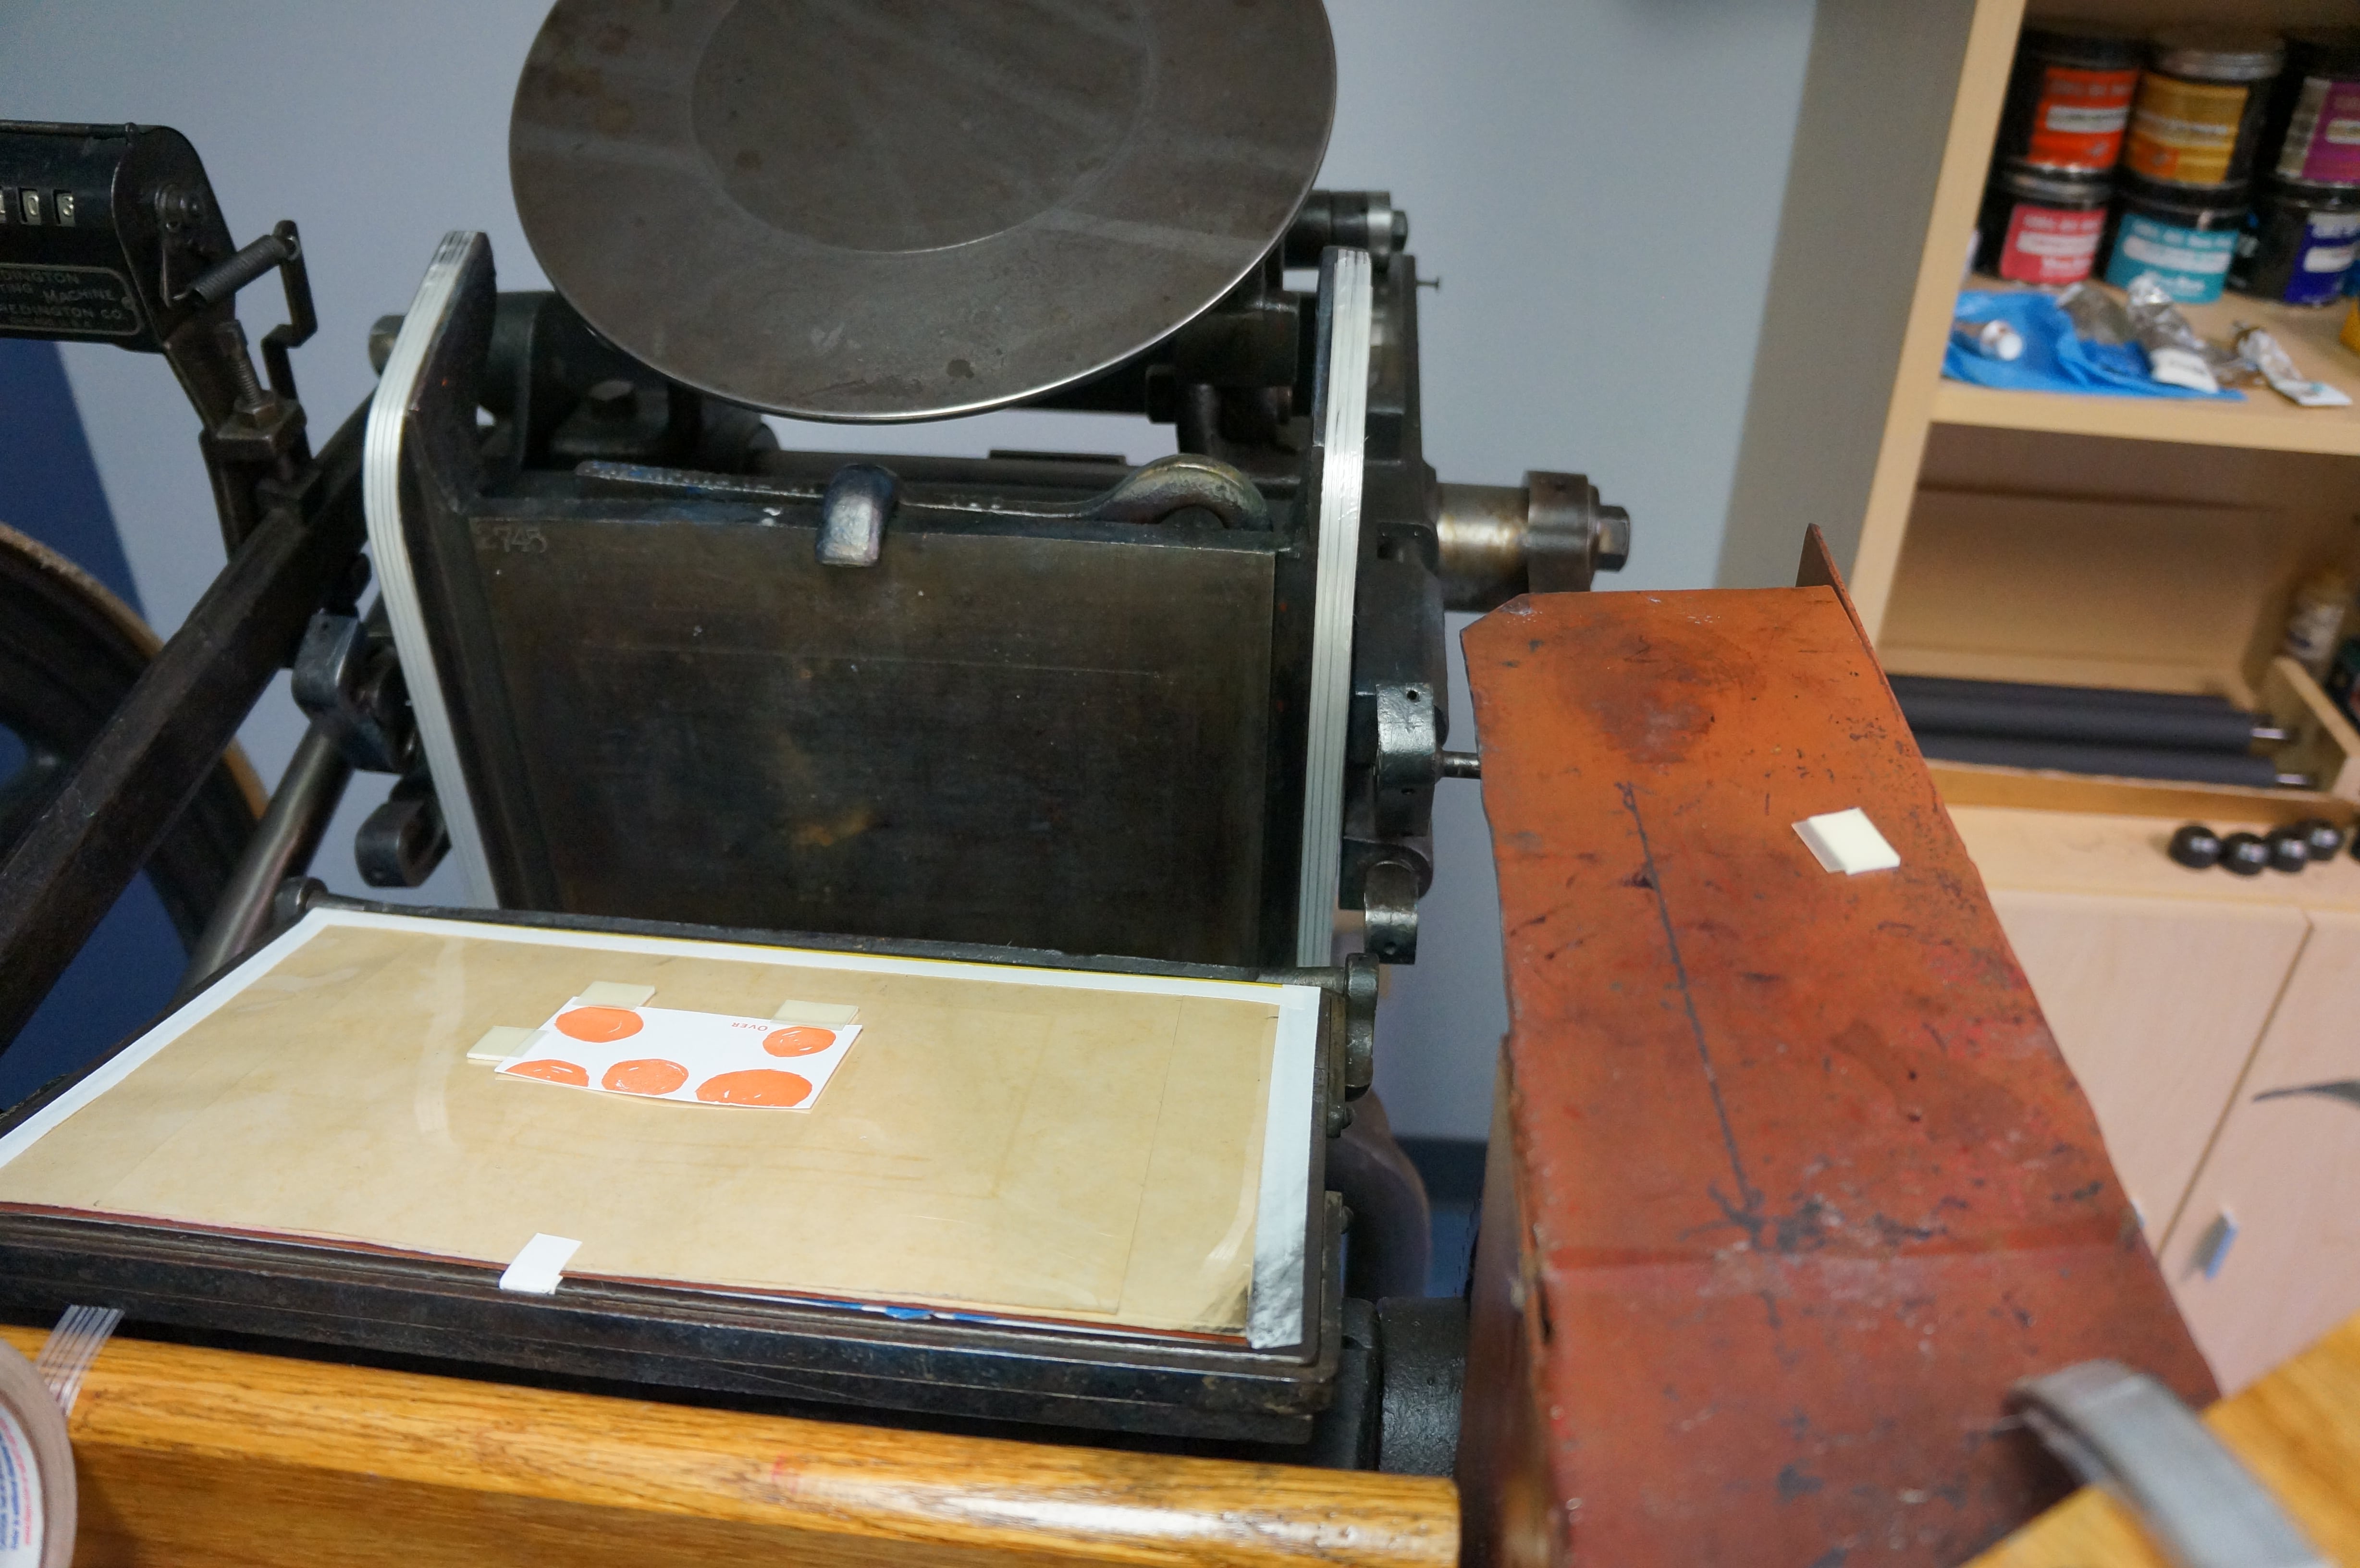
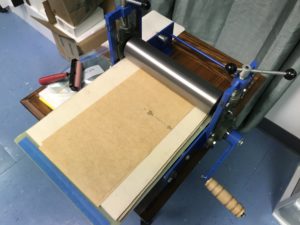
Here is my press with it’s new nicely taped rails and fresh packing.
Now there is another way you can get your rollers raised up and that is to tape the trucks. For some stupid reason I taped both my trucks and my rails. I’ve gotten it perfectly balanced, so I’m not changing it, but you don’t need to do both. I like to convince myself that taping the trucks gives them better grip so they don’t slide on the tape, but who knows. There are different people who will tell you that one of the two different methods (taping rails vs taping trucks) is better. In my opinion I prefer the rails as it is much quicker to adjust mid job (I wouldn’t want to have to take off all 6 trucks to add tape to them only to find I added too much.
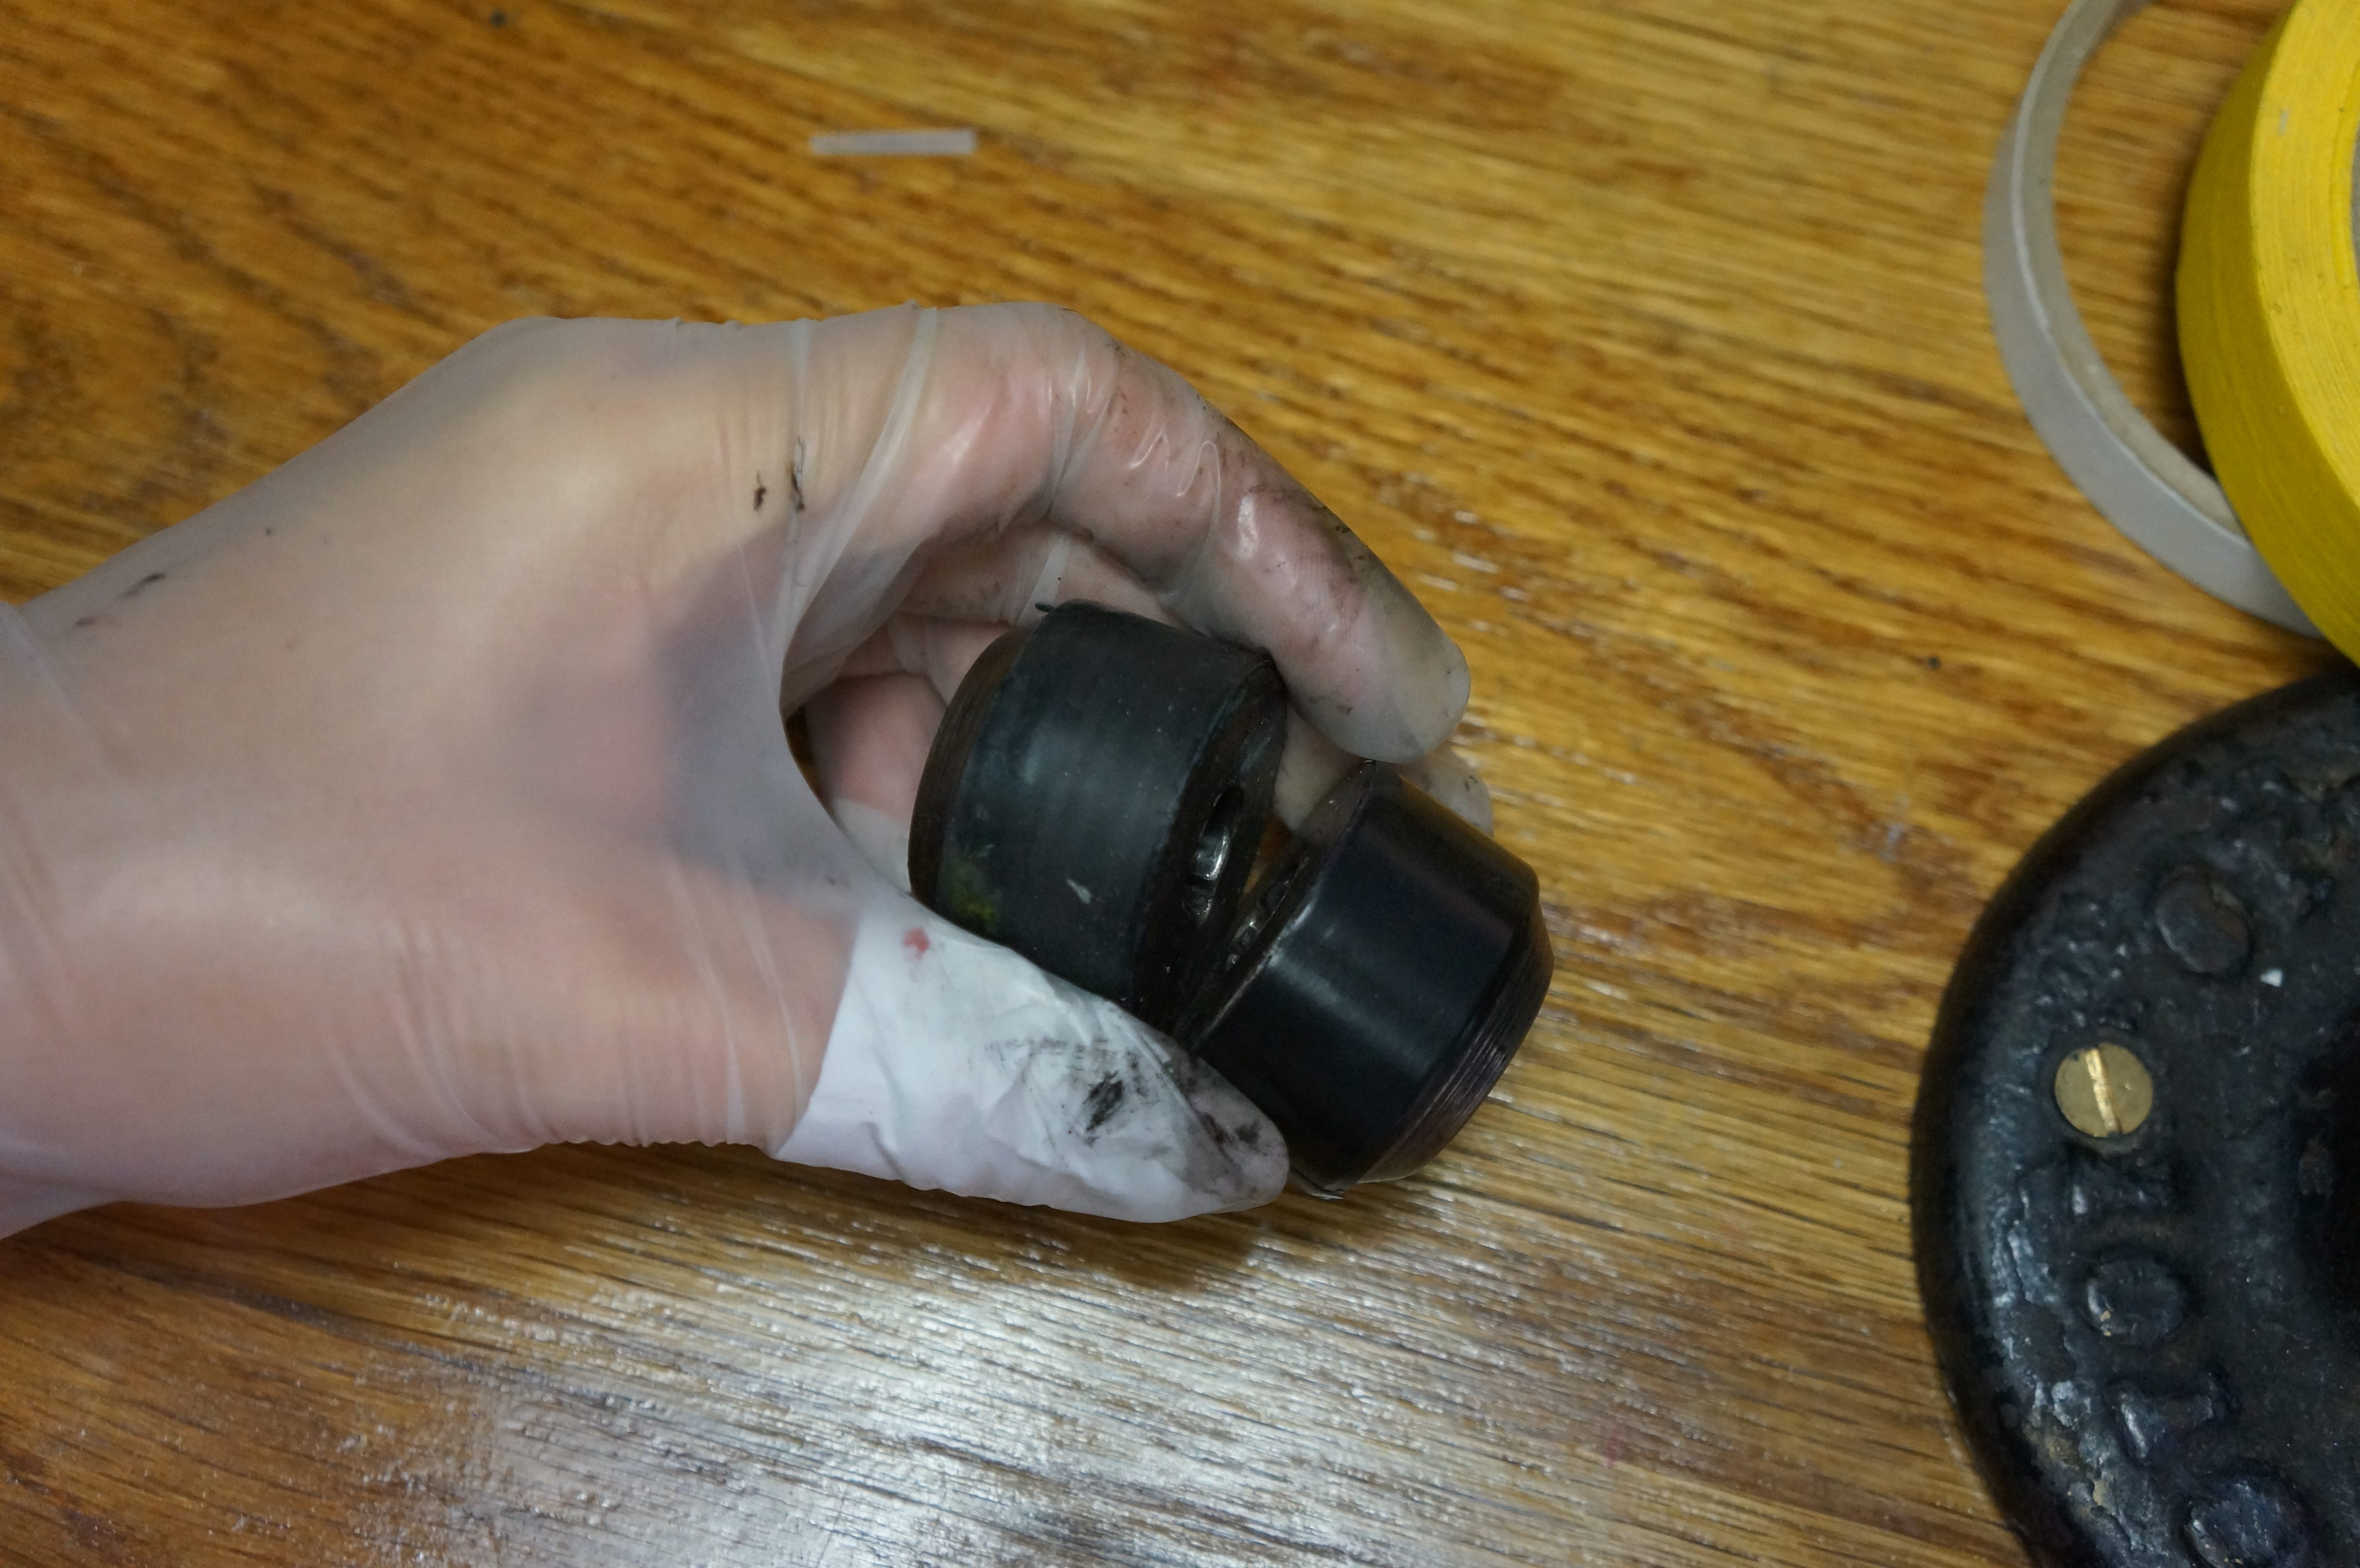
Now for taping the rails, you DO want to use electrical tape. It’s rubbery finish adds grip, and electrical tape holds well when wrapped around something even with its stretch. In my case after five+ years, it’s never loosened or come undone.
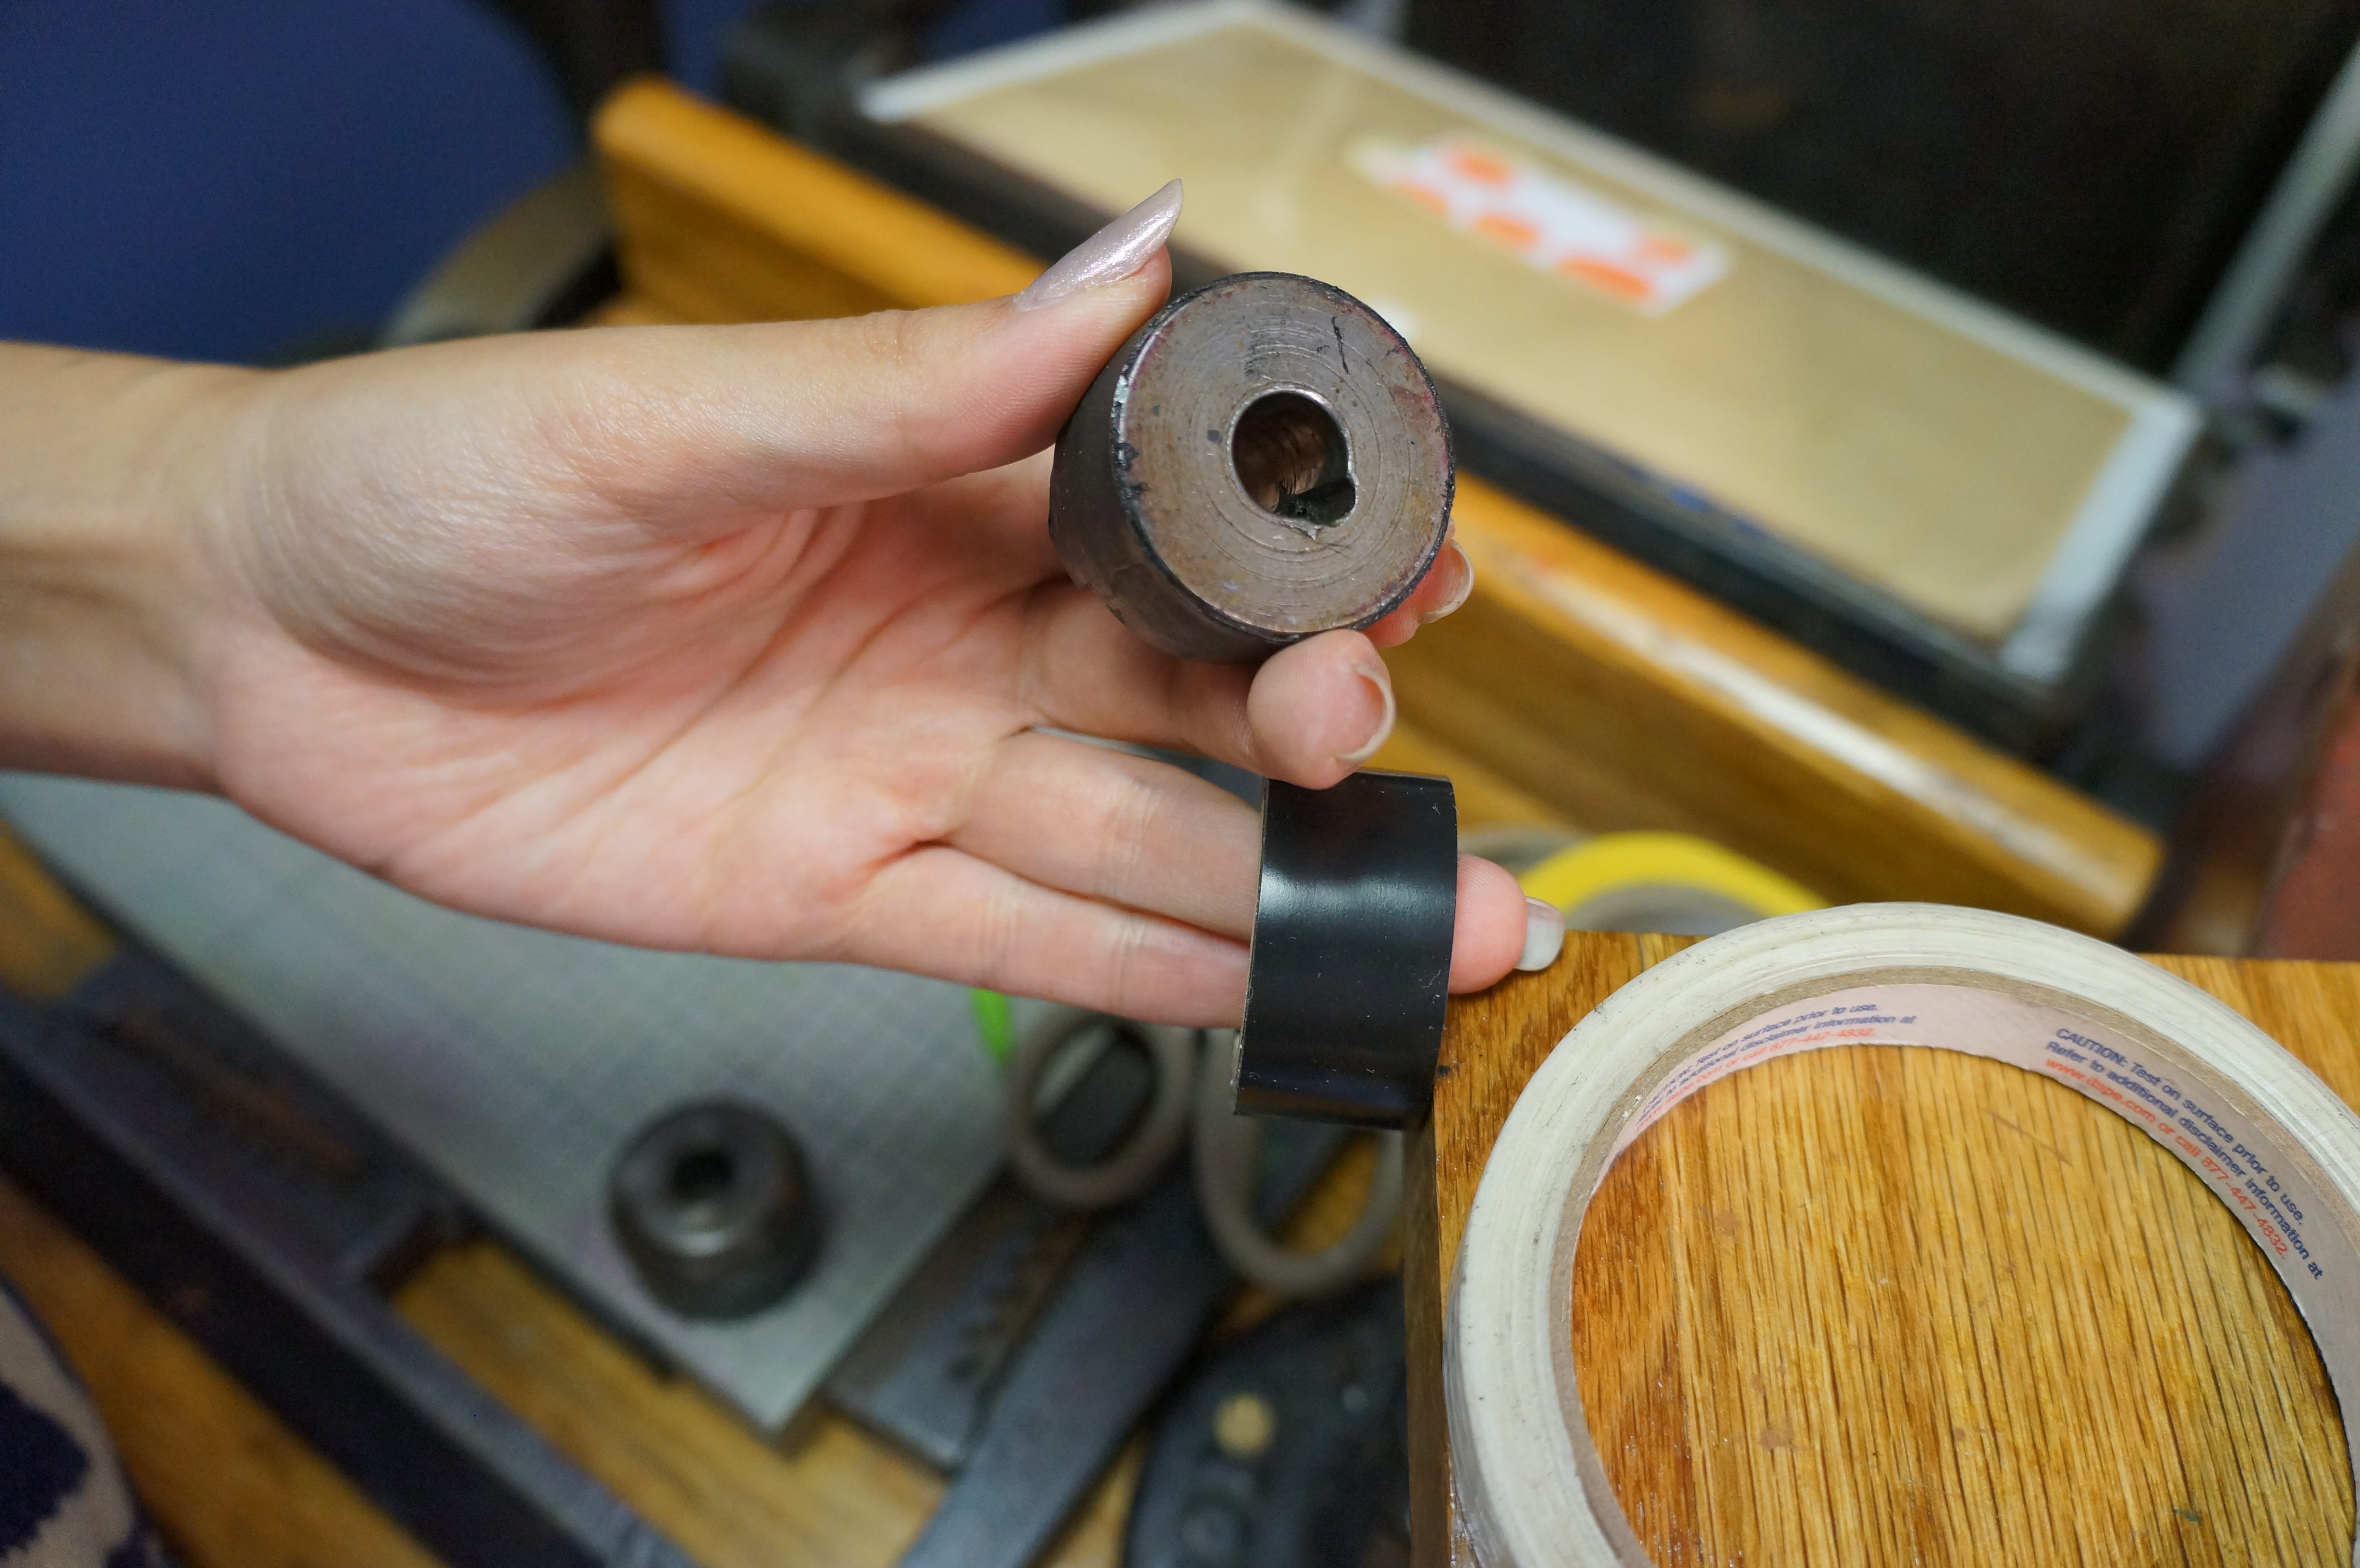
Just to show you I’ve removed the tape from one of the rollers and laid it out so I could cut a new strip to the same length.
Using my blade and mineral spirits I cleaned the truck just like I did the rails earlier.
 Then I just wrapped it back around the truck and it was good to go.
The hardest part of this process is figuring out how much tape you need. Honestly, I did it by trial and error. Adding a strip and removing a strip one by one until it was just right. It should be pretty clear which side needs tape added or removed when you see one side of the form is not getting inked (or one side is being over inked). Occasionally, really large plates/forms require me to lower the rollers for better contact or extremely tiny prints need a strip added to keep the shoulders of the type getting inked. For these situations I use painters tape to raise the rollers, that way I remember to remove it and don’t freak myself out when the next job “isn’t inking right” because I forgot to remove the tape I added.

Panthera…I cannot tell you how much I have appreciated your tutorial posts and videos over the past four years. You ARE my “go to” if i need any guidance or know-how when I use my 1908 C&P. This post is just another example of how awesome you are in guiding us, educating us, and being you. Go Navy.