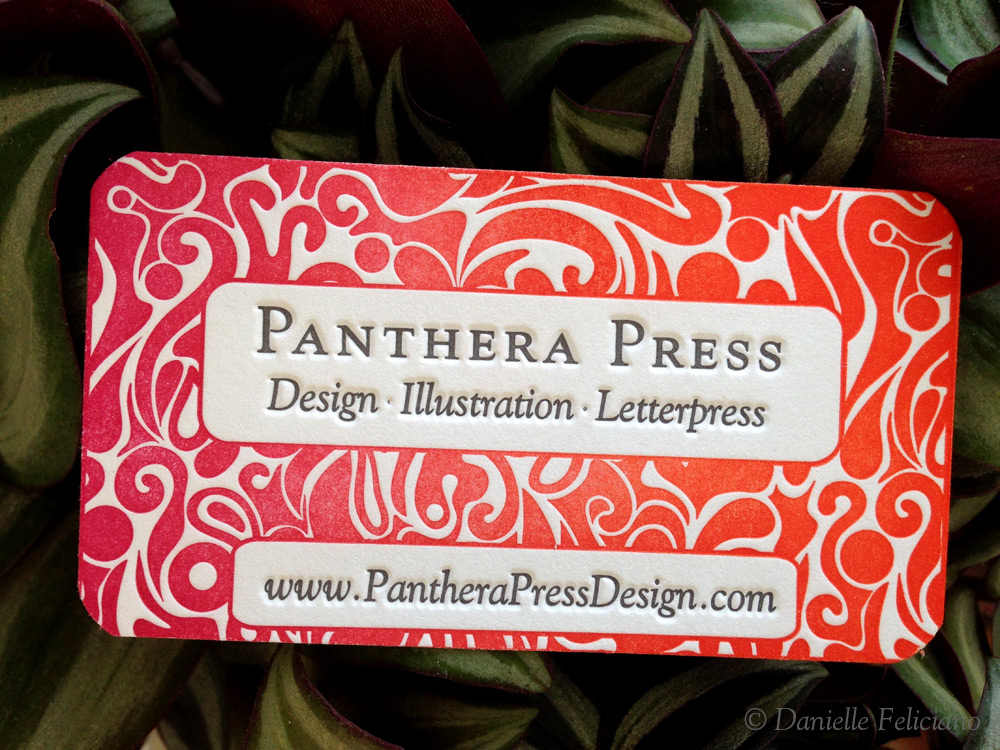
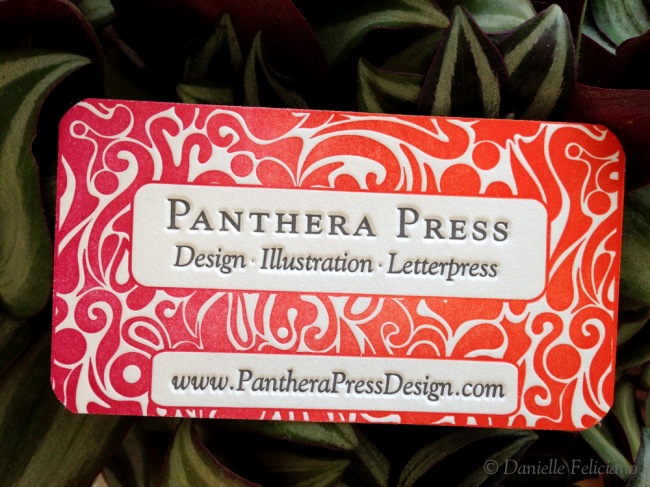
Well, after a week of the flu, I’m finally back in the shop. So I wanted to take some photos of an interesting but simple process to print gradients on a platen press. It’s actually a little easier to print ombre on a cylinder press because the rollers oscillate so it will make your gradient for you pretty quickly. Either way, here’s how I did it on the C&P.
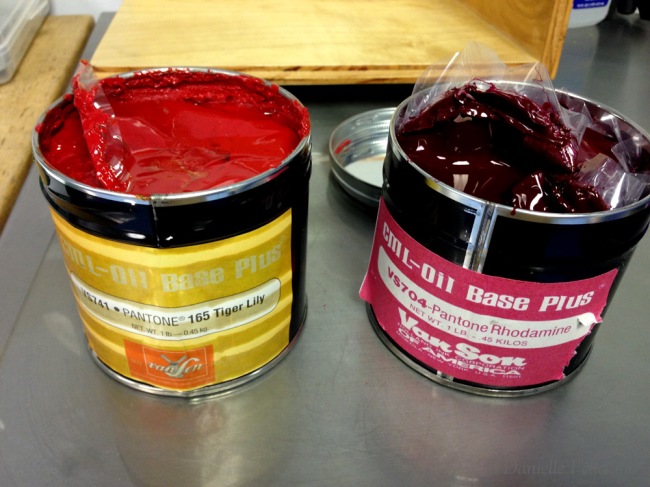
1. Select your two colors. You’re going to want to select inks that are of the same type. Although when color mixing you can sometimes mix oils and rubber based inks, you won’t want to do it with this technique because they may interact weirdly in the middle. Here I’m using Pantone 165 – Tiger Lily – the house color for Panthera Press and Rhodamine Red.
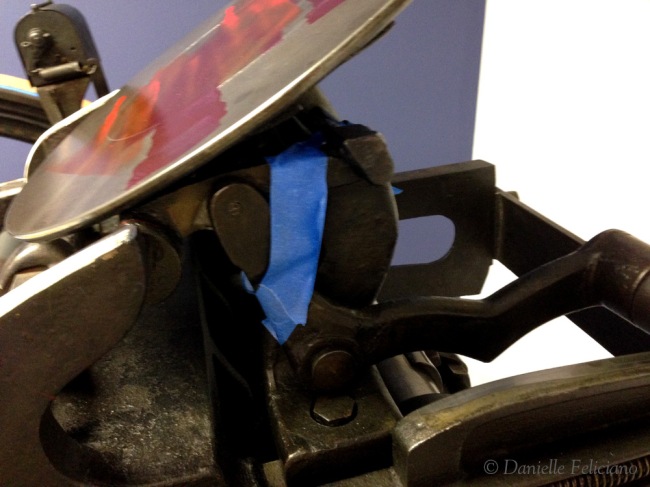
2. Then you’ll want to tape back the pawl – the part which make the ink disk rotate. I usually use electrical tape, but it’s easier to see the blue tape. Rotate the press through one cycle to ensure it’s not going to rotate.
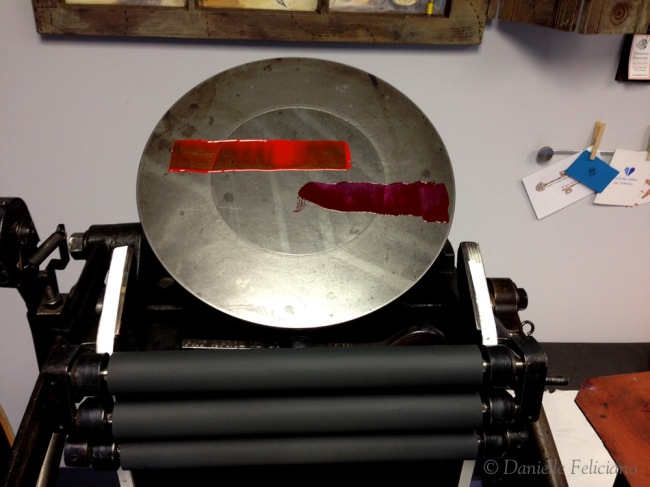
3. Now add two overlapping stripes of ink to the ink disk.
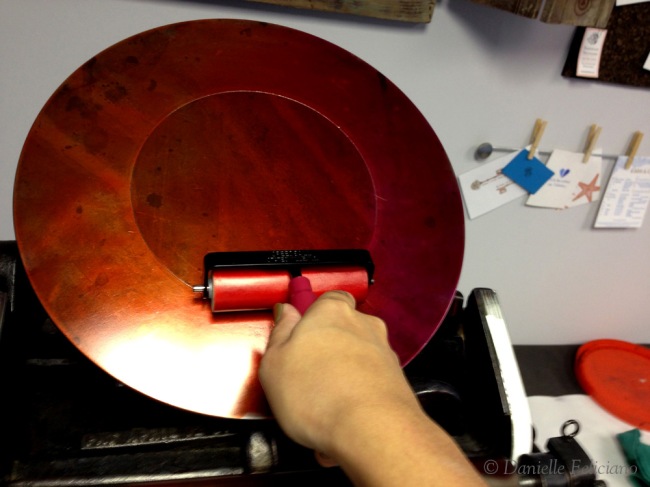
4. Now, you’ll want two ink brayers – one for each color. You can make due with one, but it’s a little harder to add ink later in the process. Begin rolling out the gradient towards the center – starting from the outer right/left edges. Hand rolling out the gradient is important because platen press rollers don’t shift/oscillate.
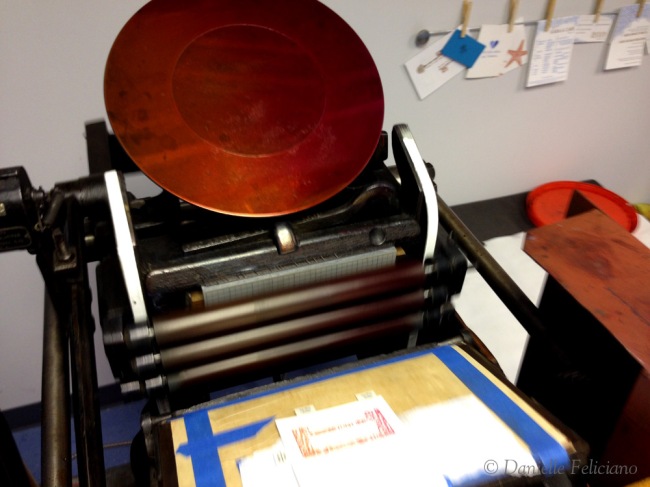
5. Start the press up and you’re ready to print. One thing to keep in mind is that the disk isn’t rotating, the ink is not distributing and the rollers will be hitting and pulling ink from the same spot on the ink disk each time. You’ll will have to stop the press much more frequently than usual to add more ink and “push” it to the center. Add a little stripe of each color to each side and roll it towards the center one at a time using the appropriate brayer. I keep my brayers in the vertical position to keep the gradient even. You can only run the gradient from left to right (not top to bottom) because other wise the rollers will end up mixing the colors together. You can of course, simply rotate the print itself, just keep this in mind when you set up the plate.
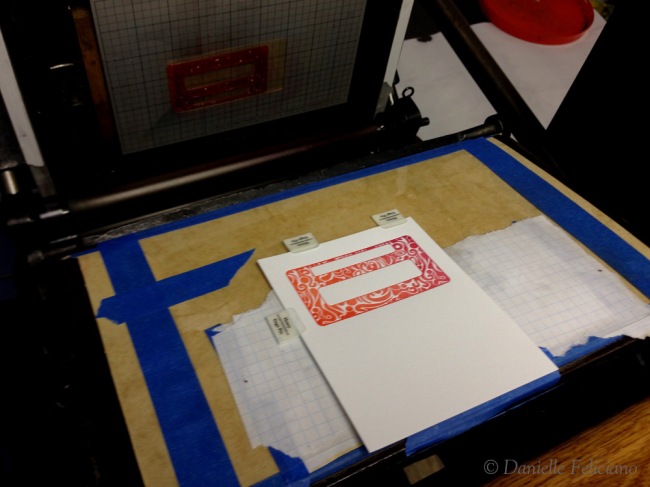
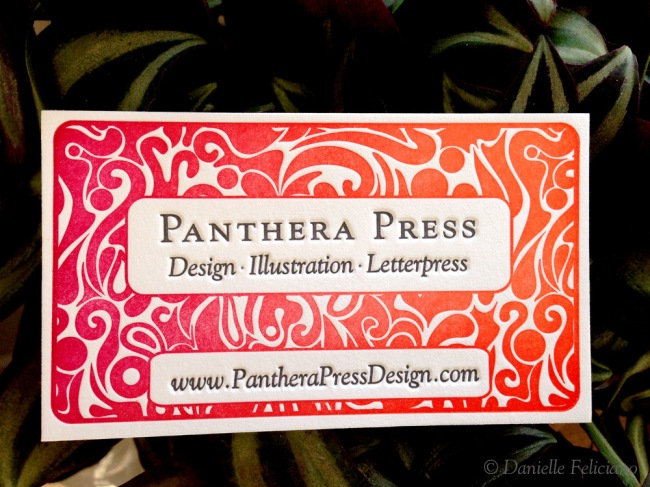
6. There you go, ombre letterpress. It’s actually pretty consistent, but because you’re adding ink back by hand the gradient might shift just a little on each card.
Hi, Danielle….Been a letterpress printer for more than 60 years, but just now getting up the nerve to try ombre inking on the C&P….Your tutorial is perfect for explaining the proper process. Thanks!
And happy printing!
Ben Sargent