Panthera Press is back in business! After a year abroad on Navy assignment with my husband, we have returned to Virginia Beach and printing is underway! I wanted to re-visit my lineup process for the press as I think it’s probably one of my best discoveries I can contribute to teaching the art.
I’m the process of creating a video series for this job which will cover every step – from design to materials to printing so this post may undergo a bit of editing as time goes on.
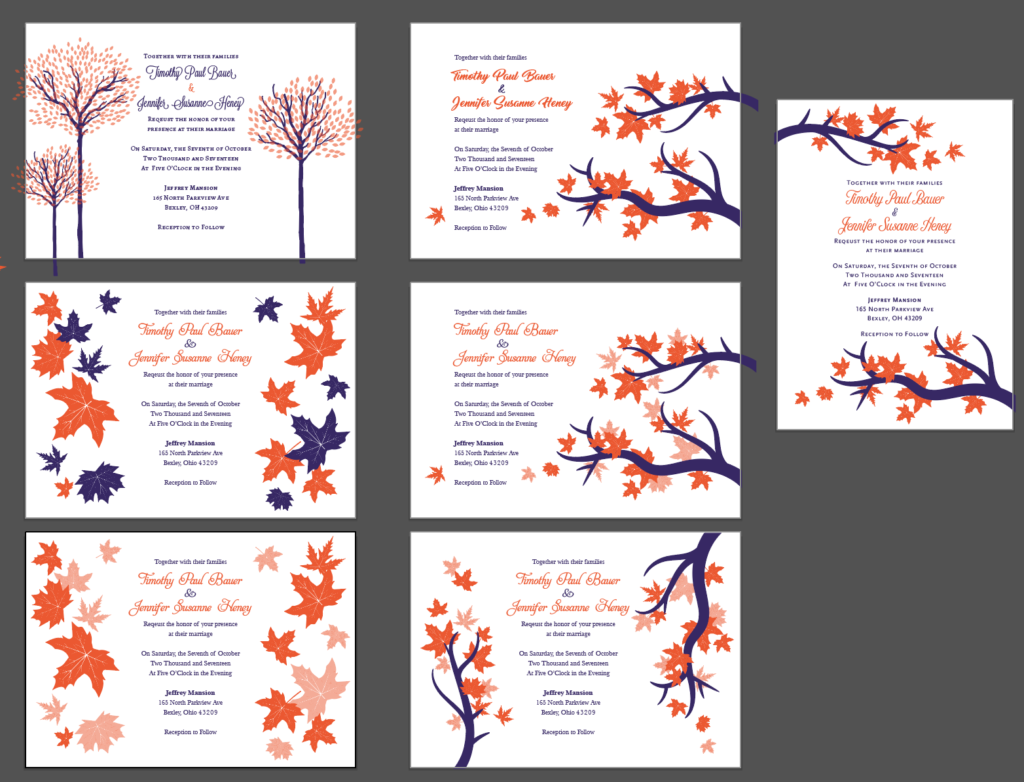
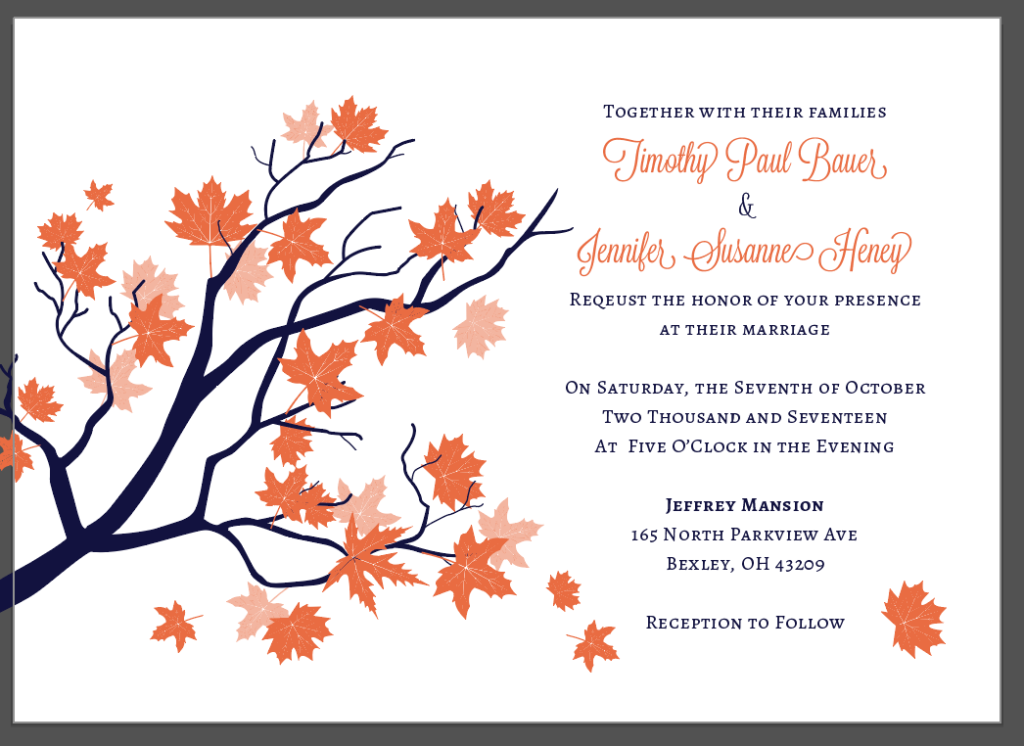
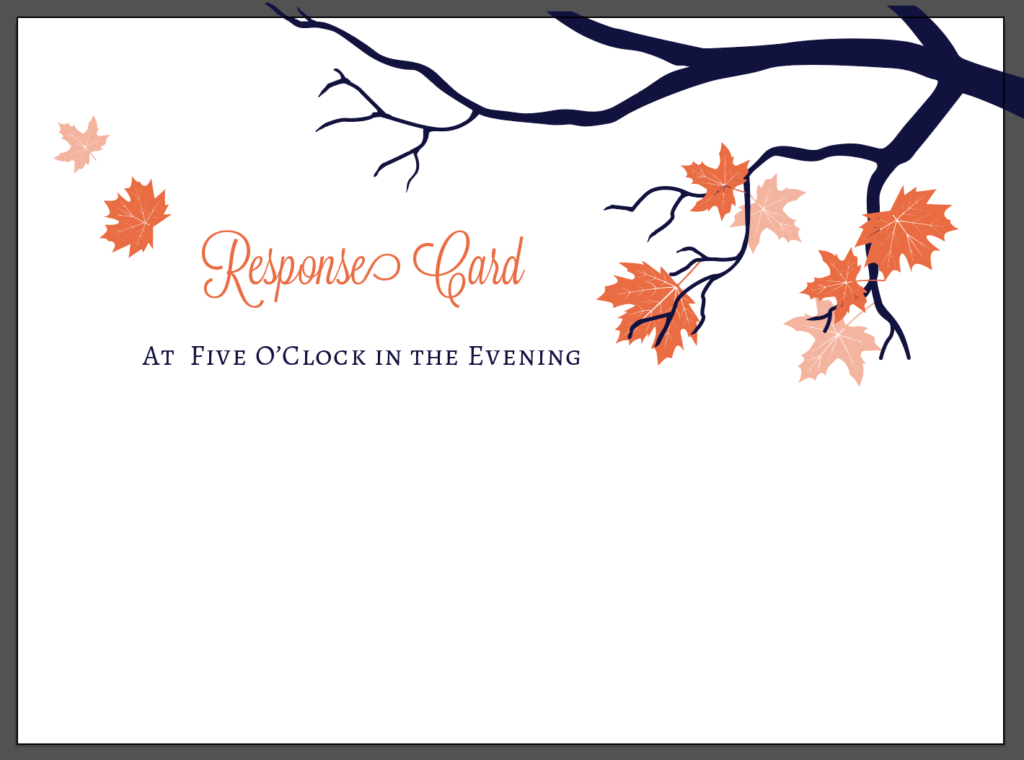
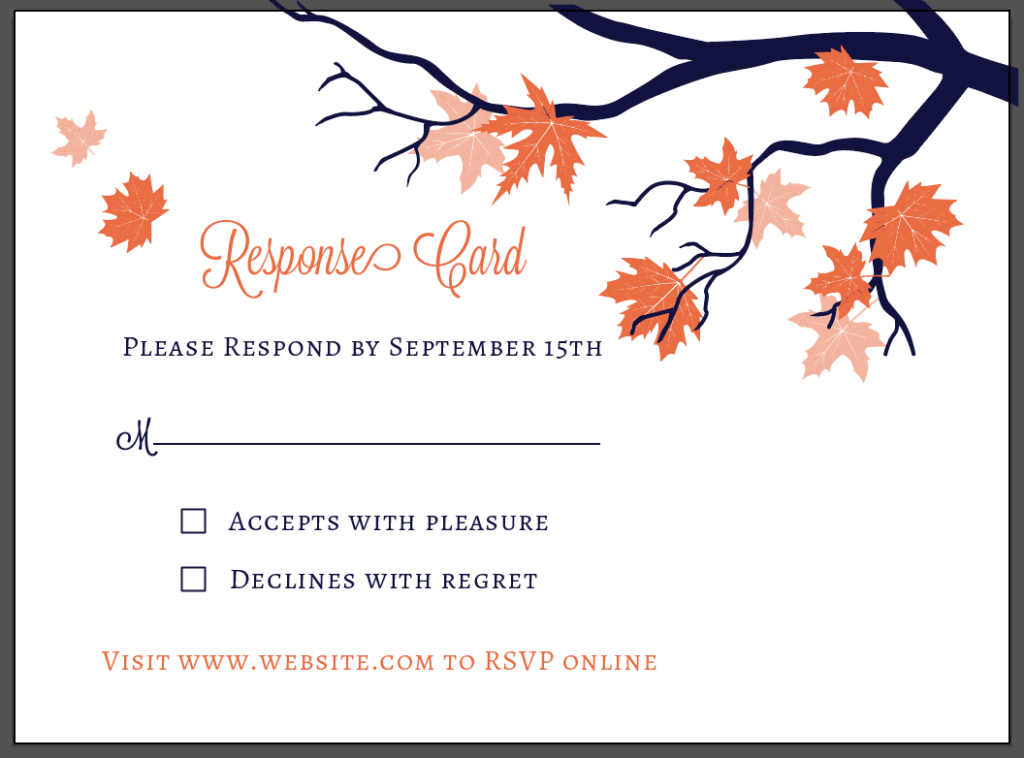
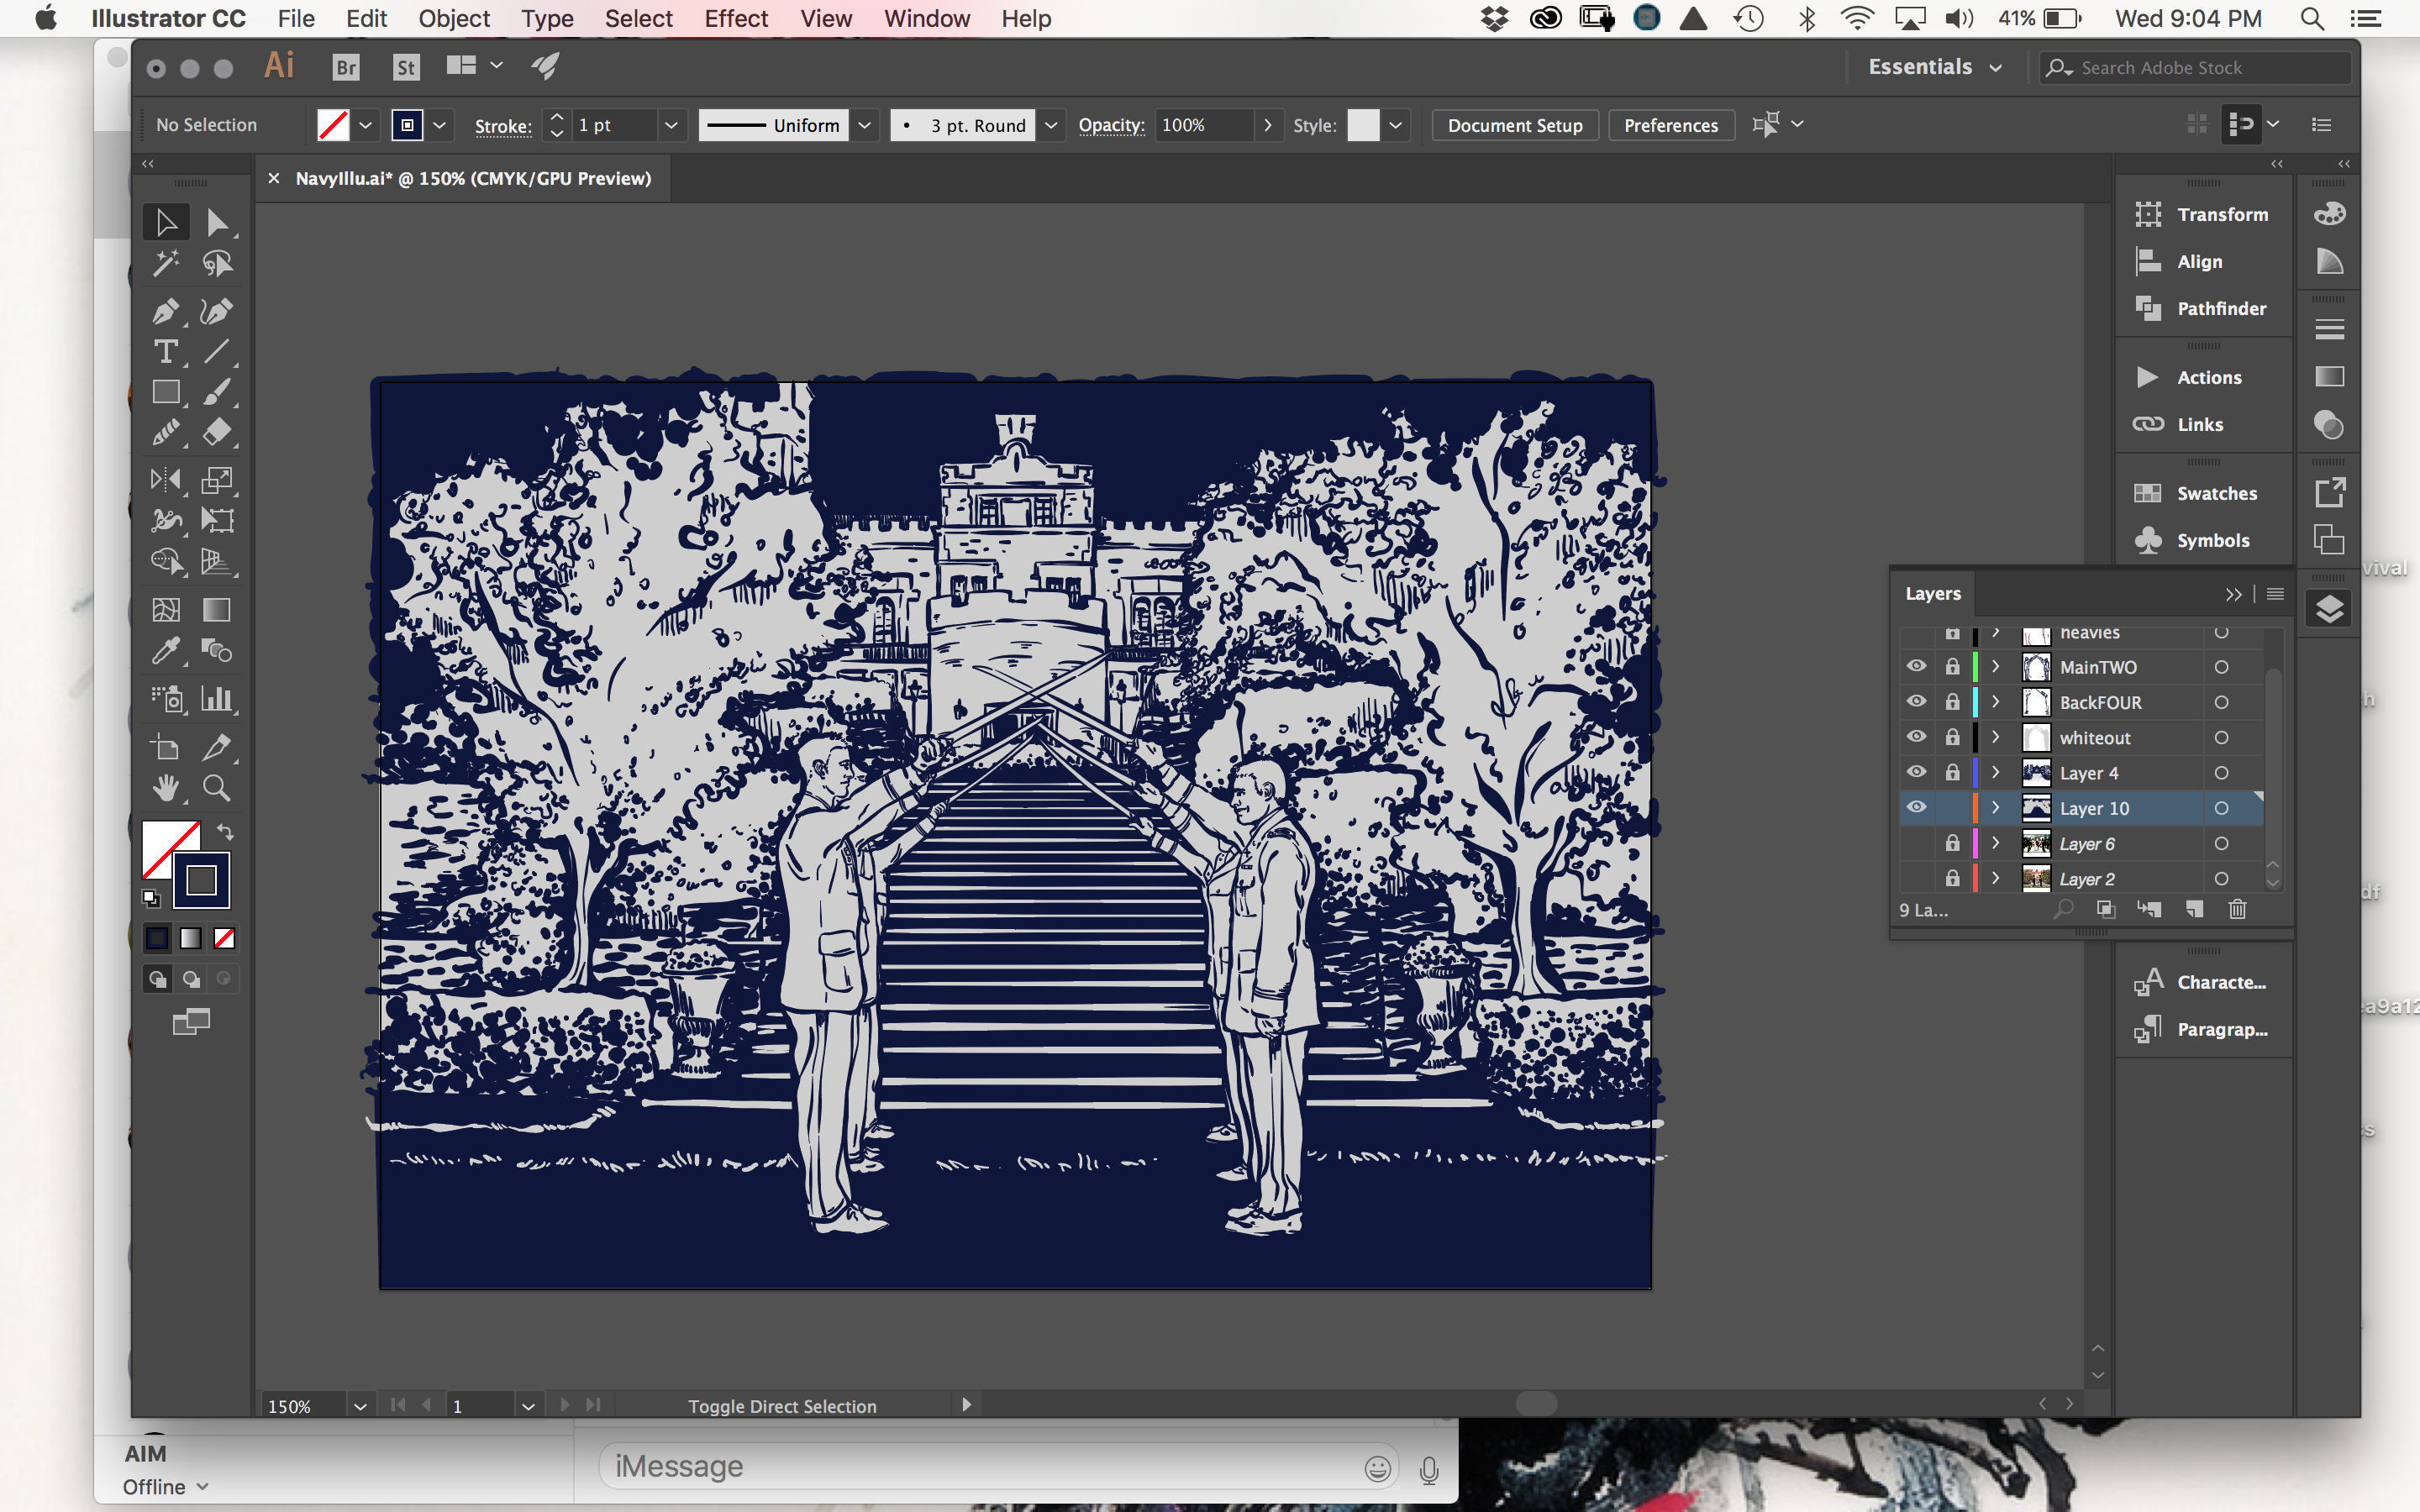
Here was a little peek into the design process:
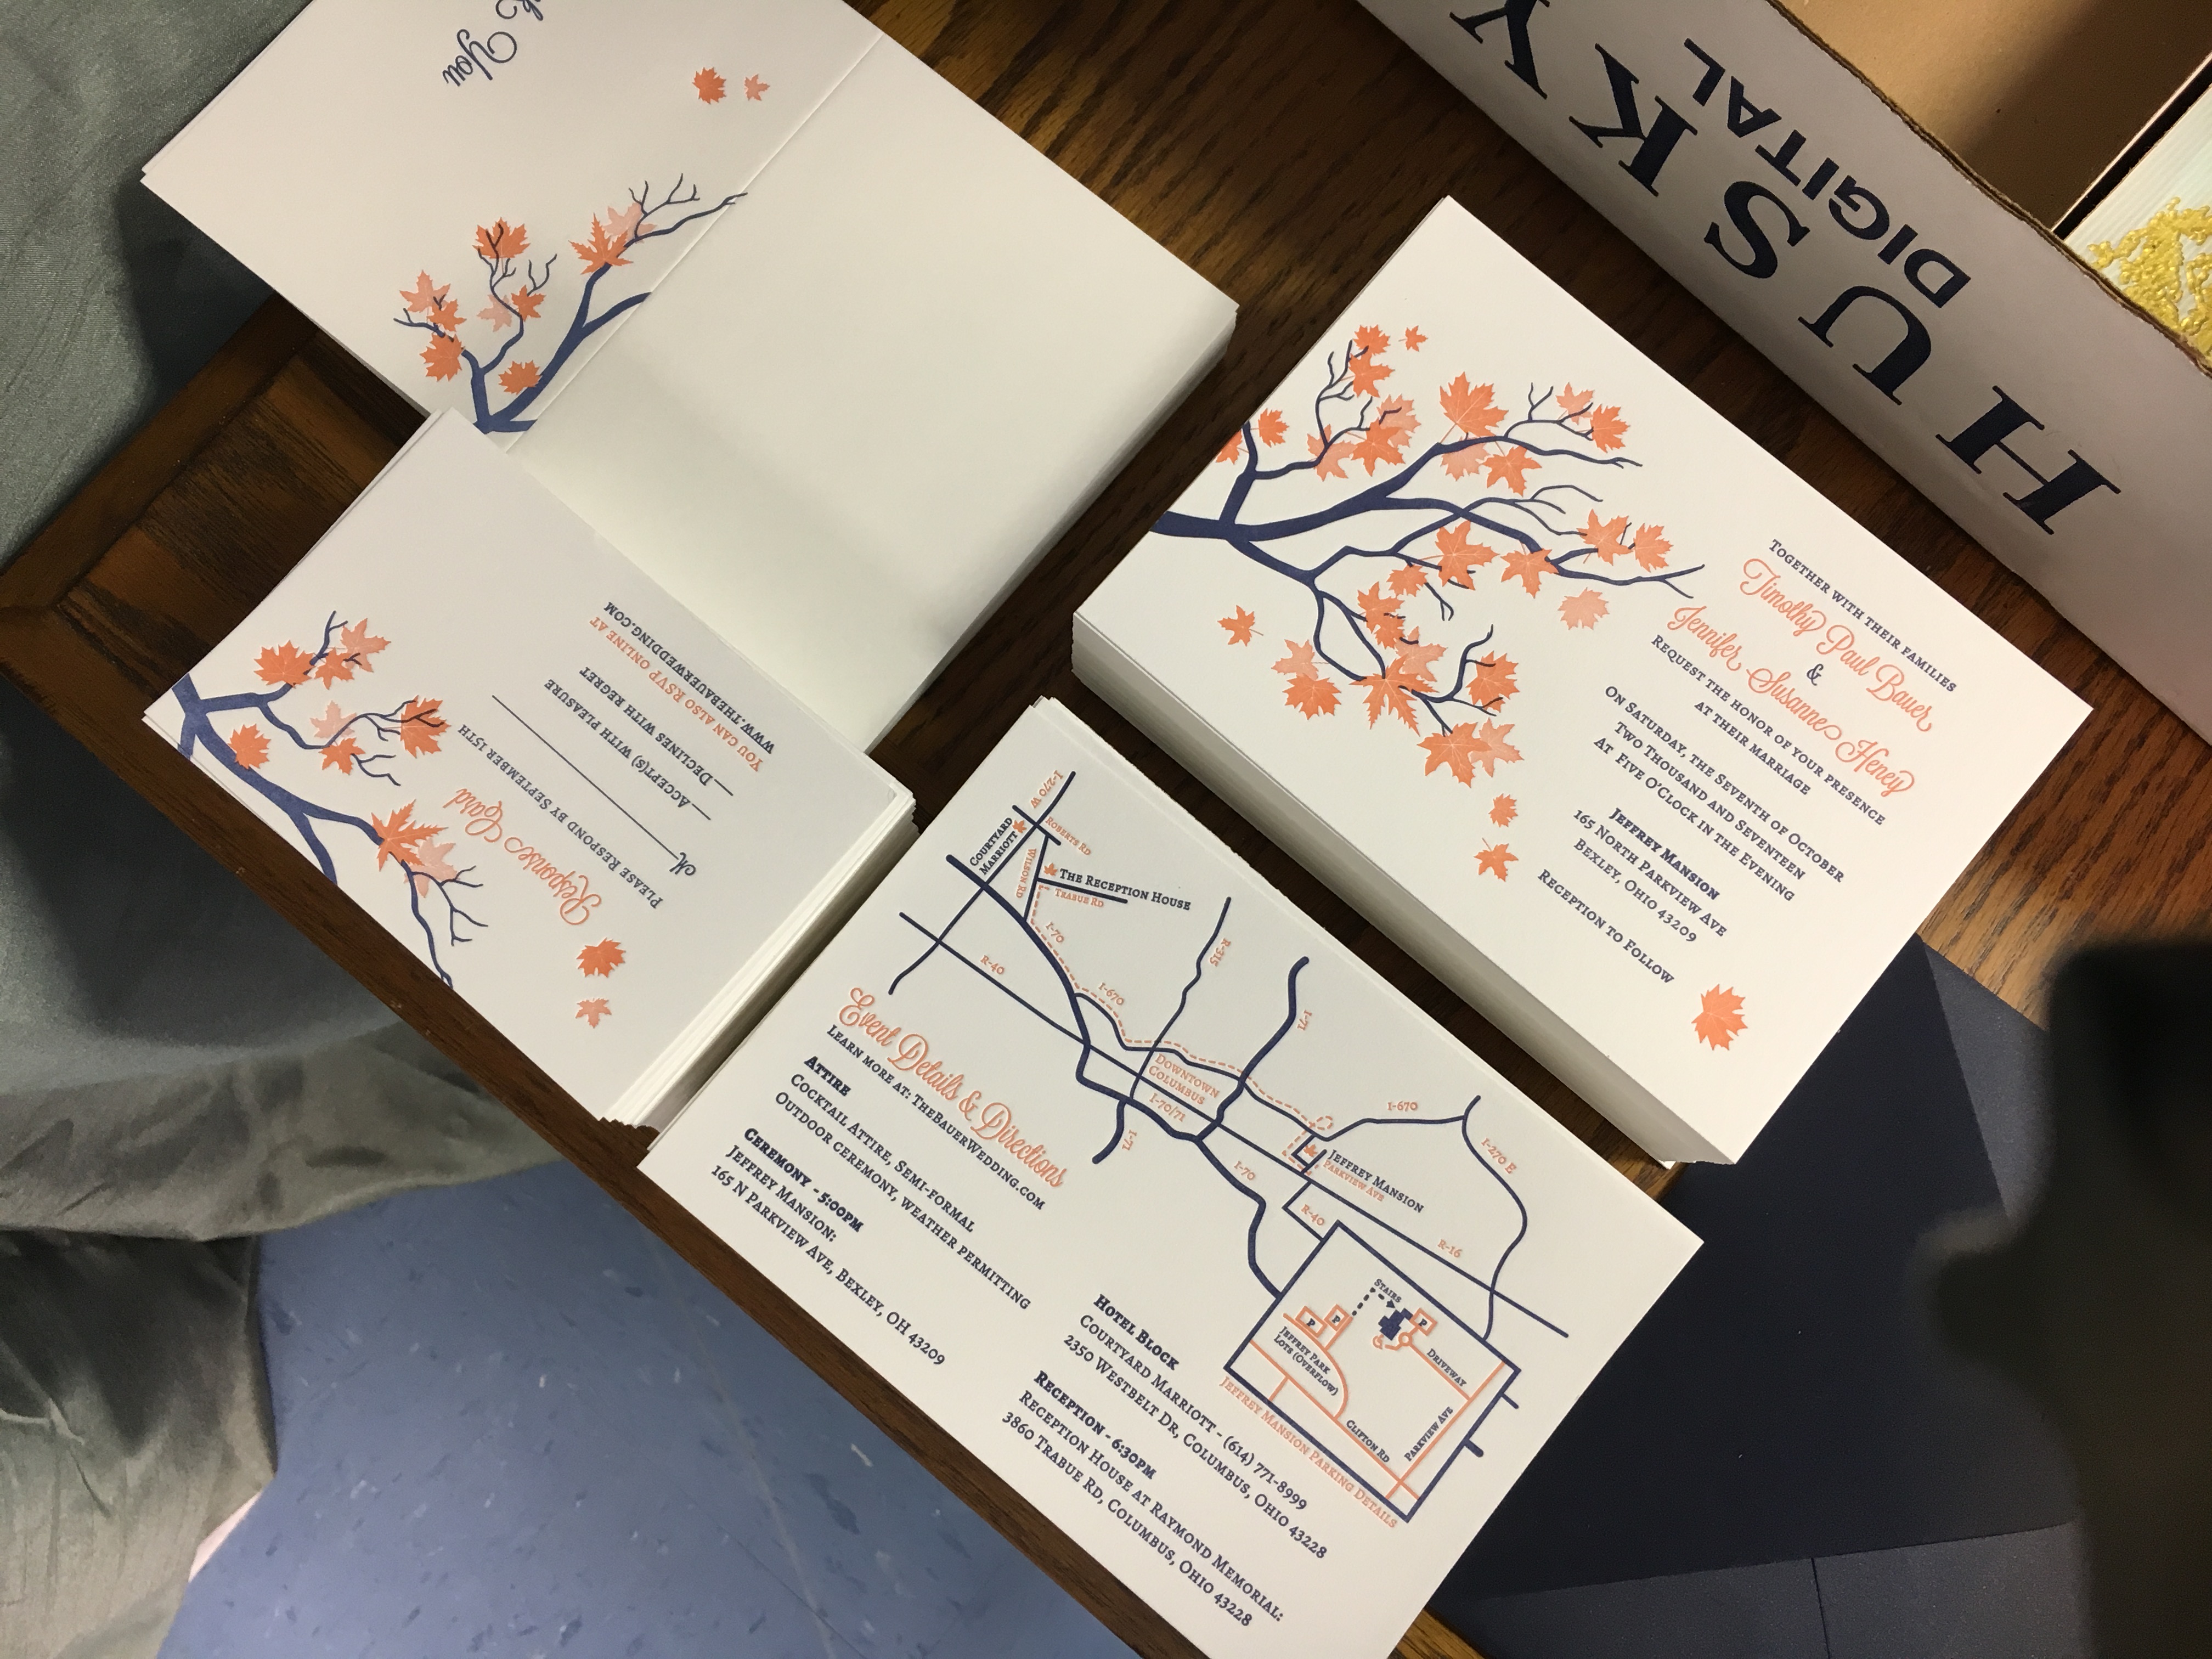
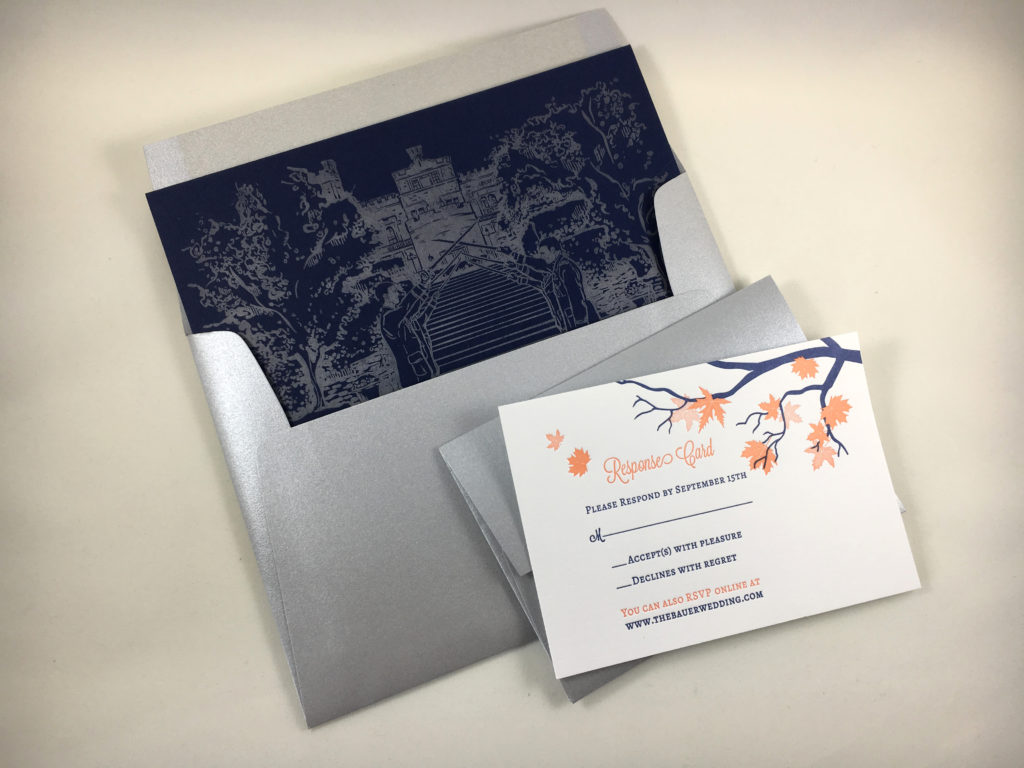
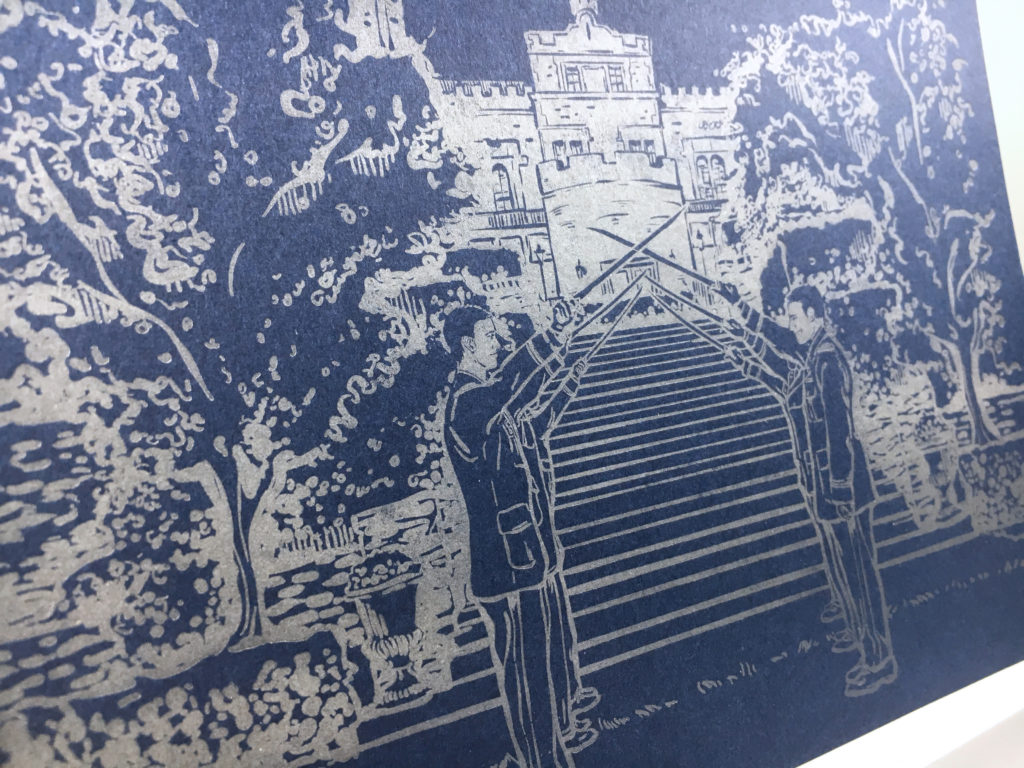
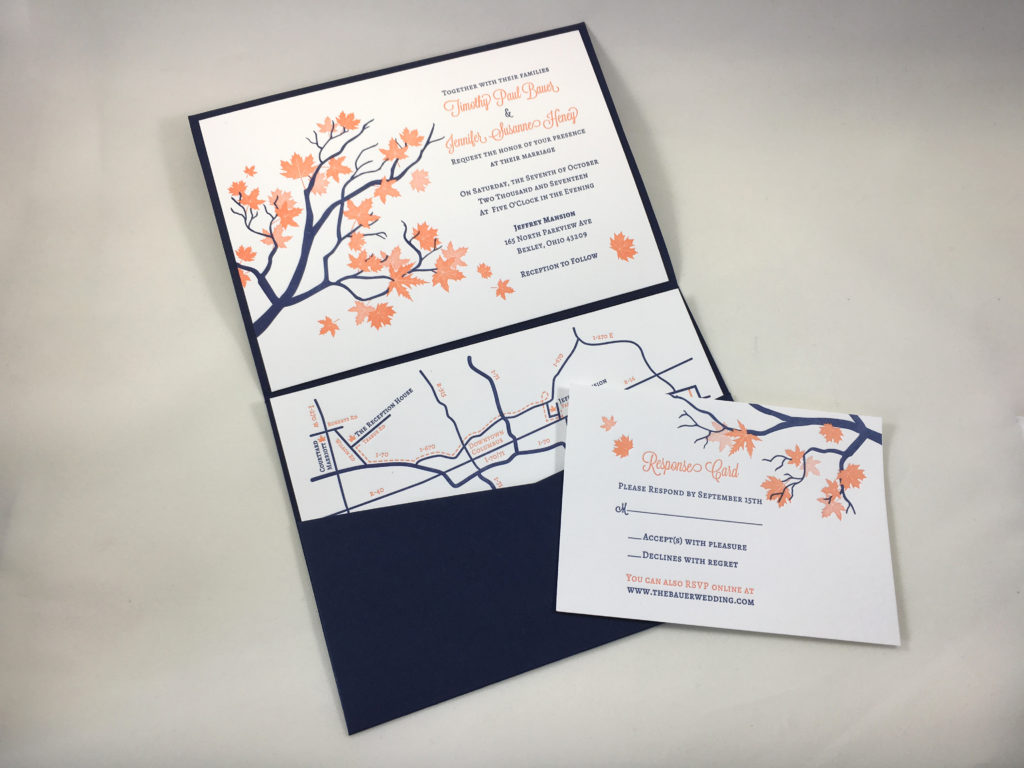
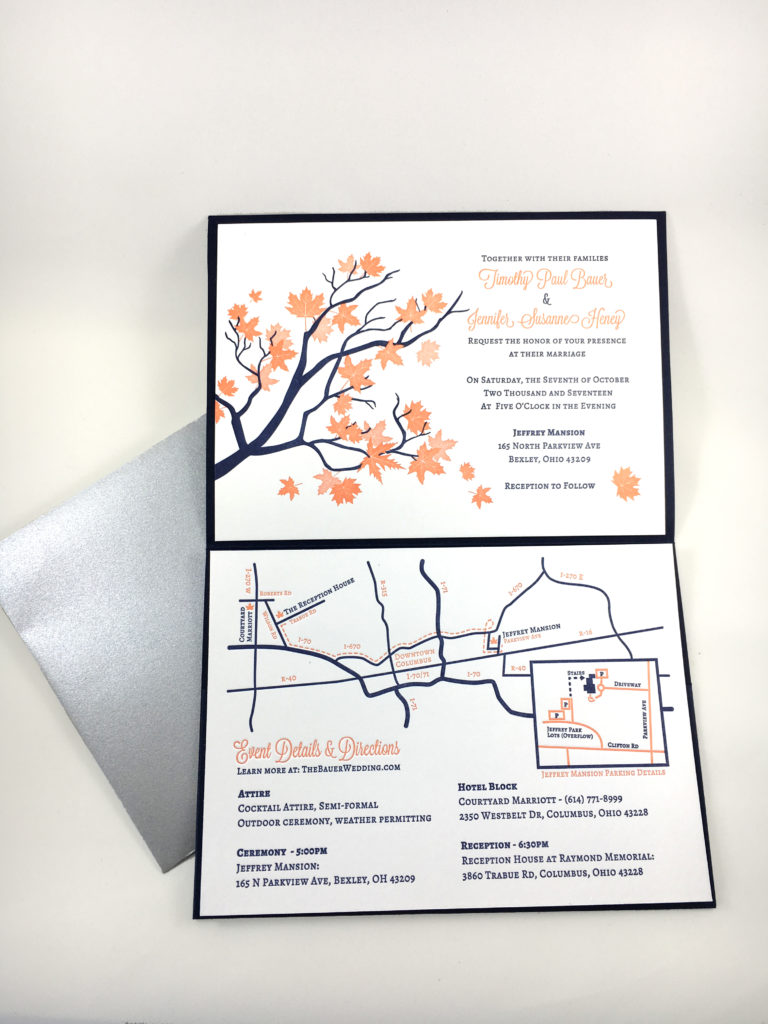
This job was a two color, three part wedding suite with an illustration designed to be printed on the folder that encases the suite. You can see some of the sketches I sent the client and then some possible print options for the illustration.
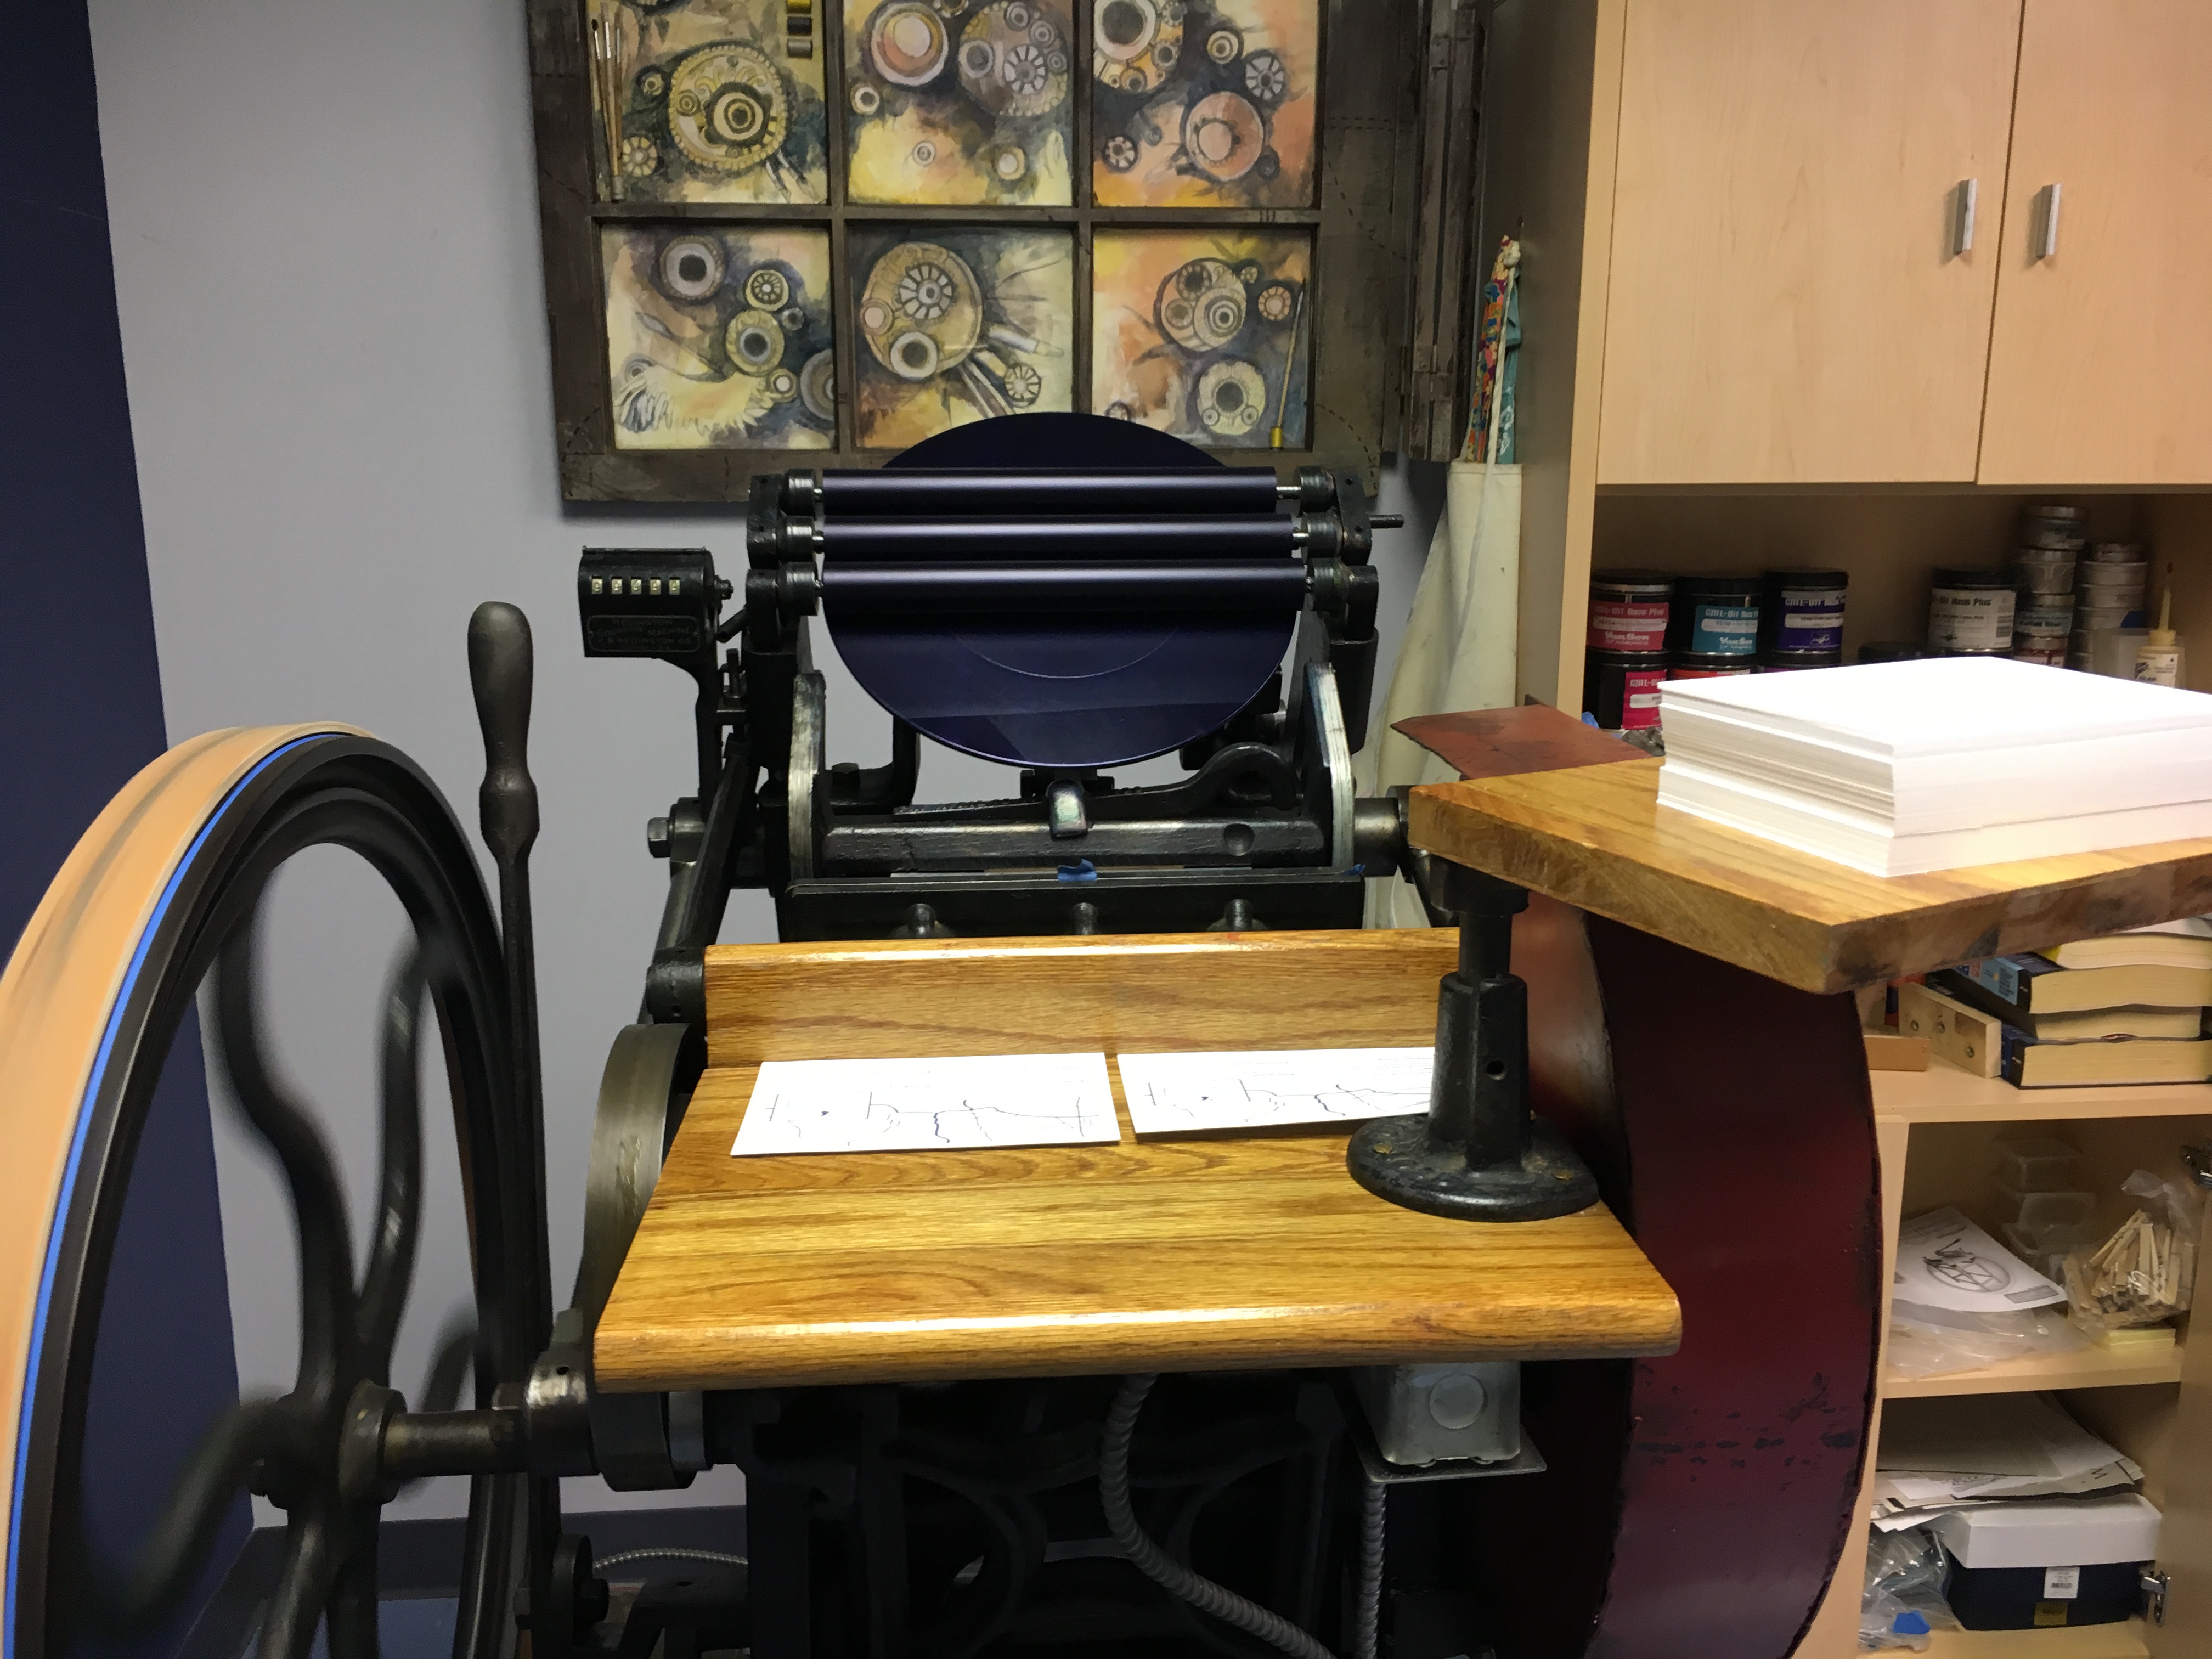
On to printing. In most cases I would print the lighter color (orange) first. For this job, it was important to print the navy first because it was the ‘key’ plate. The way this plate hits the edges is more important than how the orange does and the orange isn’t full bleed.
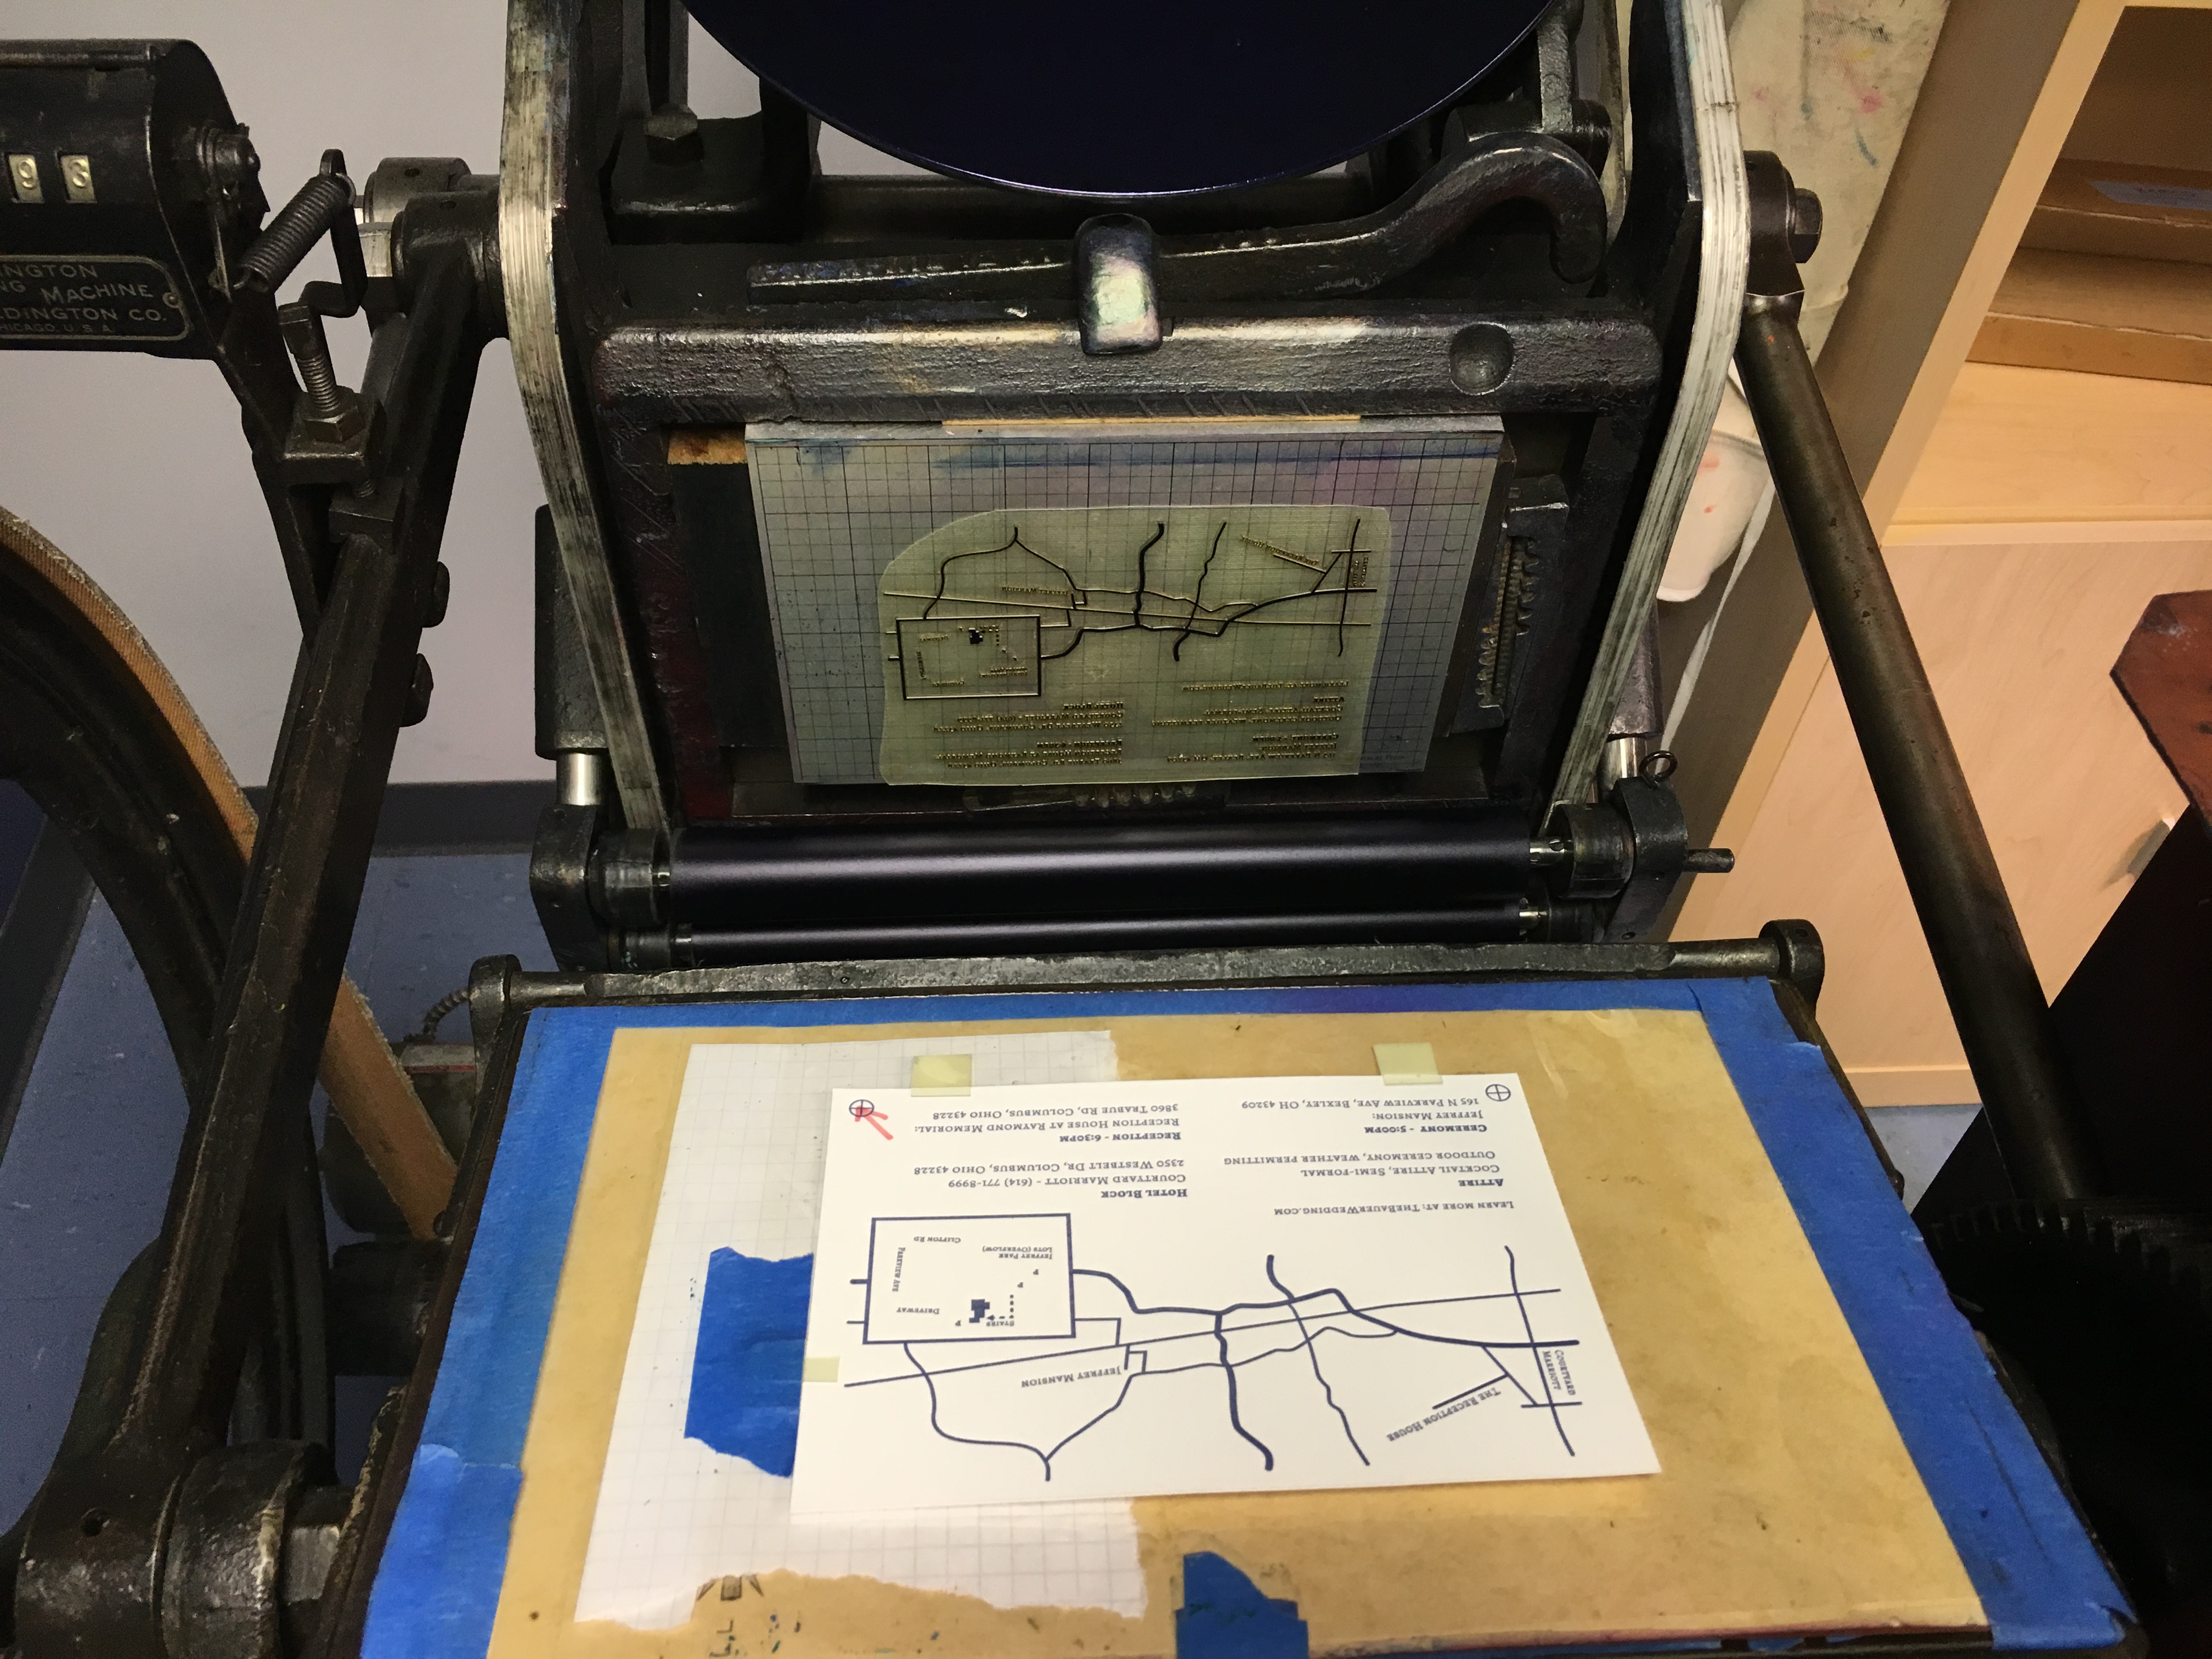
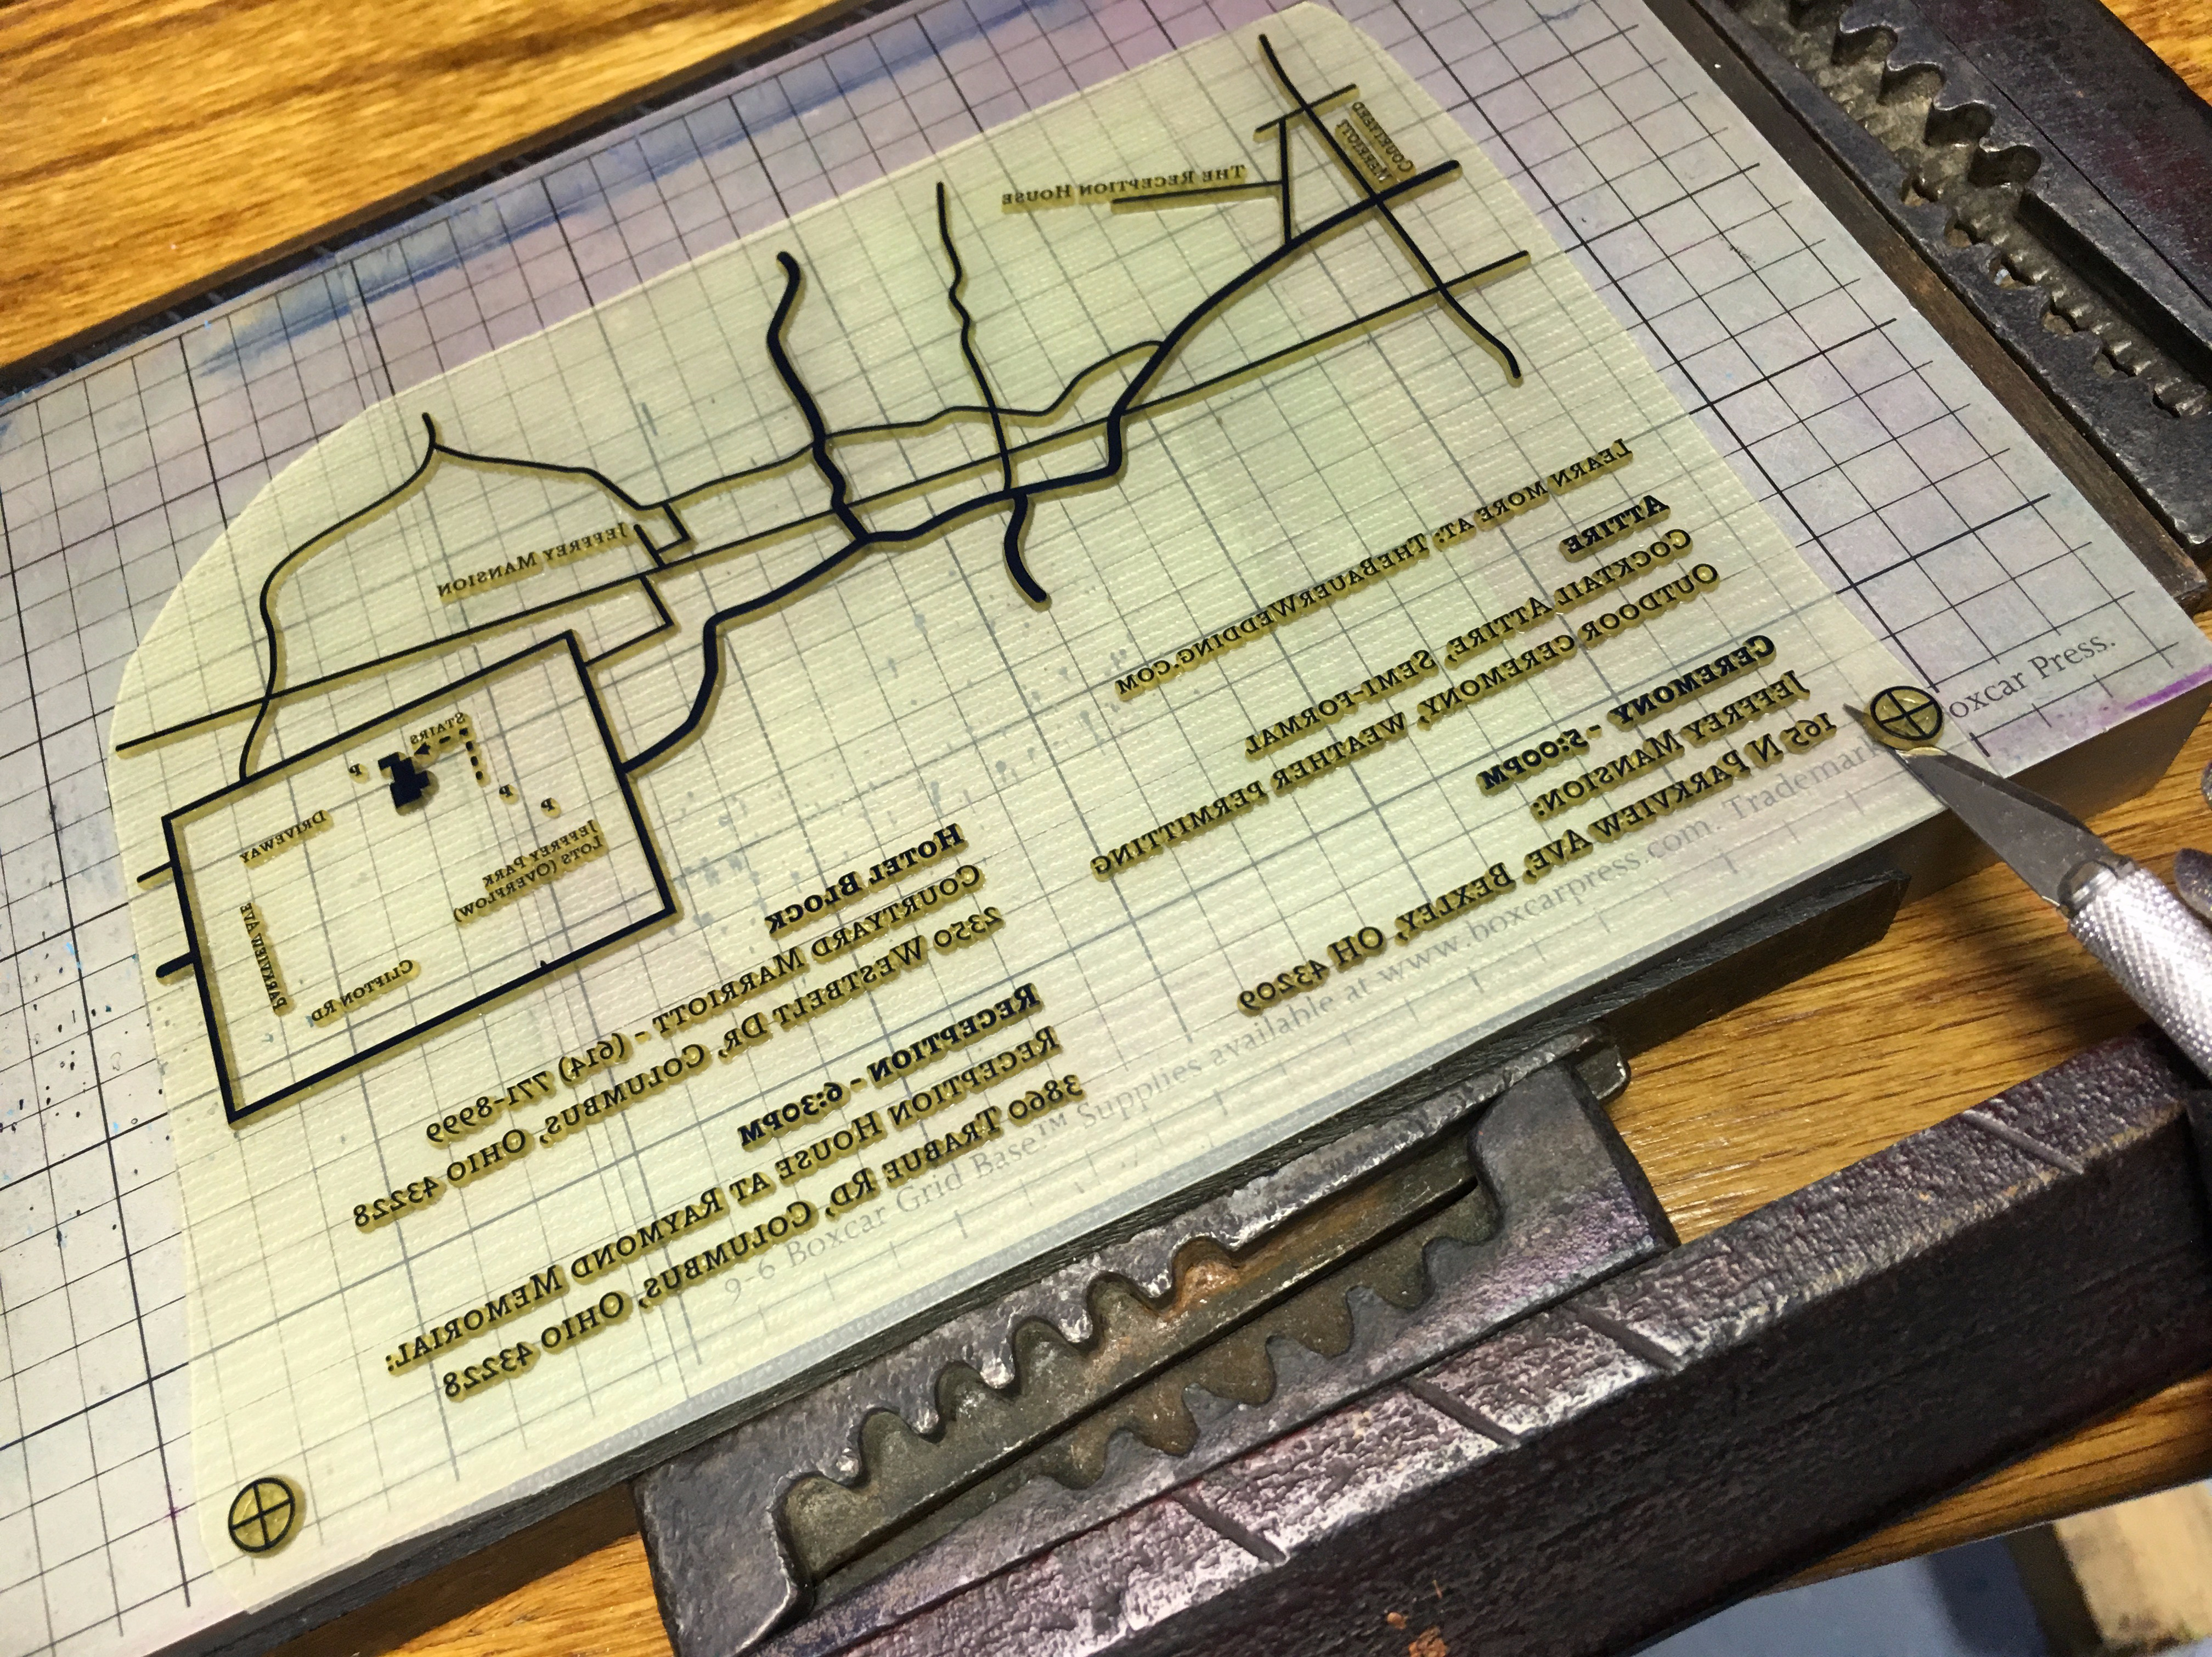
I began with my typical lineup technique:
- Mark the area where the registration marks are supposed to sit drawing a parallel line across the sheet to ensure it will sit straight
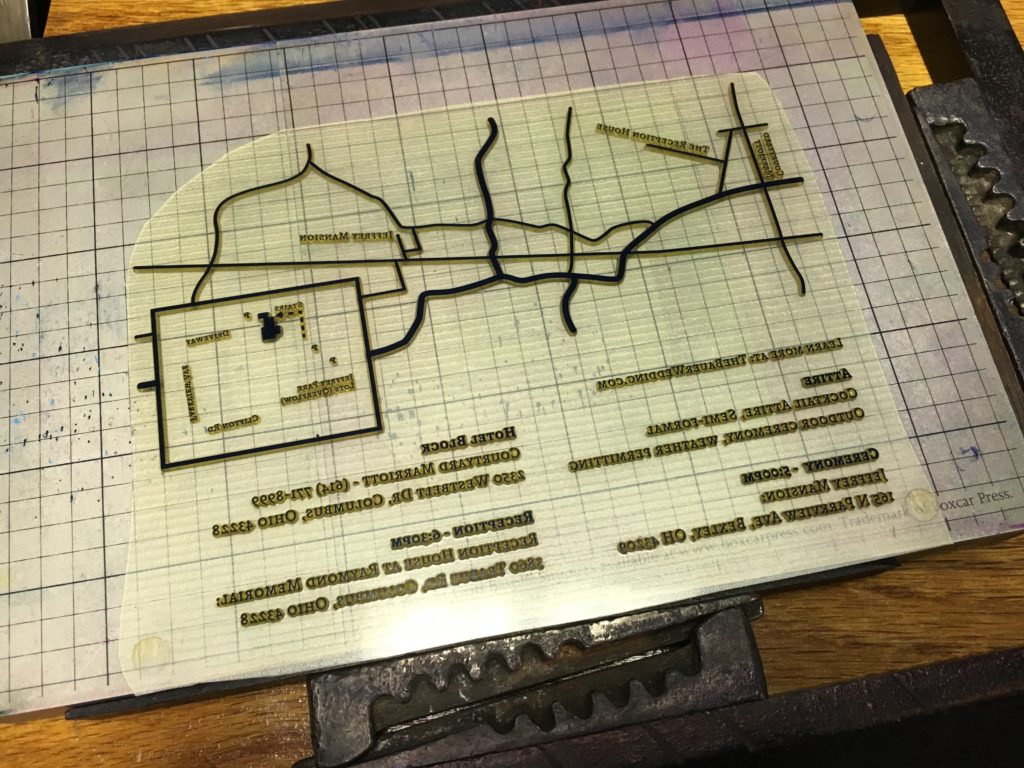
- Align the plate face down on the card to ensure the fit is right
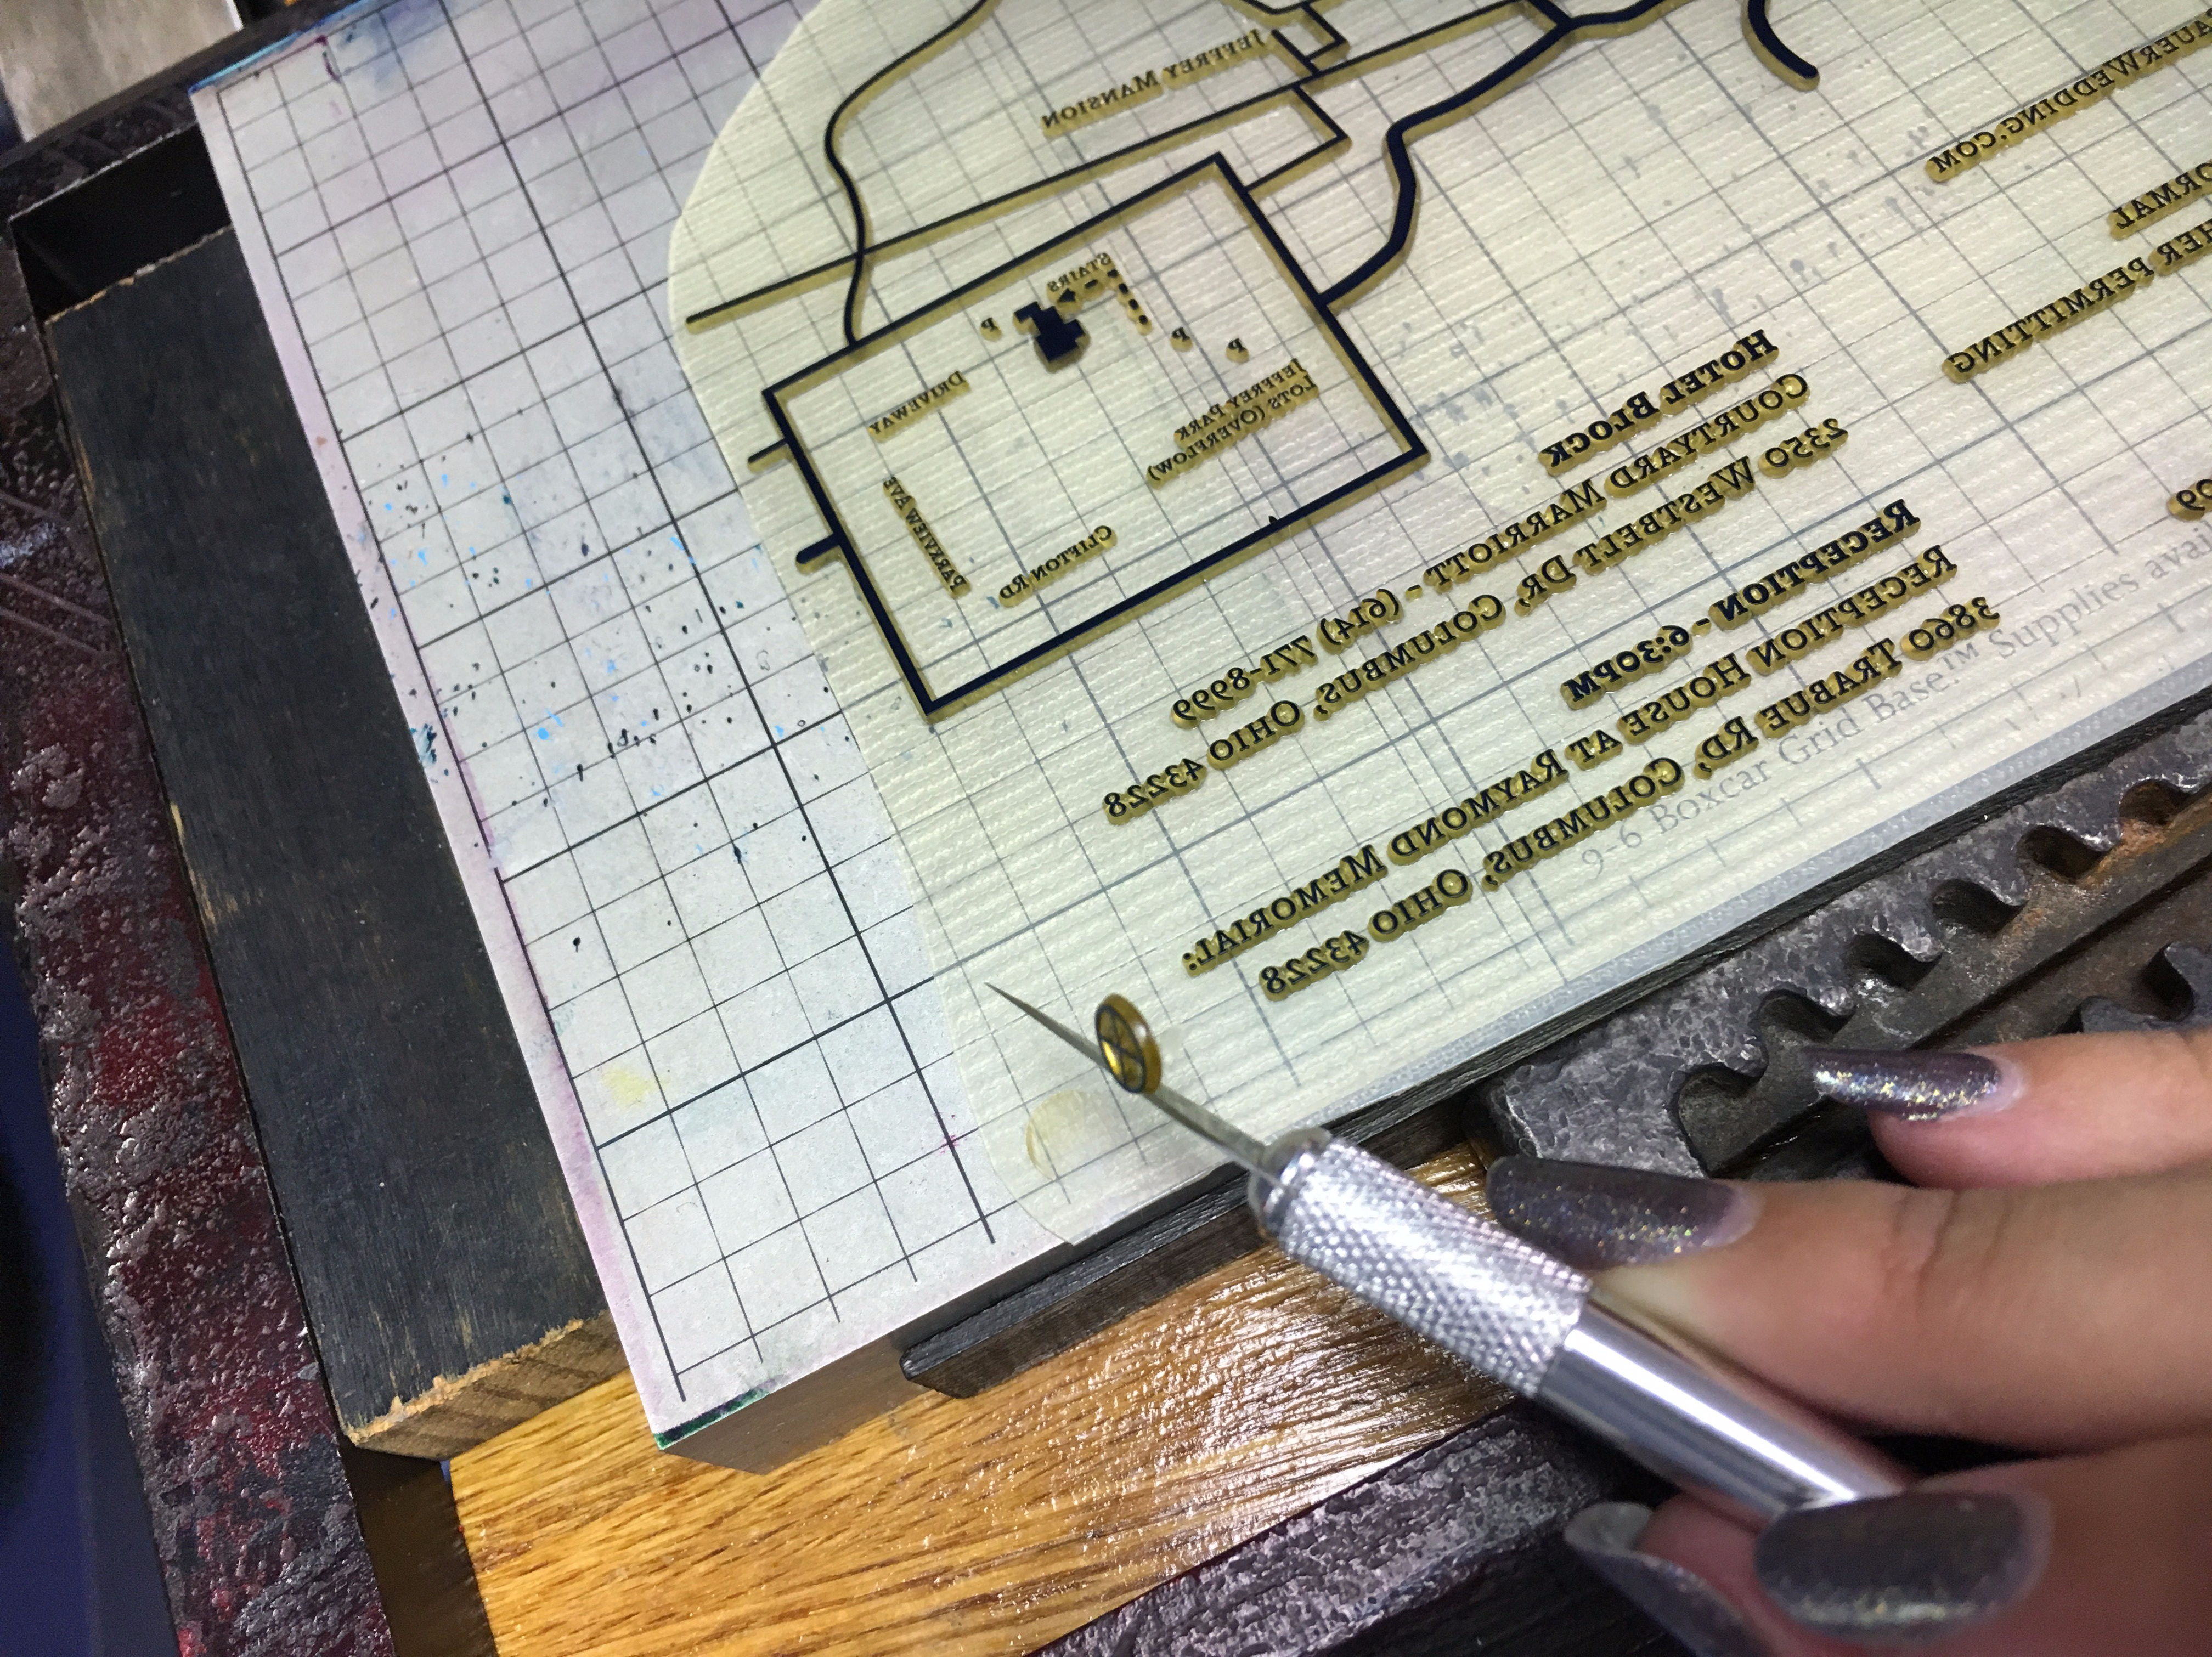
- Add tape to negative areas of the plate and re-align, scooting it carefully until it matches up how it should.
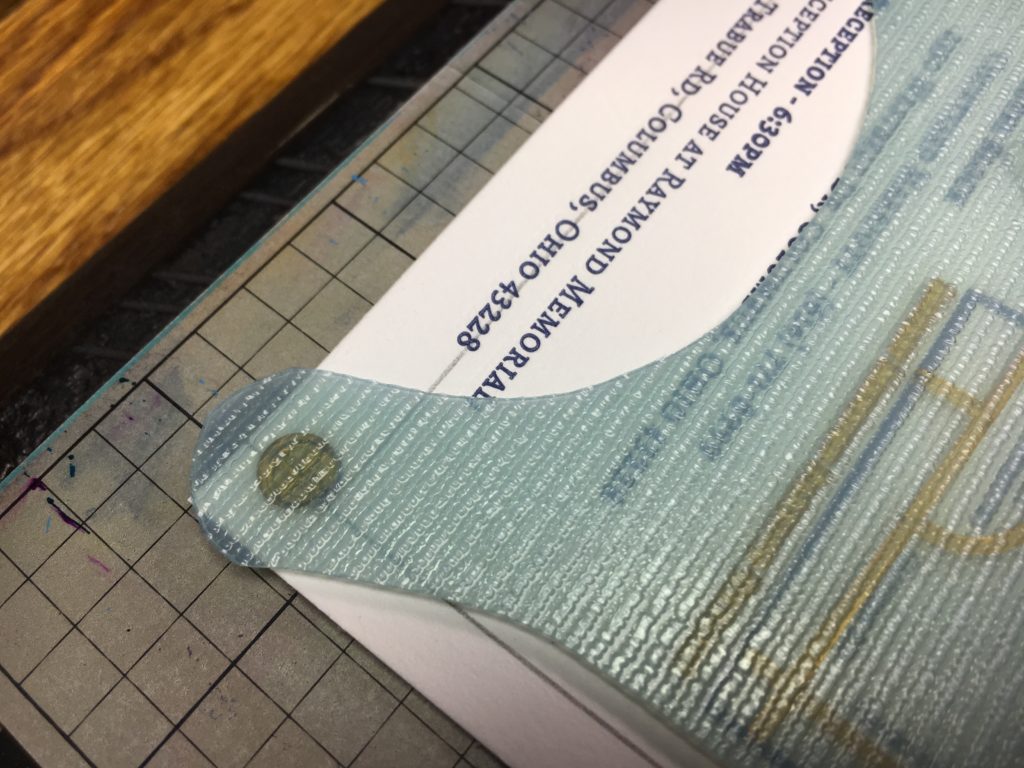
- Peel back the backing and sit the print in the gauge pins, ensuring that the pins are BETWEEN the plate an paper but don’t hit any of the image area of the plate
- Adjust pins if necessary to ensure the plate is as centered on the tympan is possible (pressure is most even in the center)
- Set the press to print and rotate the flywheel slowly until the plate is deposited on the base
- Gently reverse the flywheel – reach in the pull of the sheet of car to keep it from pulling the gauge pins away from the tympan
- Take enough test prints to ensure you can line up any additional colors with your registration marks
- Cut off your registration marks with a blade (CUT AWAY FROM THE IMAGE AREA)
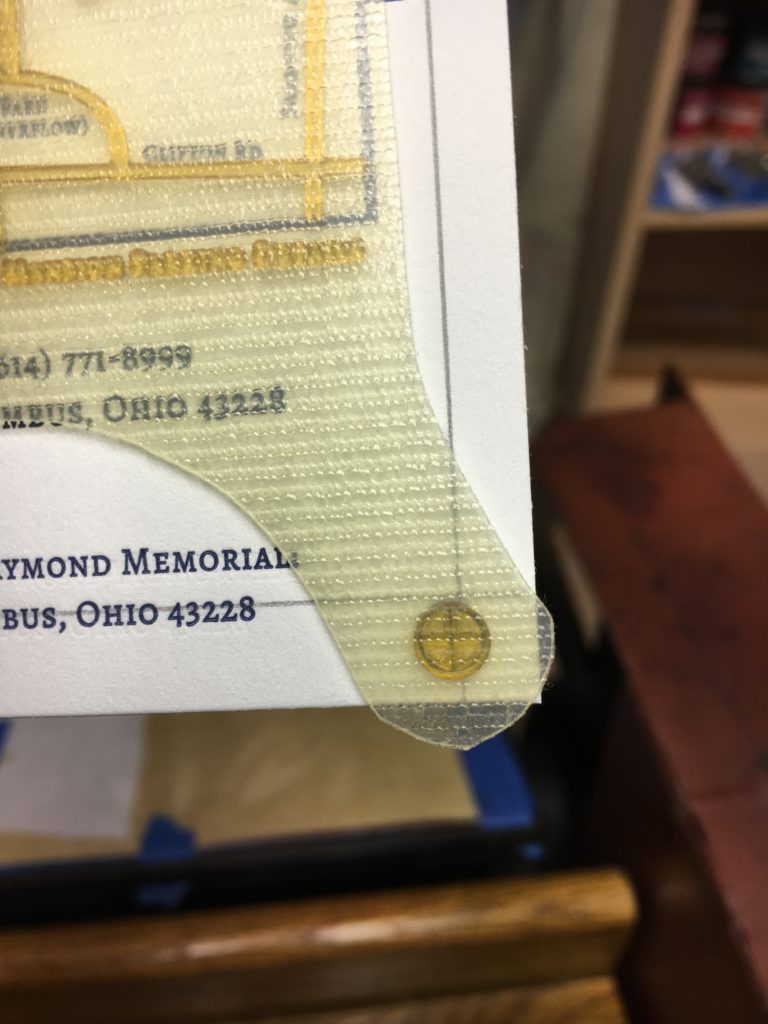
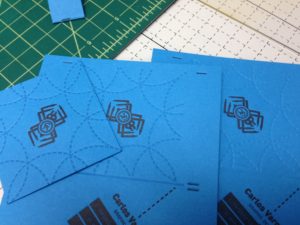
- Make sure to mark the corner than feeds towards the pins – it is VITALLY important that your subsequent colors are feed the same way otherwise any minor differences in paper size will affect the line up. In the image above and below this list you can see red arrows – this indicates that I will need to feed this set of prints in this direction every time no matter how many colors I need to line up.
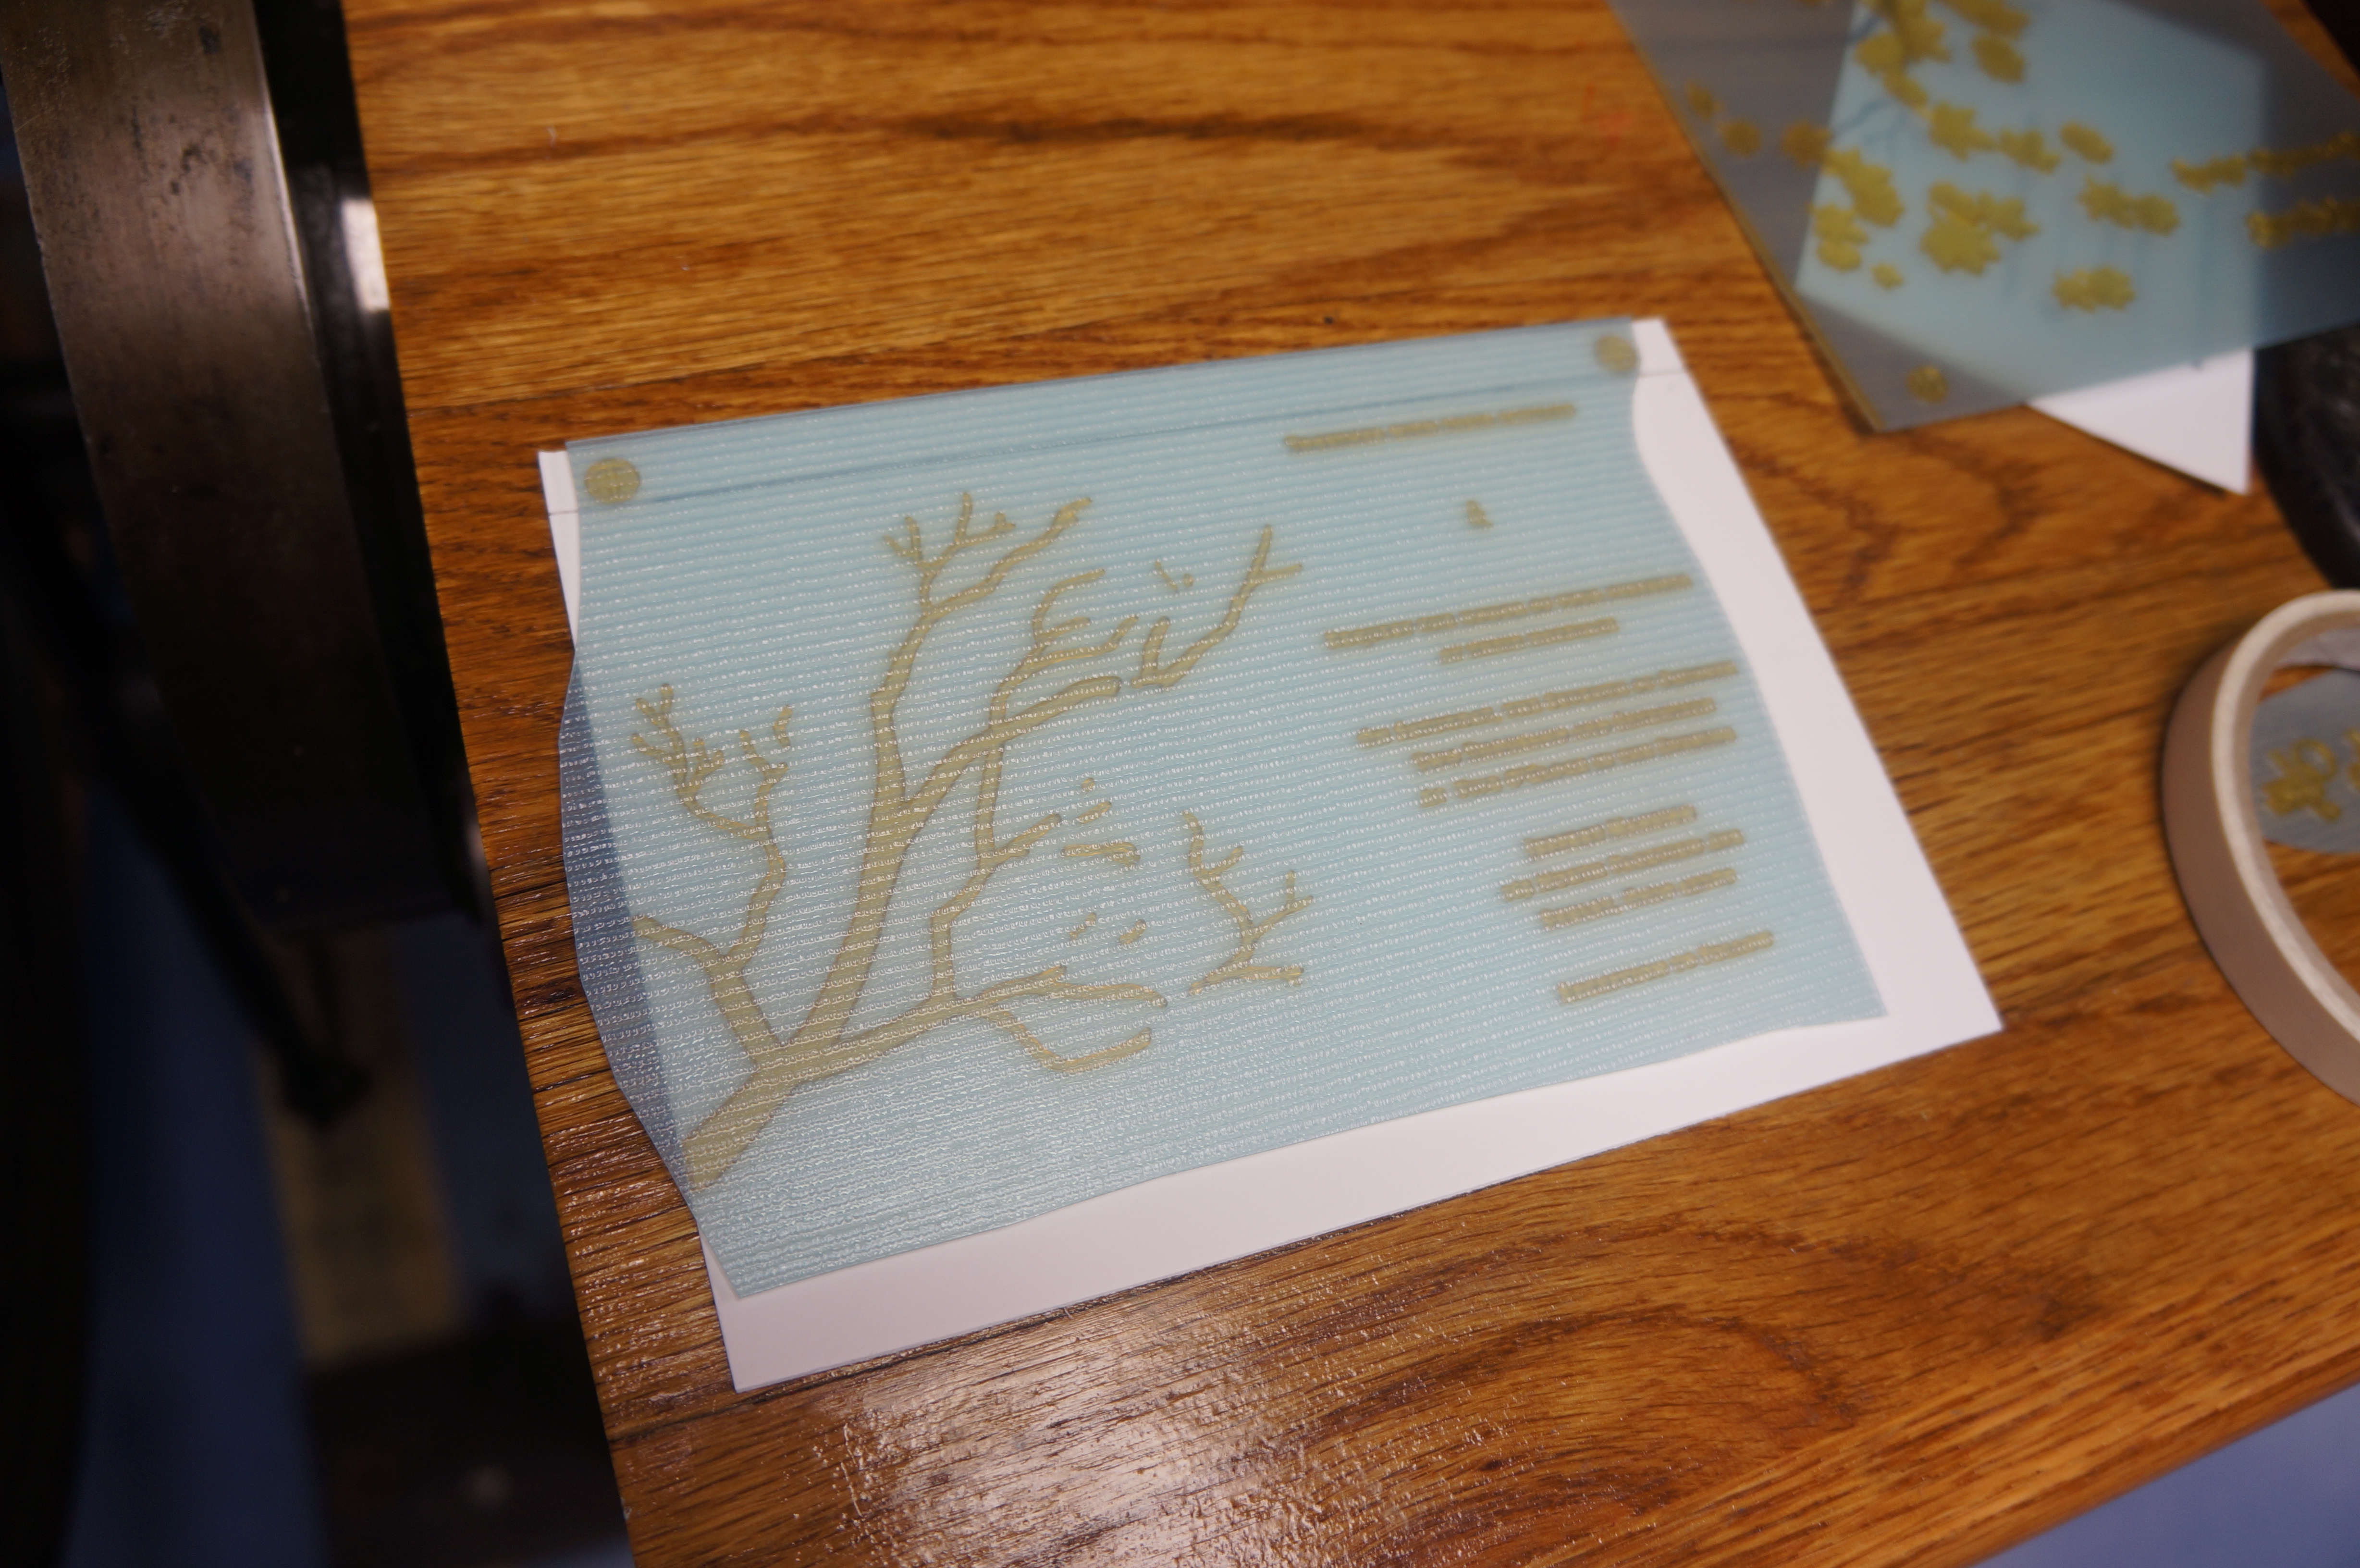
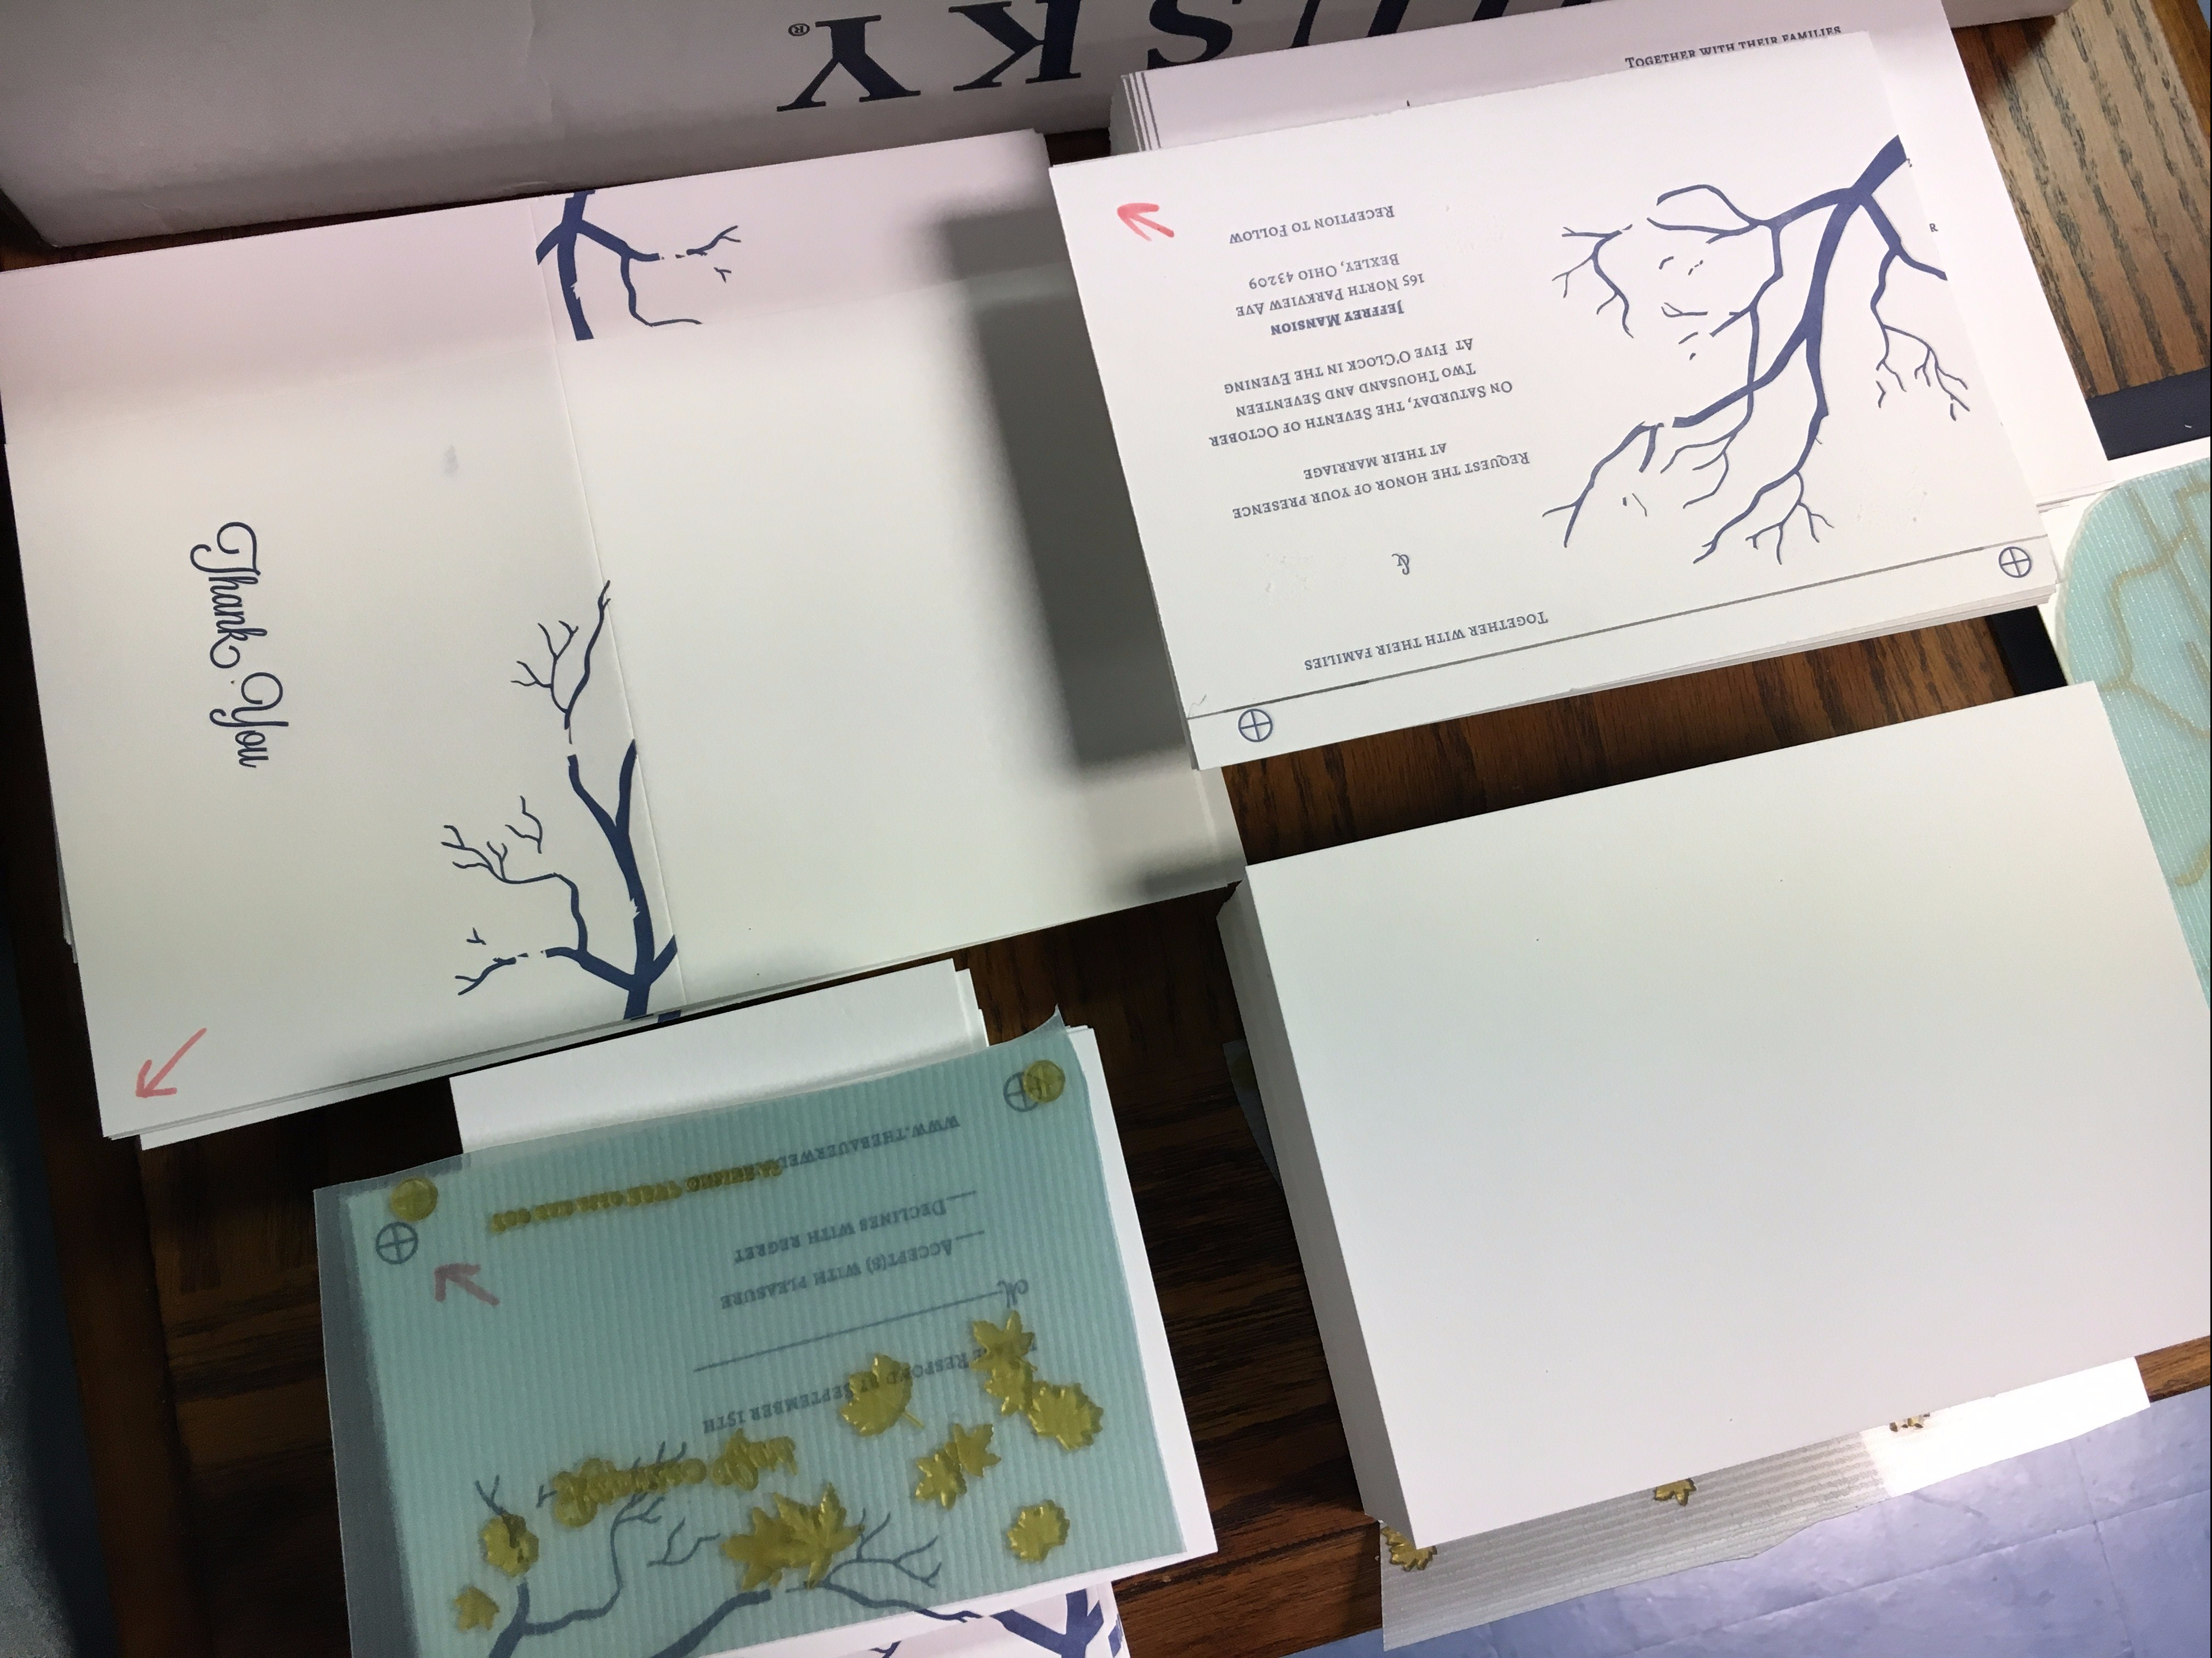
SPECIAL NOTE: If your lineup is very tight (hairline) you may want to avoid removing the chase and just very gently and slowly cut the registration marks off while it is locked up. This is important because the chase may be able to scoot very slightly out of alignment when you lock it back in (depends how tightly and perfectly your chase locks into the press)
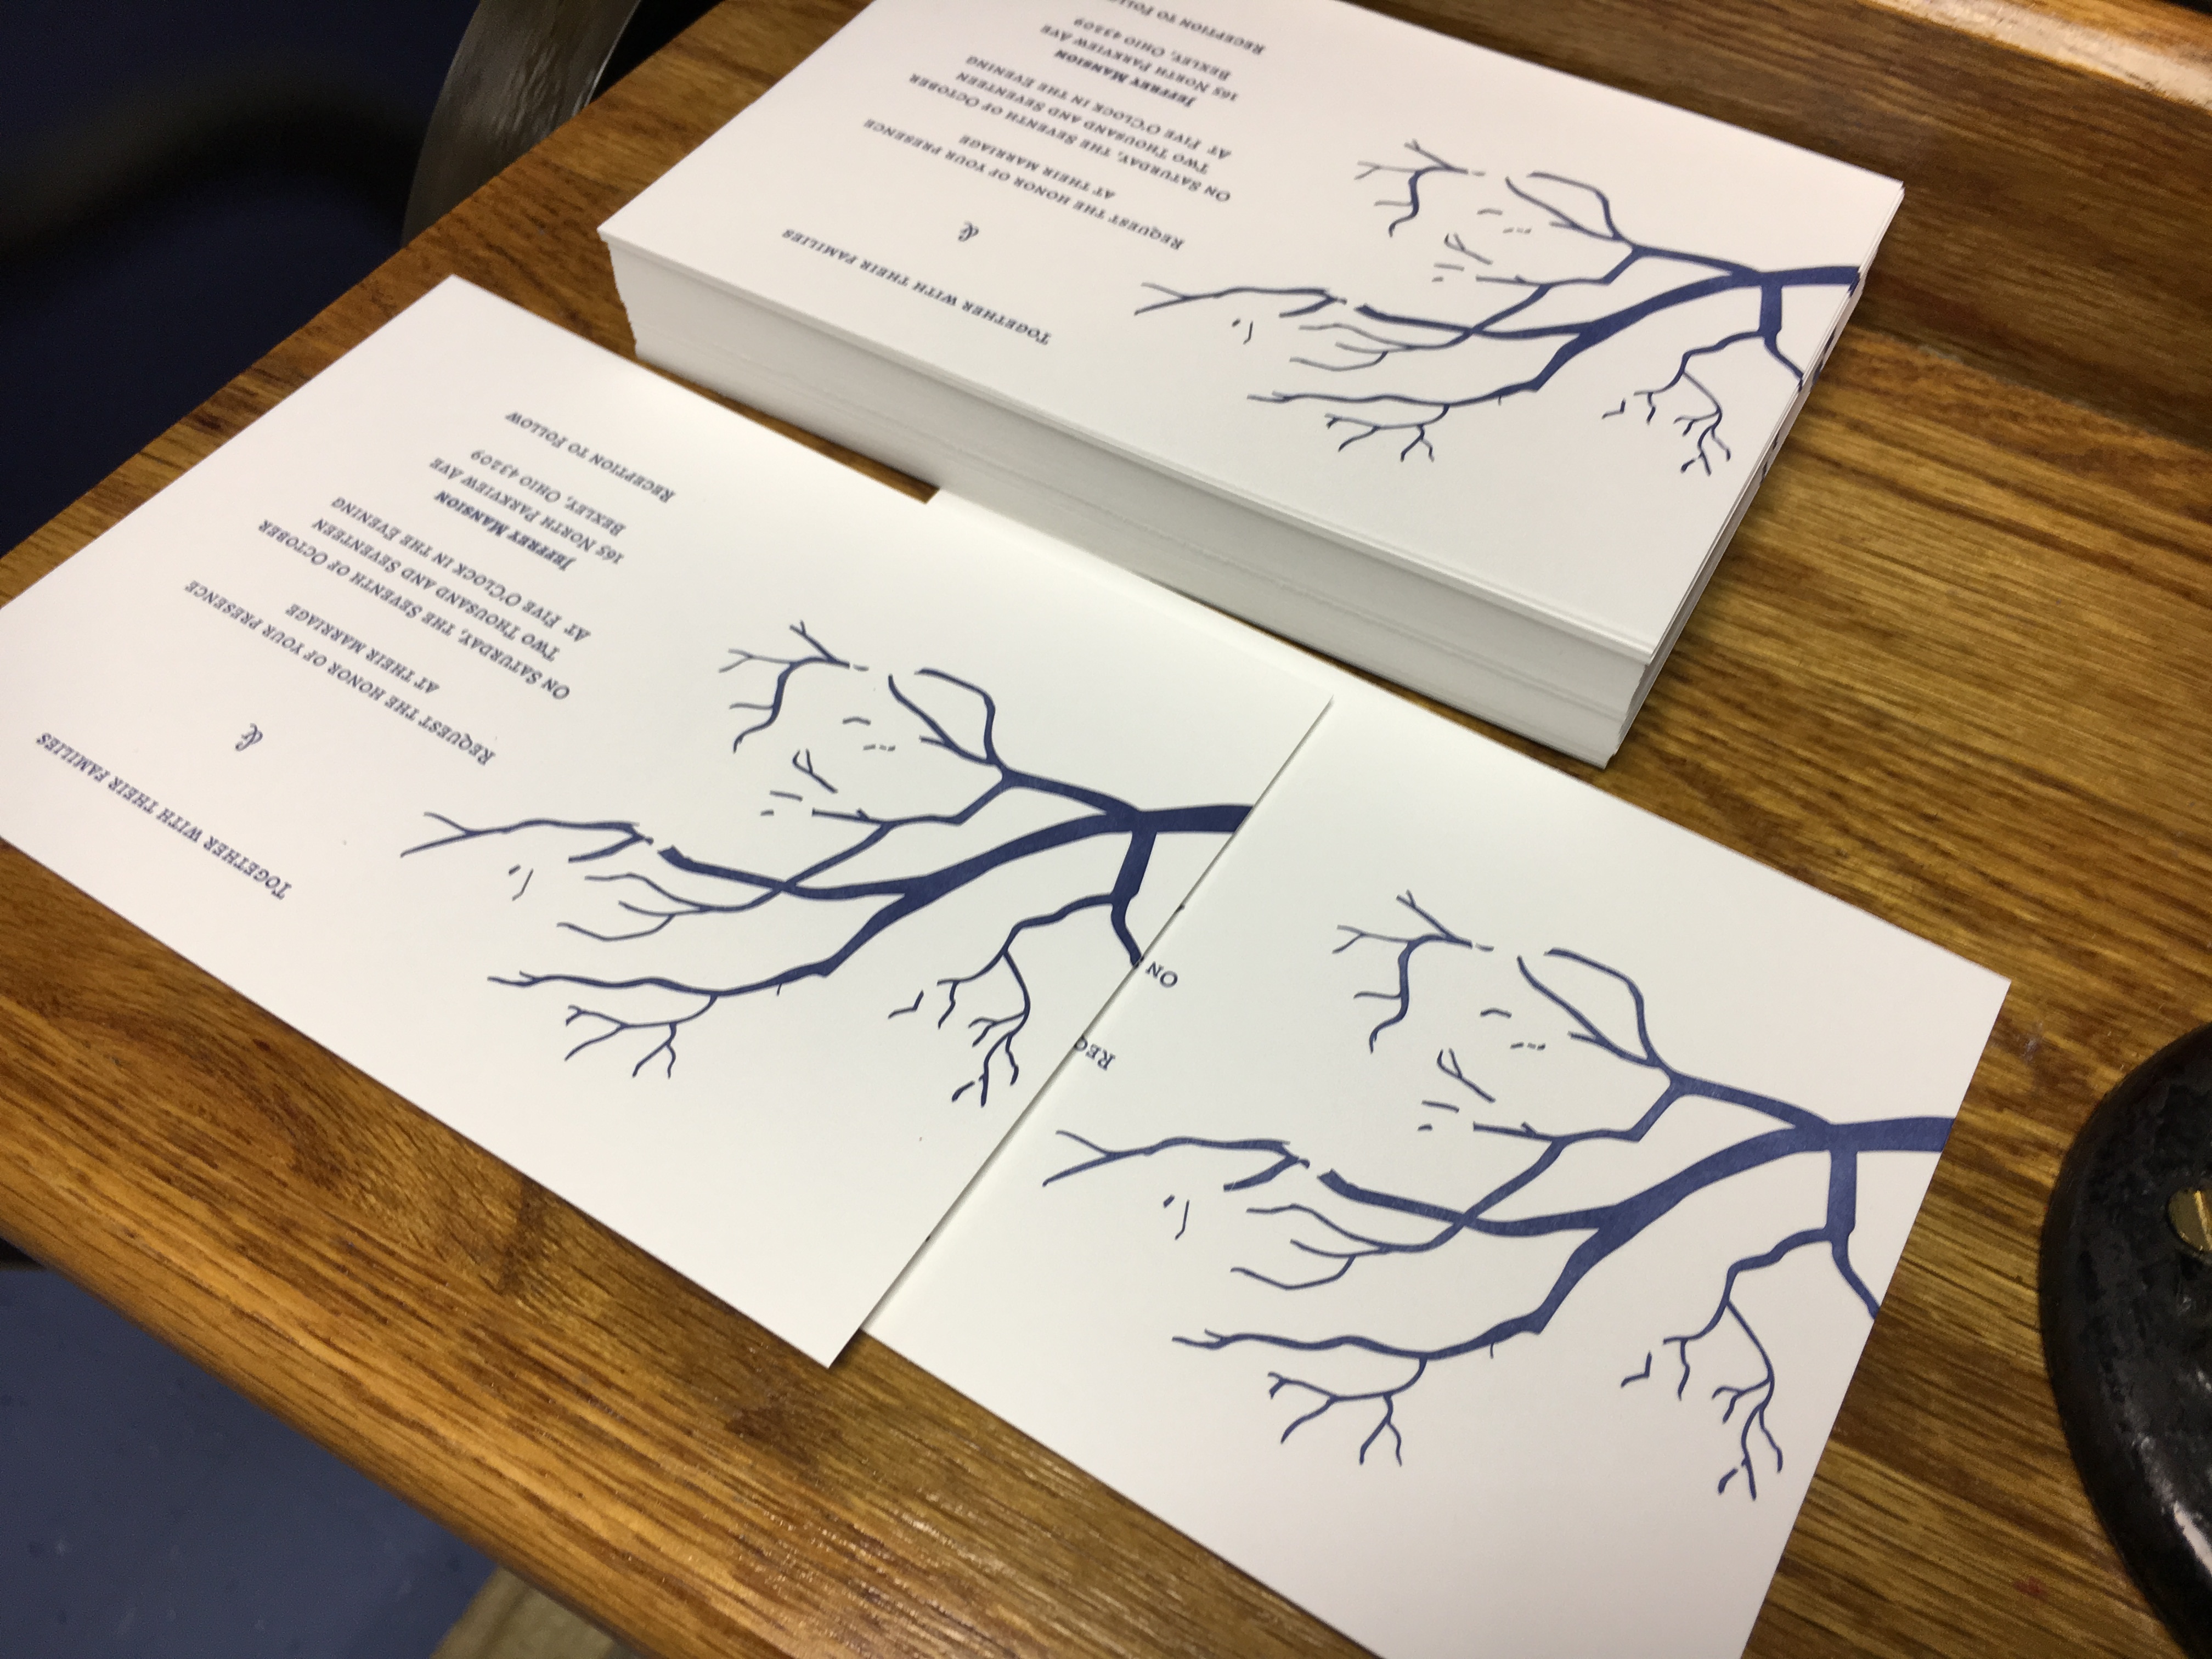
It is always a good idea to keep a ‘perfect’ print visible on your feedboard. This will ensure you have something to compare to as the ink starts to thin out. Having a key print allows you to add ink when necessary to keep the color in at the appropriate shade.
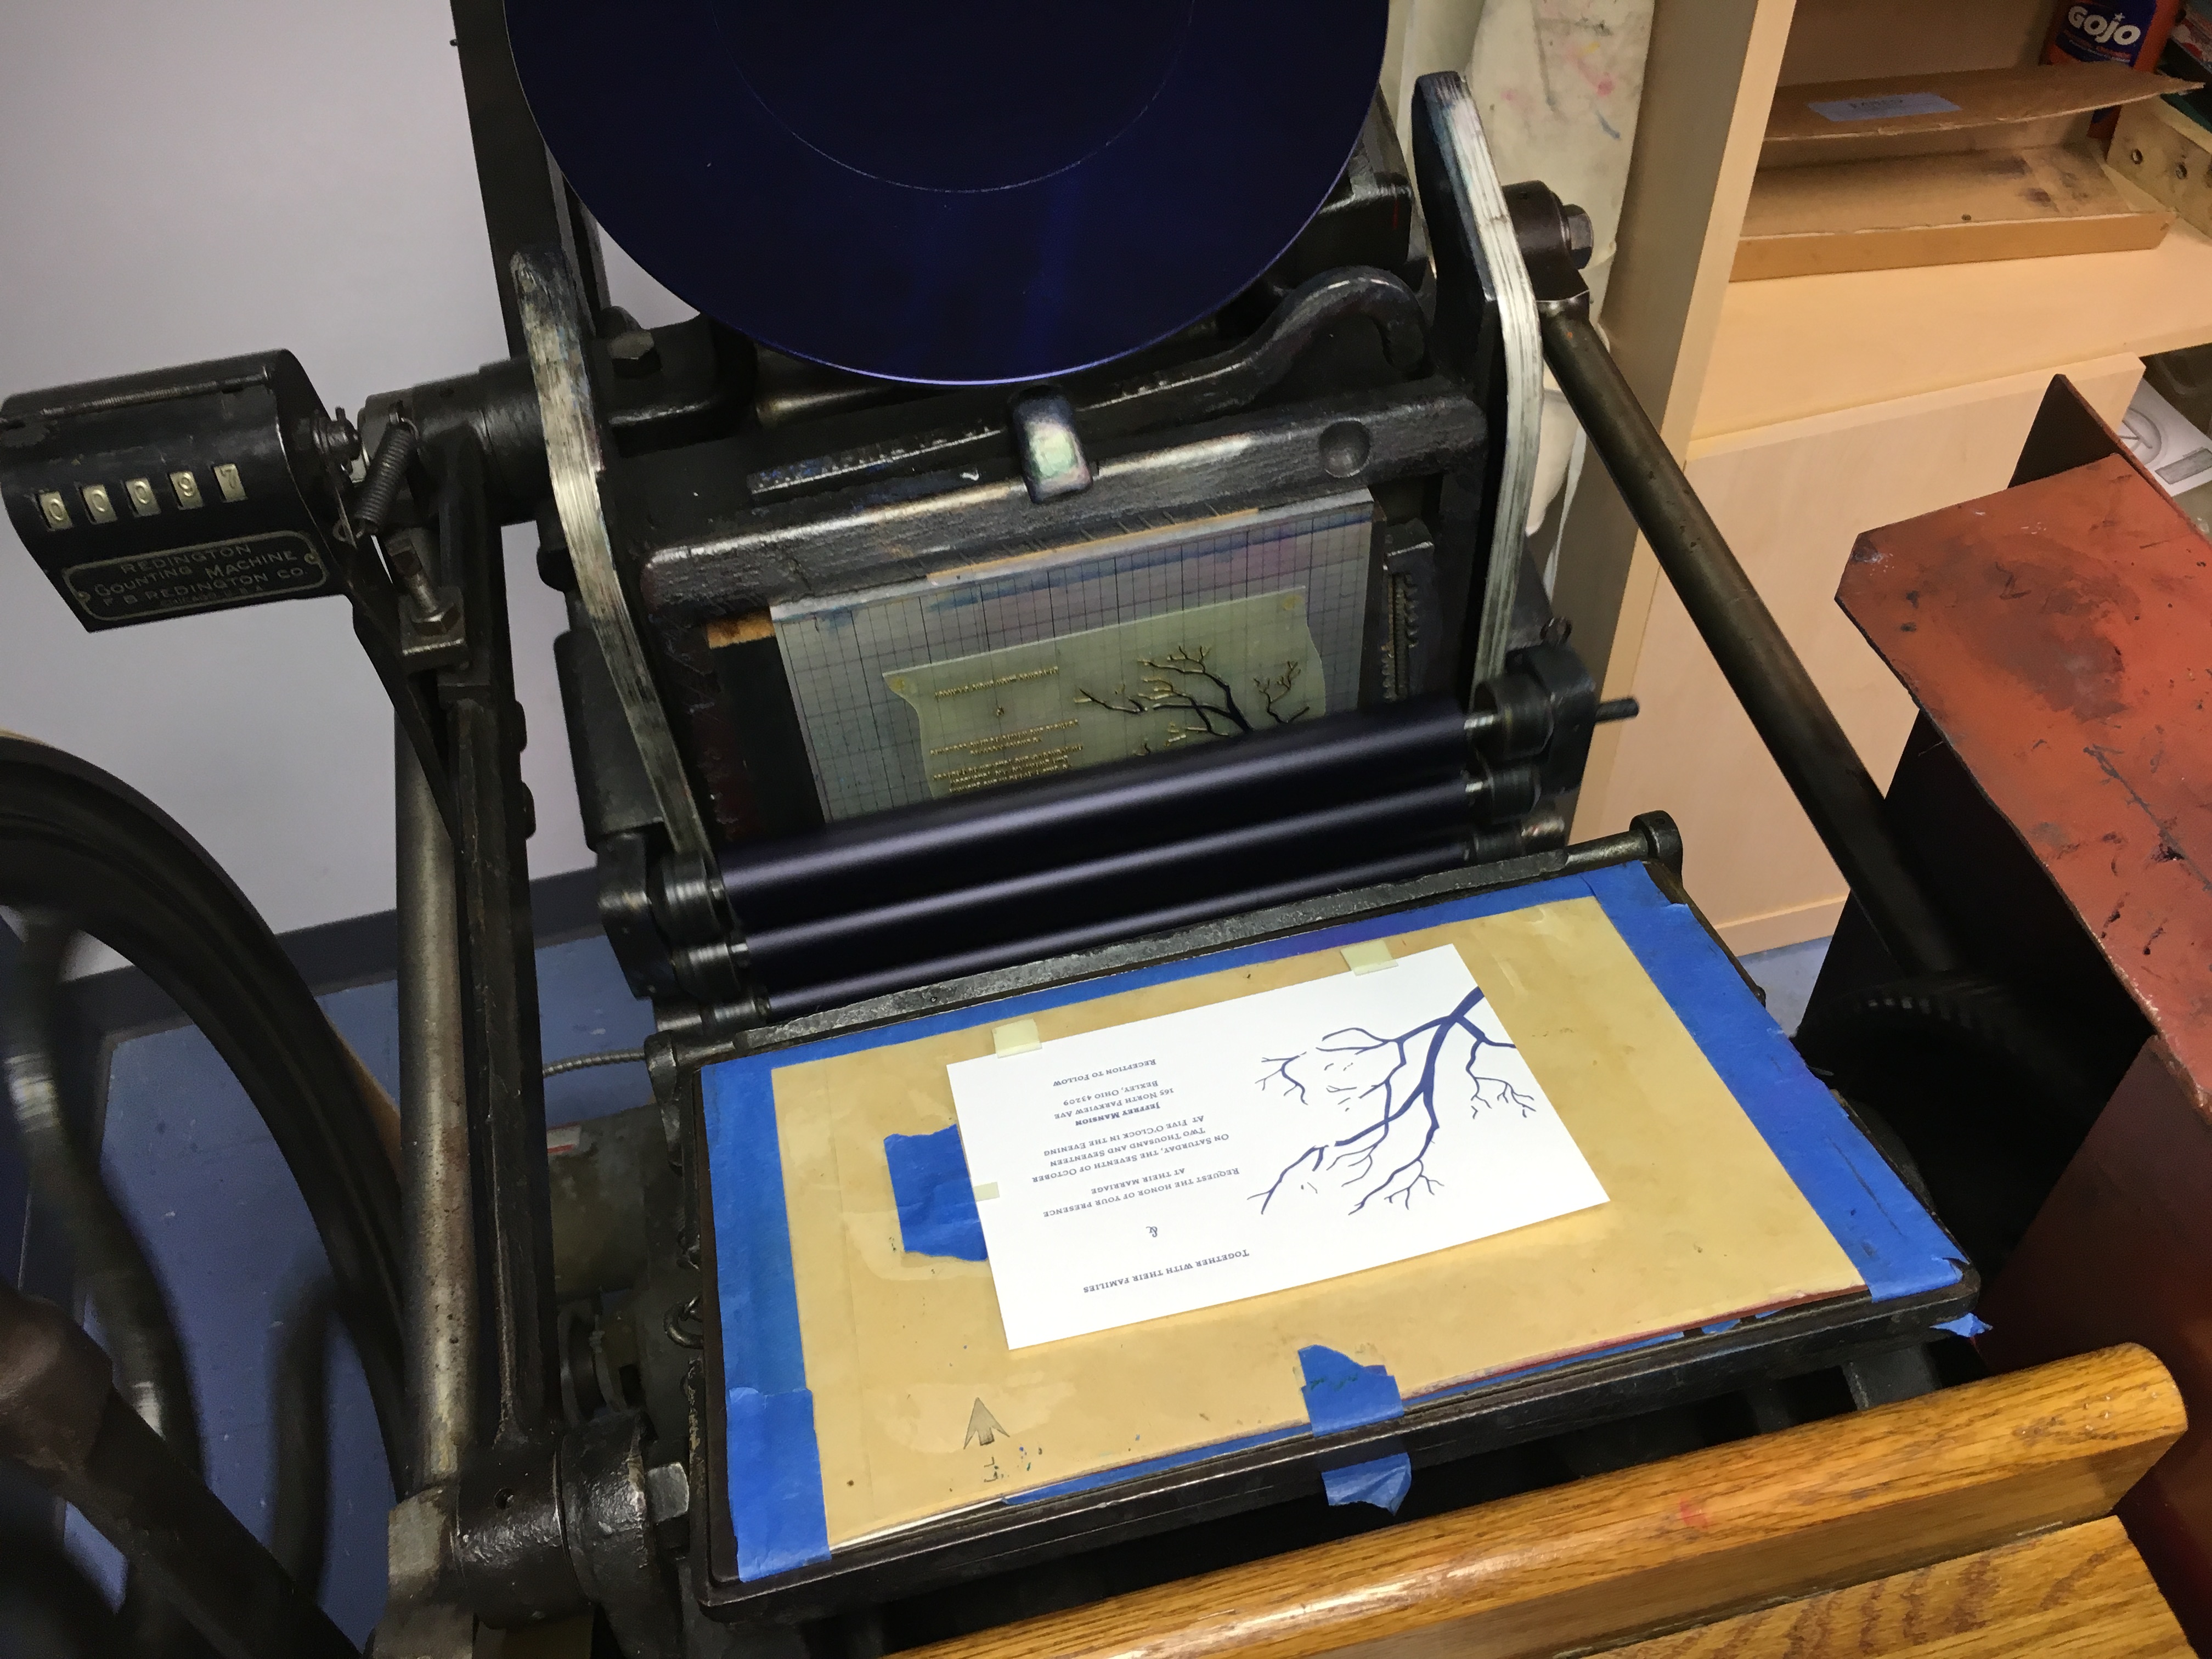
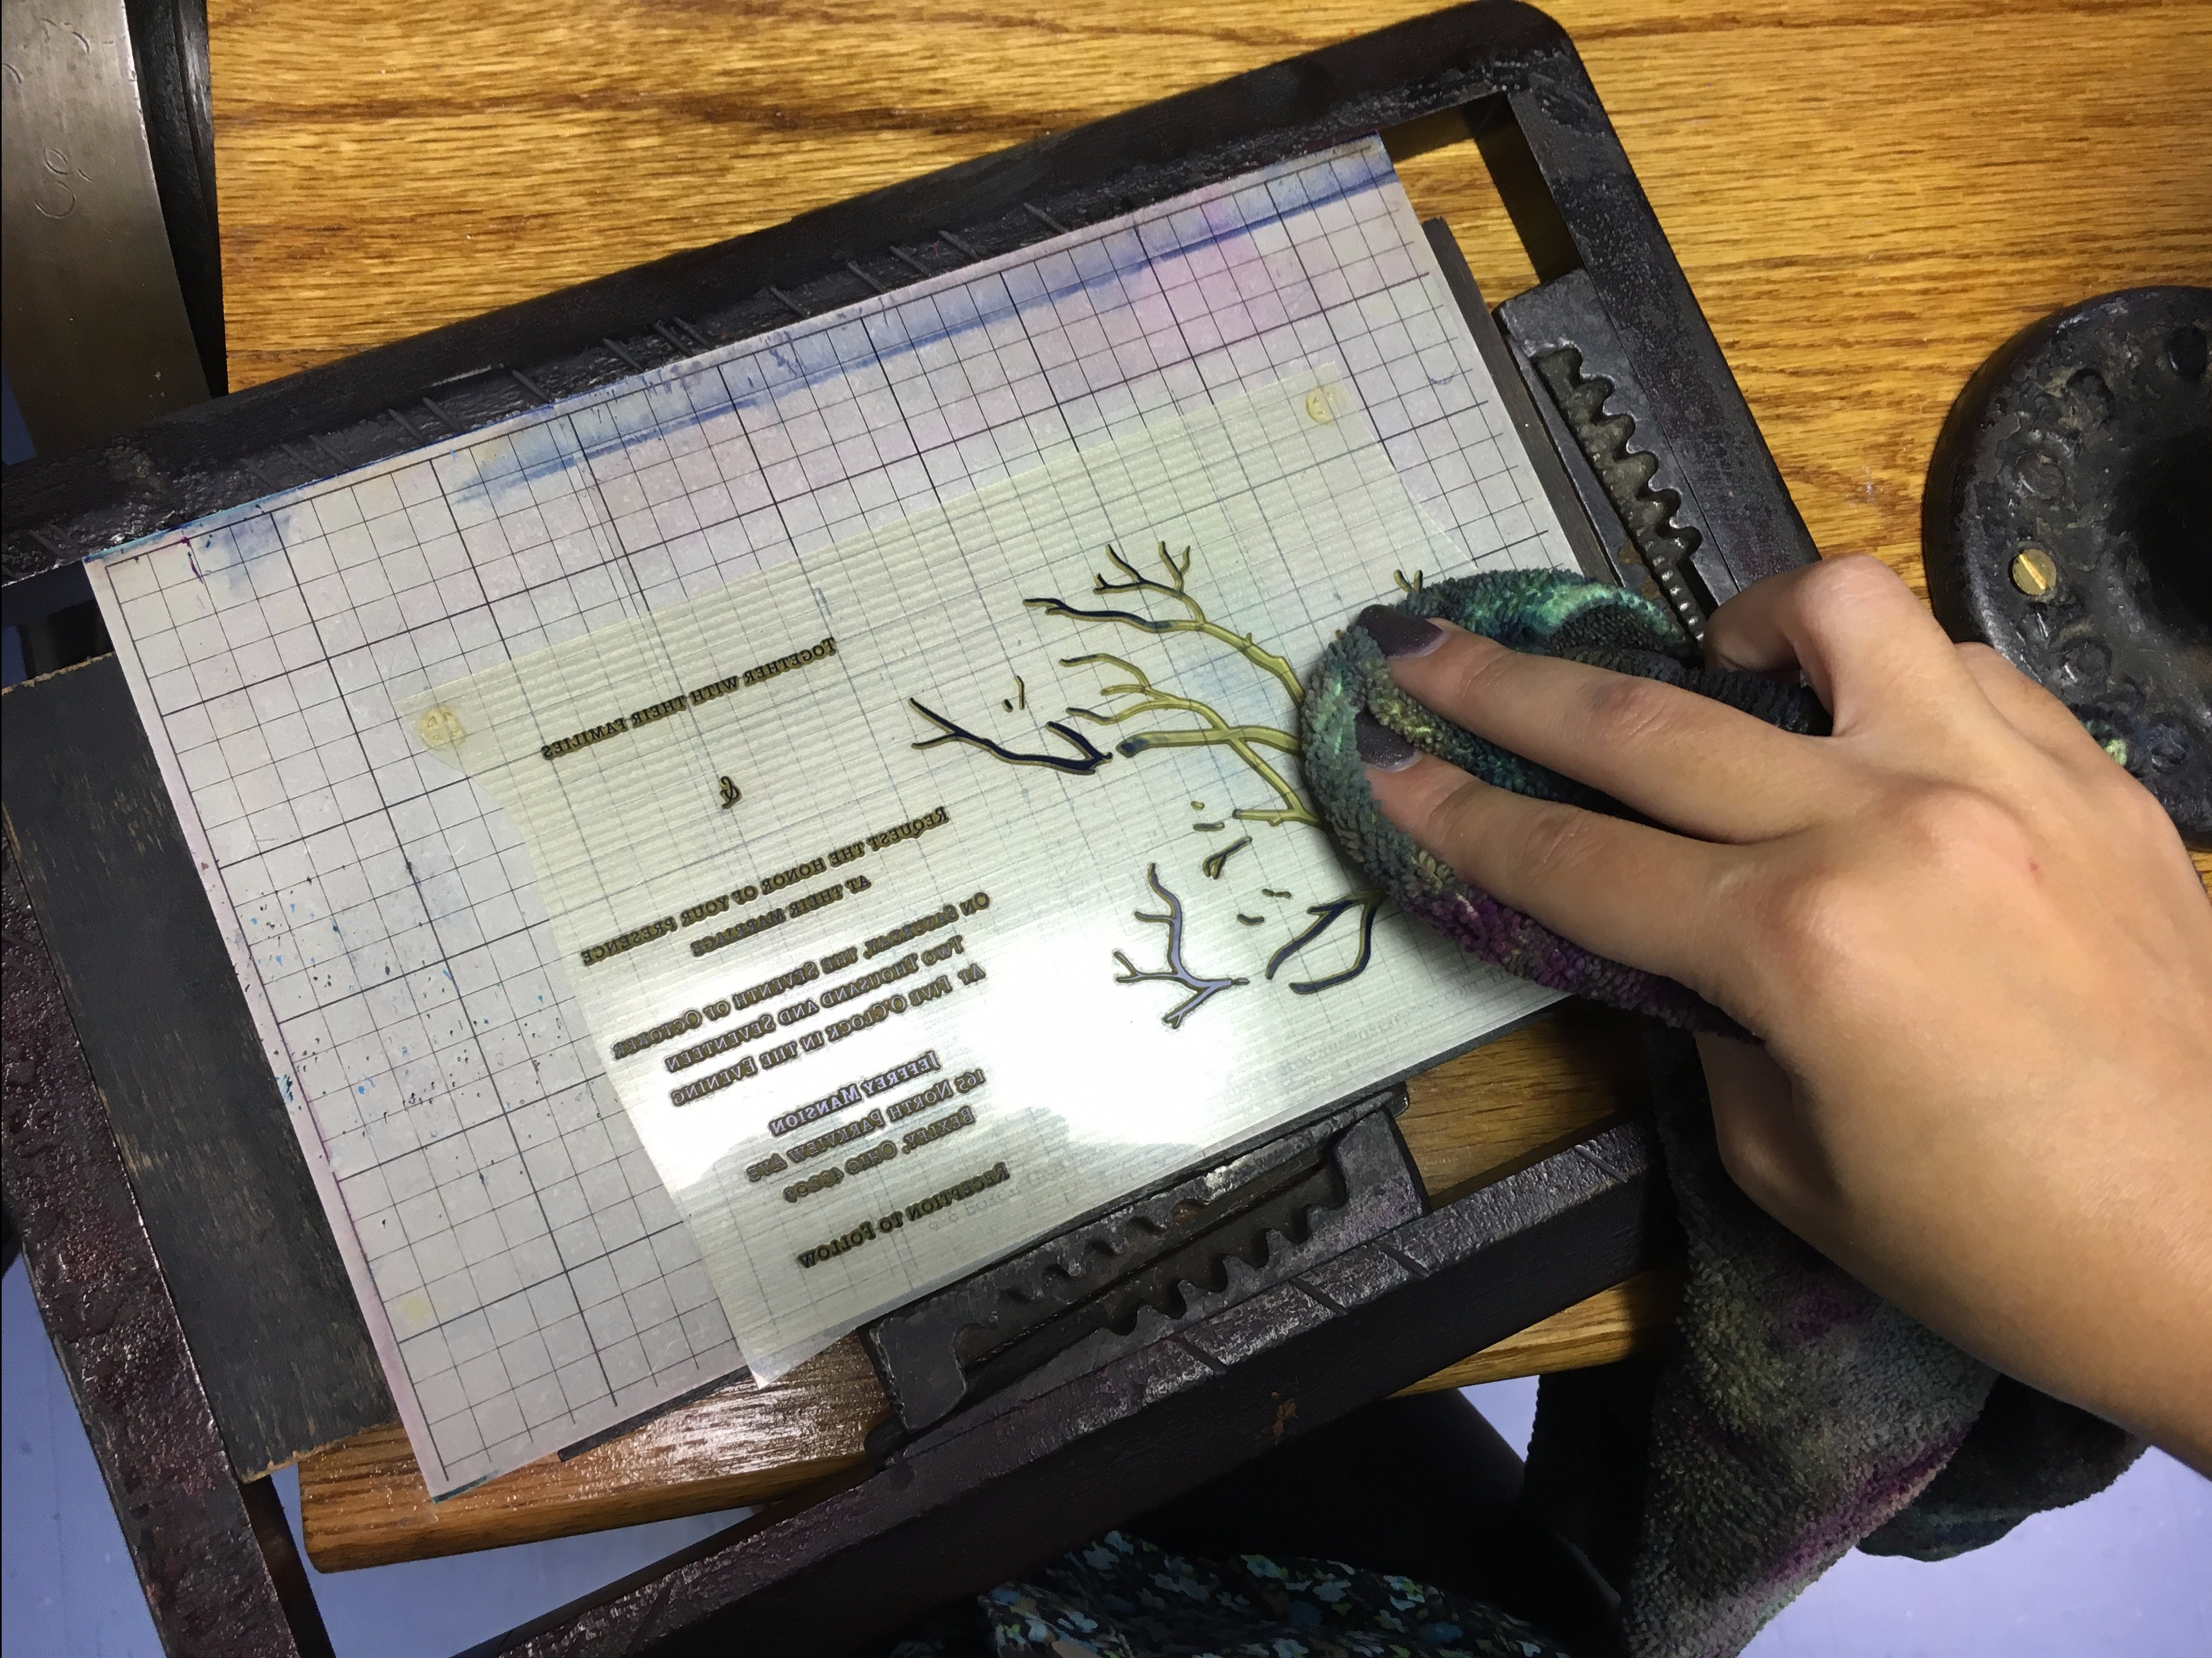
Once you’re done printing, remove the chase and clean the plate with a dry rag – this works MUCH better than using mineral spirits as those tend to cause the ink to smear everywhere and stain the plate even worse. Likewise, if you end up needing to print the plate again mineral spirits can affect how the ink sticks to the surface and cause you issues.
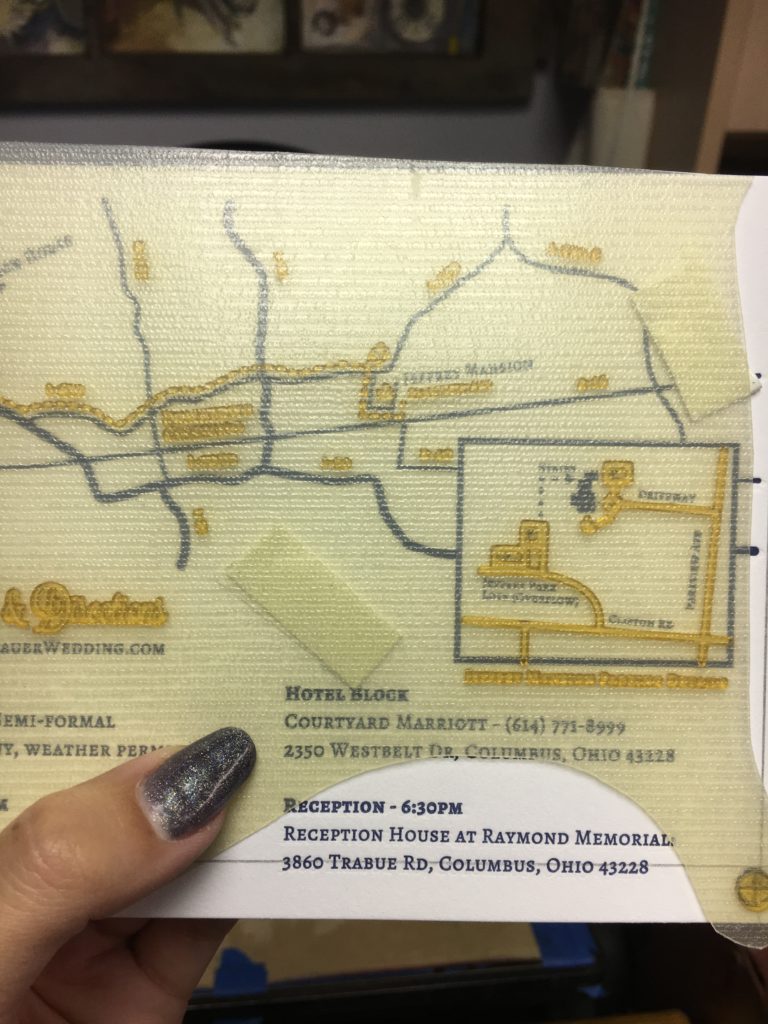
When you line up your second color you follow the steps above with one exception. Instead of using any lines you’ve marked on your paper, you seat the registration marks into the previous ones. You can feel it when the plate is lined up, and often even see it through the plate (see the dark marks showing through below?)
Sometimes this works perfectly, but with very precise images you might need to make very, very small adjustments. It is for this reason I use sticky – moveable/compressible gauge pins. This way I can just lift the pin and move it very slightly in the direction needed to bring the image into perfect alignment.
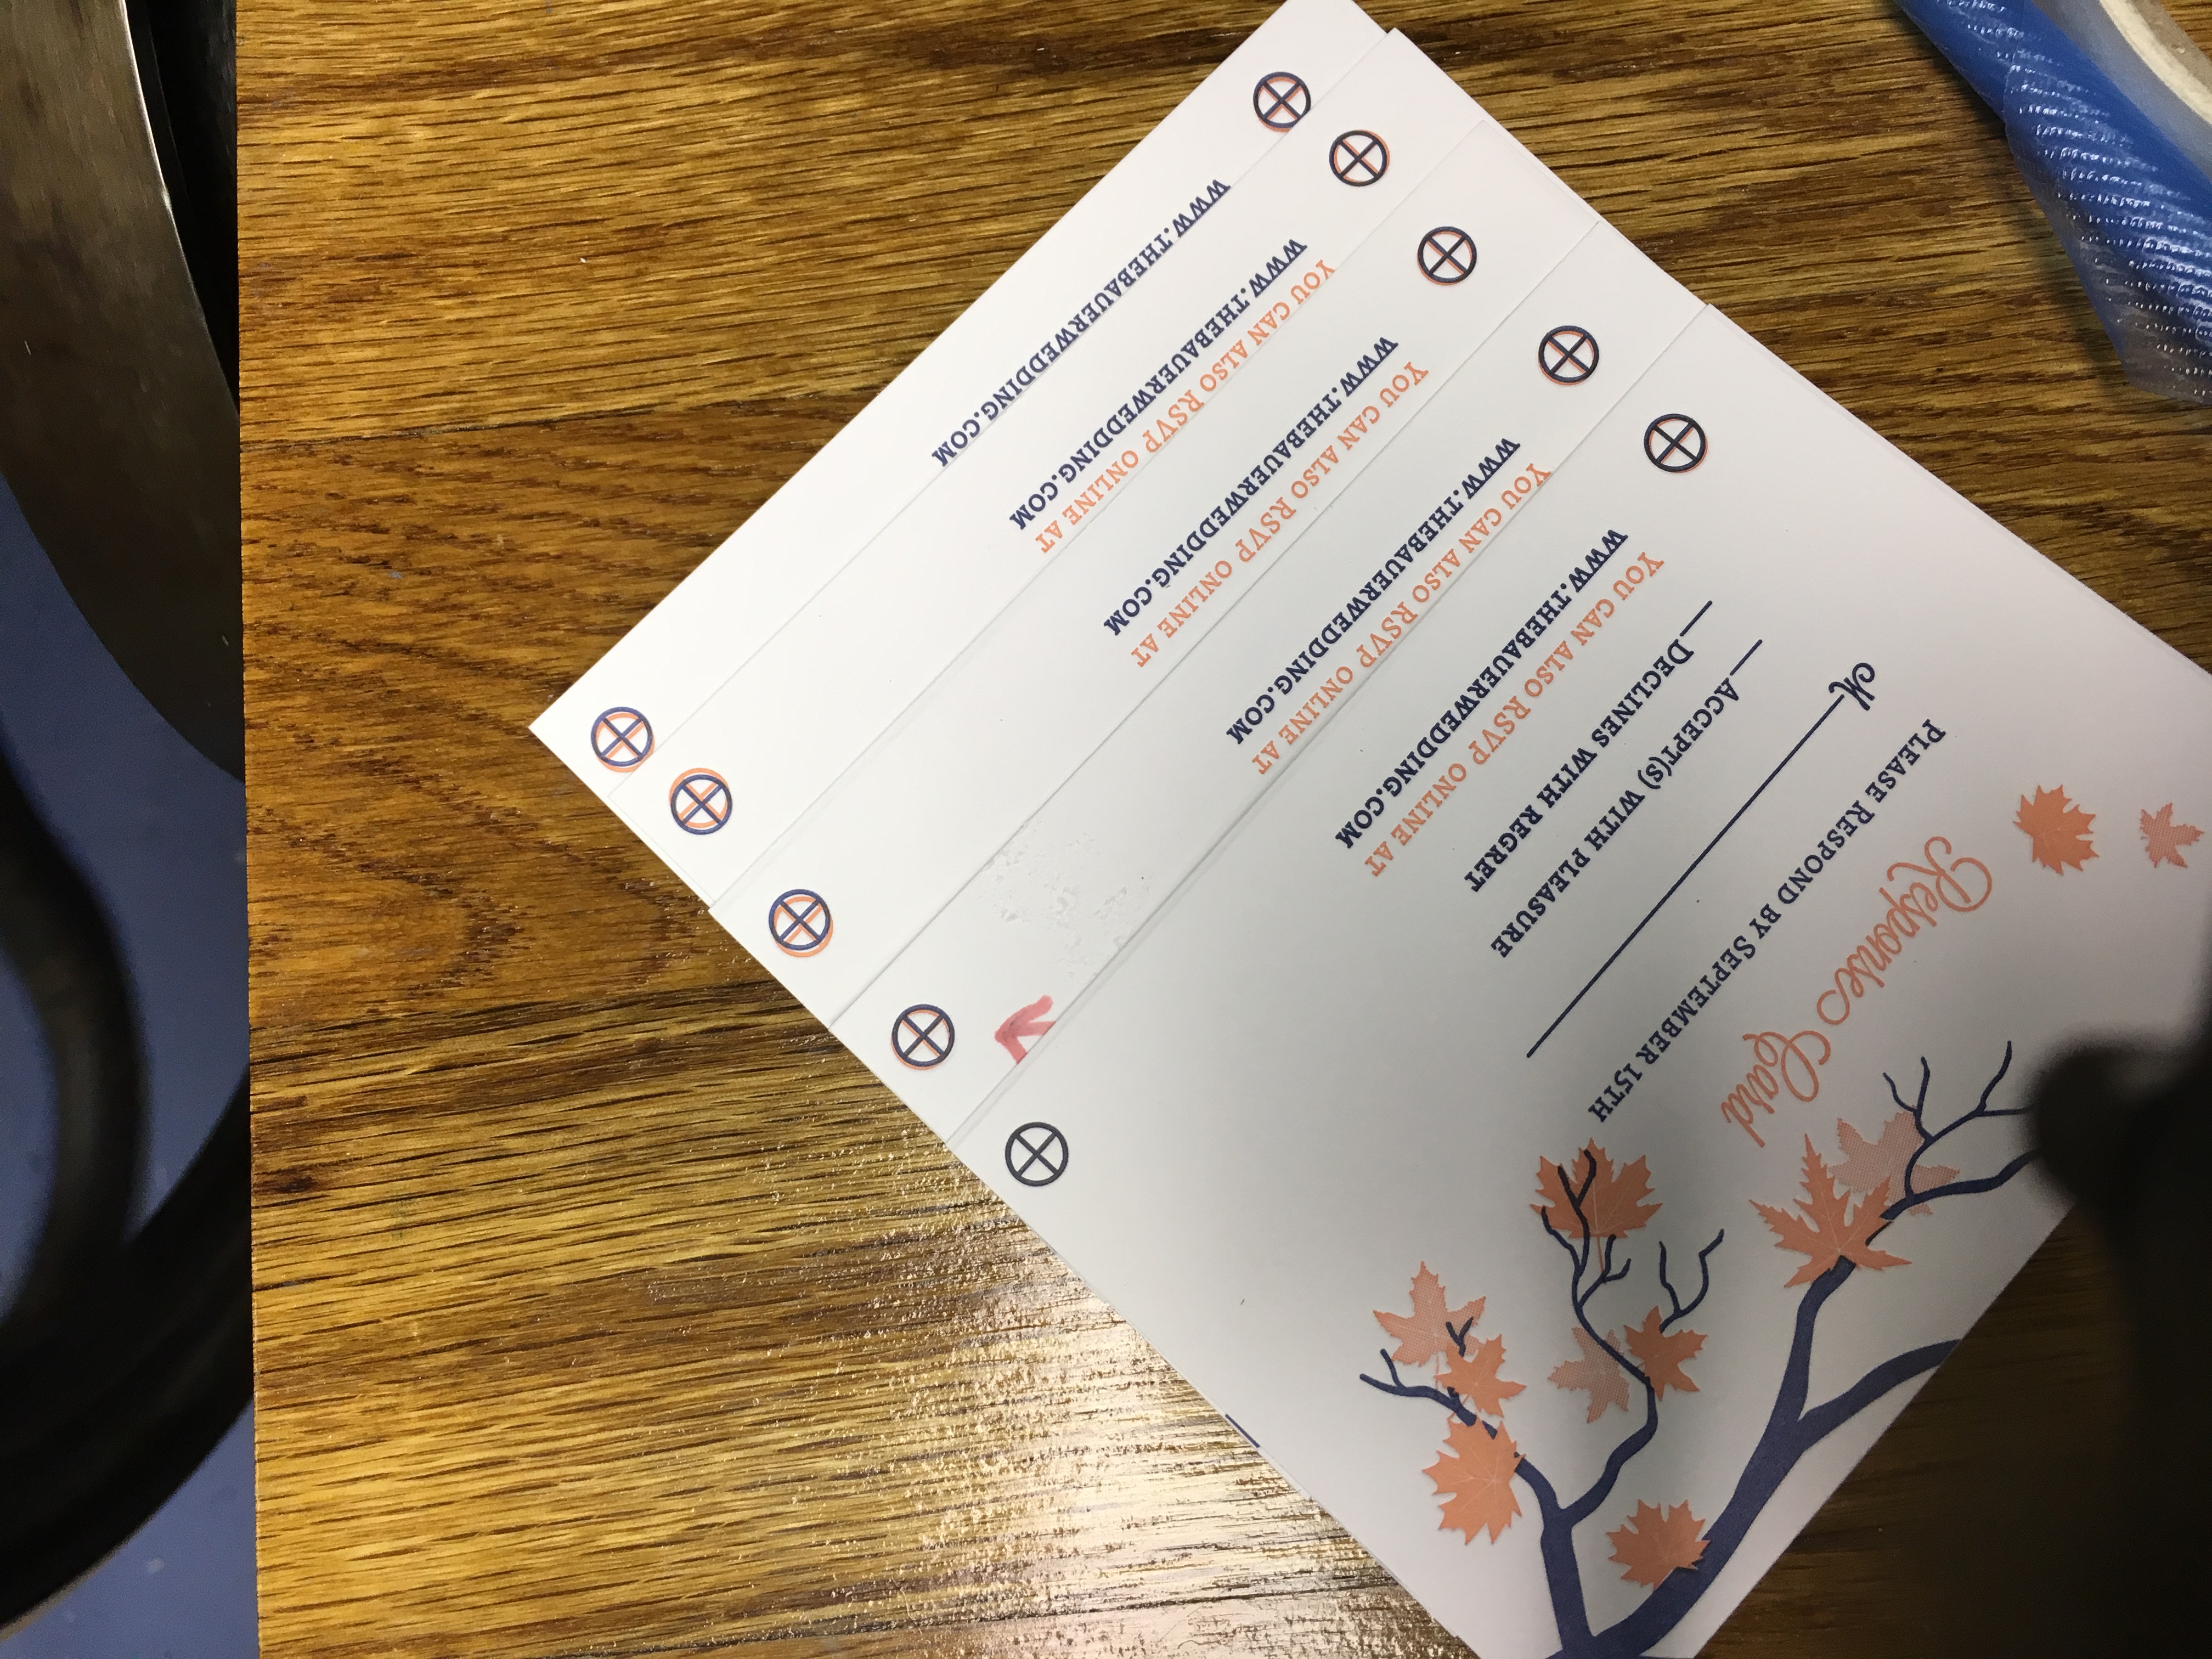
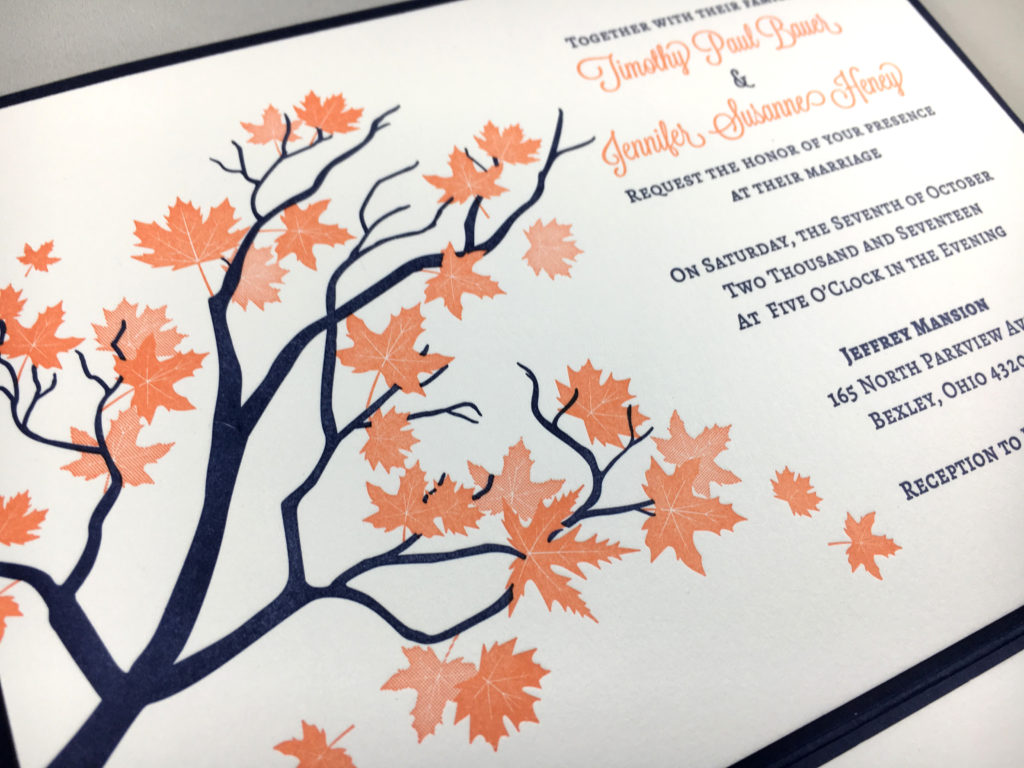
Once you’re perfectly aligned – print! Feed with care, there is no reason to rush and miss print. In the end you should have big beautiful stacks of perfectly aligned prints! This suite below had no trapping! I was able to get hairline registration with this method. The key points are:
- Paper should always go into the pins in the same direction on subsequent colors (aka if the pins were on the left and bottom of the design, they should stay that way each time)
- Don’t remove your chase to add ink or remove registration marks, just be gentle. Add ink in tiny slivers to the left of the ink plate little by little, and cut you marks off AWAY from the plate image.
- Feed with care – I keep my ink on the thinner/lighter side so that I can let an image double ink in between prints without over inking. This means sometimes I feed slower, let the ink build back up on the plate occasionally, or have to add ink more often. However, it gives me the freedom to feed carefully and precisely without rushing. I usually take about 5 prints then let the plate ink twice. Depending on how finicky the image is I may be able to feed 10-20 or as few as 2 before letting the image double ink.
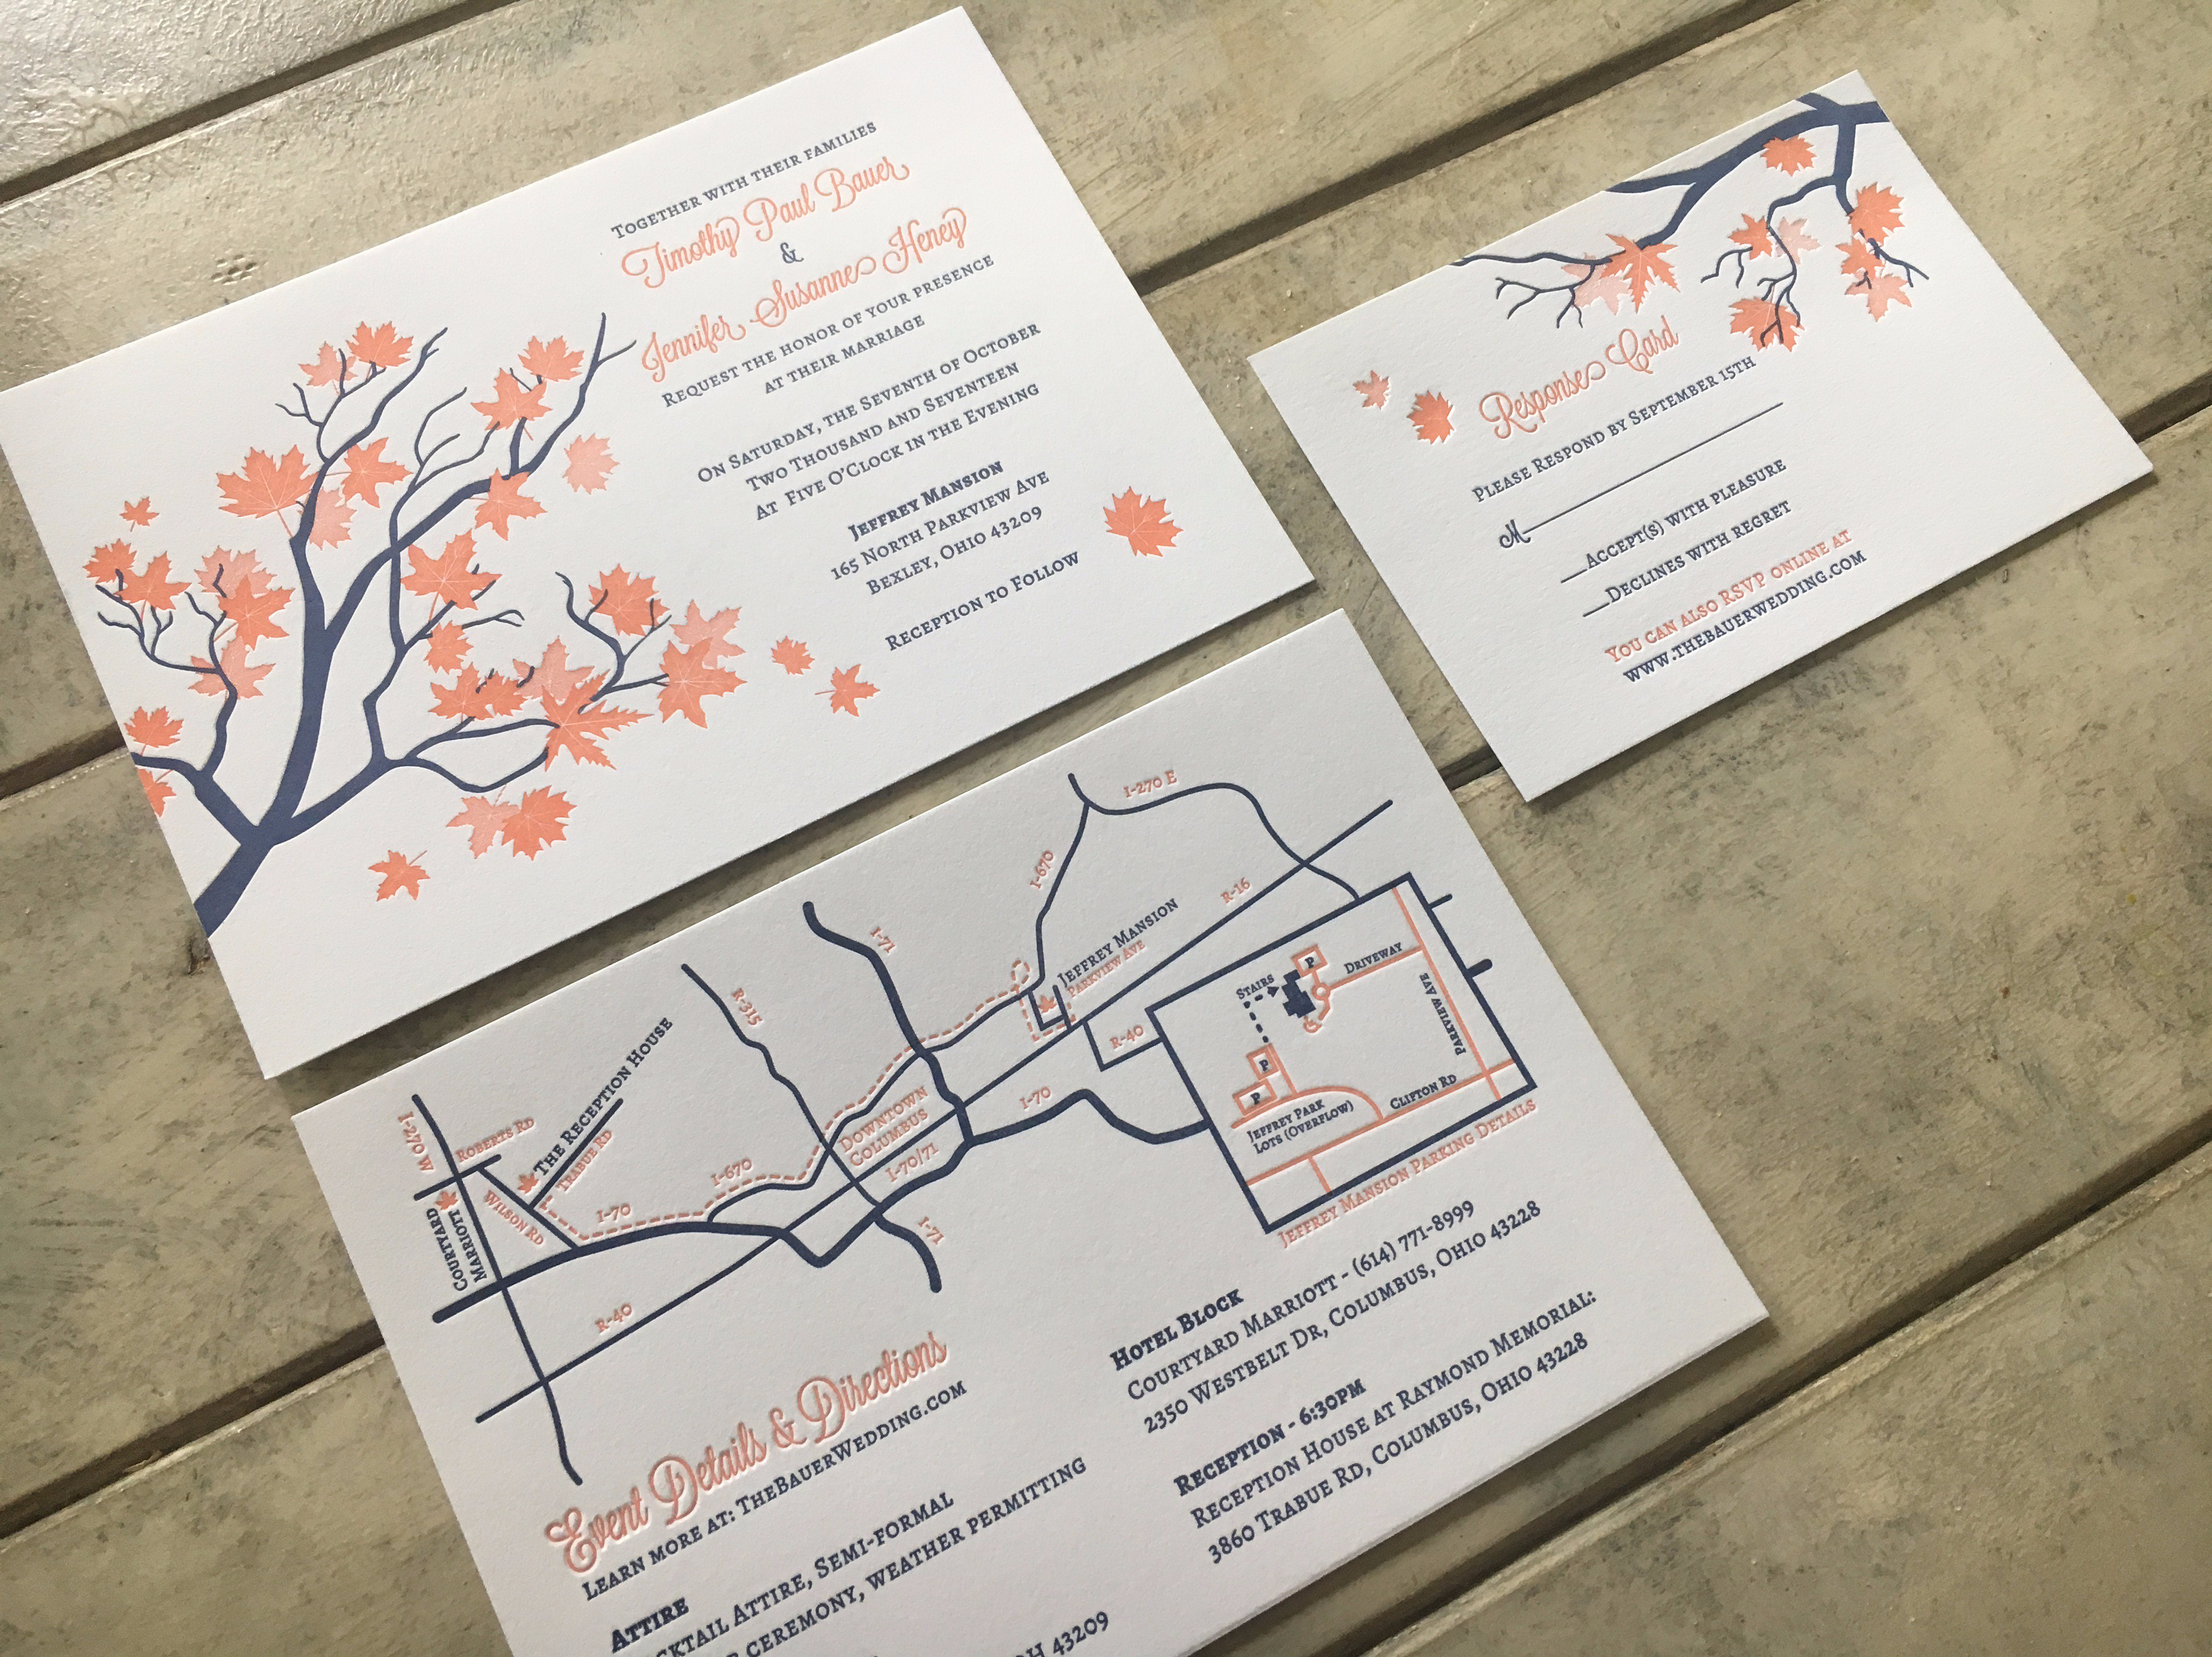
Here are some more final shots of the project:

Dear Danielle,
I am so happy you are ‘back in business’!
I learned a lot from you and your videos in the years past. In fact, about 3-4 years ago I emailed you to see if I could stop by your shop when I was visiting my daughter in Norfolk, since you were in Virginia Beach. When you disaI saw that you were in Hawaii, I put 2+2 together and gathered you must be a Navy family.
On Mon, Aug 14, 2017 at 10:46 AM, Panthera Press wrote:
> pantherapress posted: “Panthera Press is back in business! After a year > abroad on Navy assignment with my husband, we have returned to Virginia > Beach and printing is underway! I wanted to re-visit my lineup process for > the press as I think it’s probably one of my best discoveri” >
If you’re ever back in the area do let me know! I’d be happy to have you stop by.
well, that’s embarassing…darn laptop…
Anyhoo…my daughter and her husband are both Navy JAGS and just returned to D.C. after two years in Guam. Your husband must have been in Norfolk the same time they were. Welcome back to the mainland! I truly appreciate what you offer the letterpress community and look forward to watching and learning from you again.
Thank you, Sarah Clutter Sacramento, CA