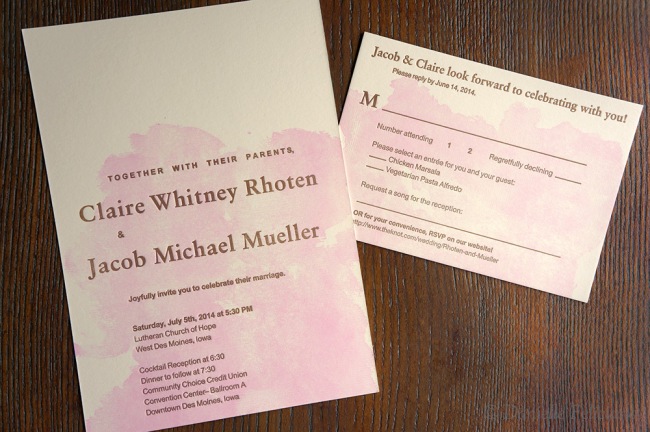
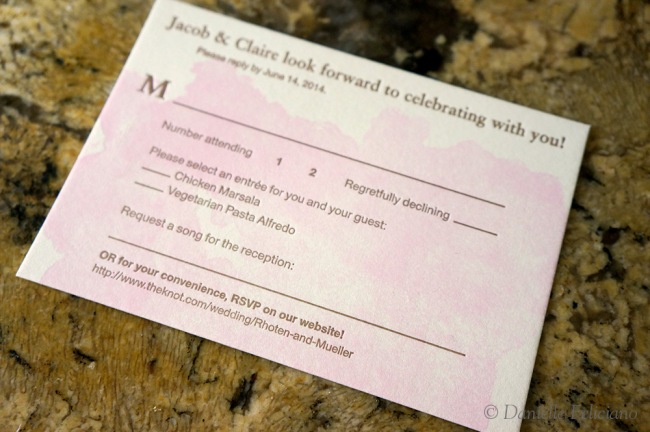
So for this job the bride was hoping for a watercolor, splashed background. This isn’t so much a tutorial as it is a little note about the process. Creating the water watermark was initially the most challenging part because I wanted it to be vectorized. Illustrator doesn’t have really good capability for turning raster graphics into halftones. Photoshop can create bitmap halftones – but only as raster graphics. I ended up getting a program called vectoraster and that worked decently but doesn’t allow direct control over you LPI. Still it’s a worthwhile program to purchase – it does some great work if you aren’t going to be outputting to a printer software for making halftones like RIP which is used in Screen Printing. In the end the output was an 100 lpi bitmap image perfect for letterpress.
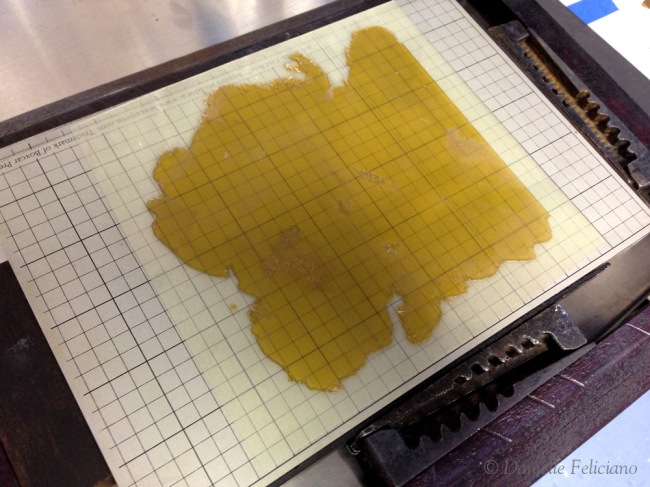
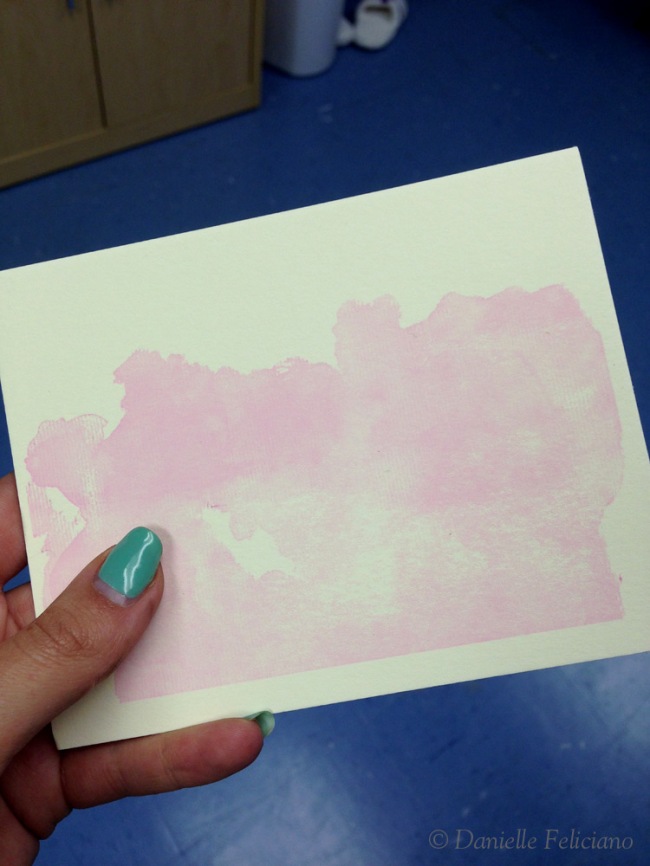
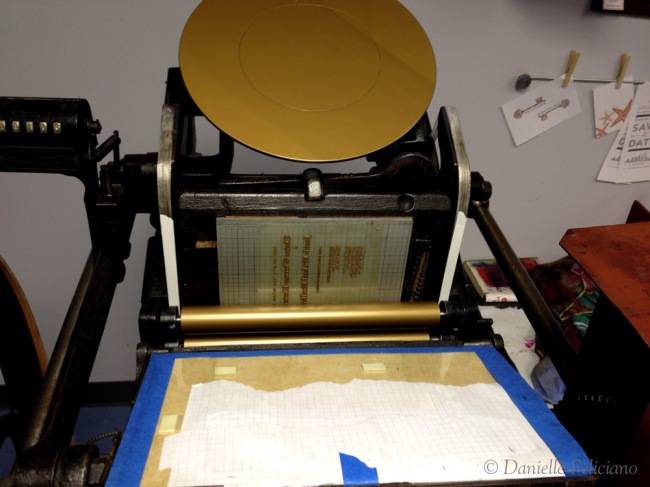
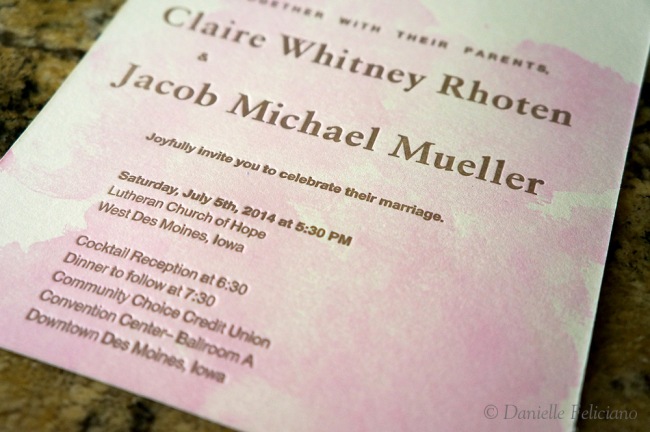
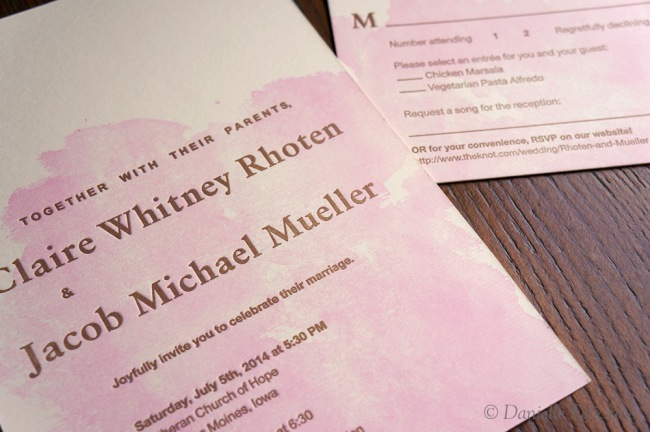
Here you can see the plates – the halftone on the plates is almost invisible to the naked eye and even when printed produces a really nice soft result although halftone is visible. The outcome was actually very nice, though I would not suggest halftones for cotton paper unless you have some freedom in the image should it not print flat and solid. The absorbent paper can make super even inking a problem. This soft watercolor design was flexible enough in its look that a few missed dots wouldn’t ruin it, so it was perfect for this job.
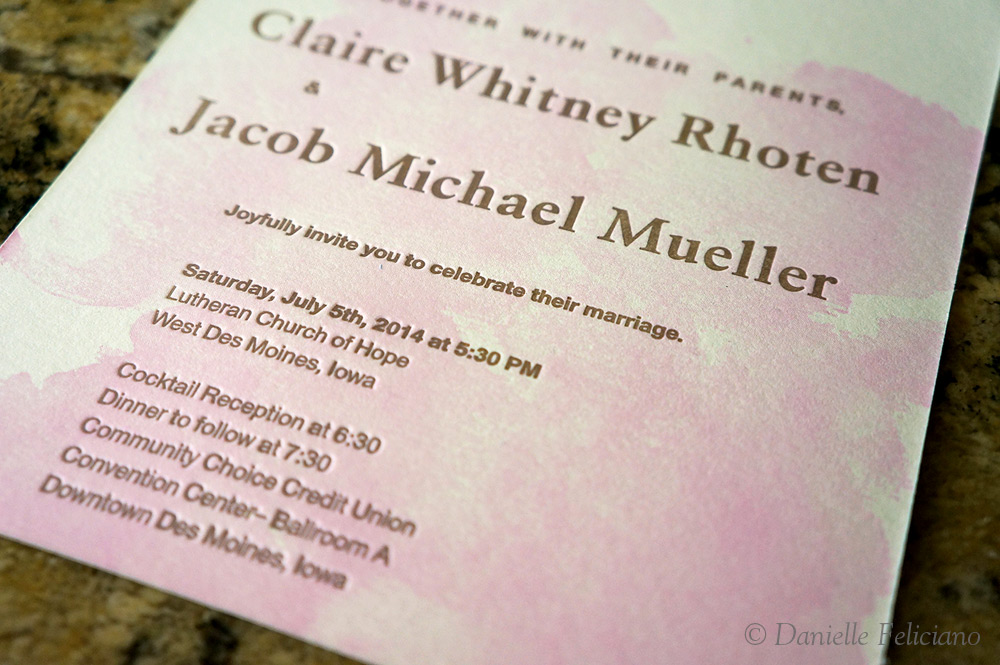
Metallic printing is also a challenge – because the transparent ink will also result in a sort of brassy effect. It still looked nice on the Lettra Ecru paper over the pink watermark. The soft metallic is more visible in person, but it’s a nice subtle effect.
I’m starting to really notice the differences in inking fine detail and solid flat images. I’m finding I have to raise the rollers two tape thickness for type and drop it back down for large inking areas like this halftone. The devil really is in the details.
Very nice! My large flat-area photopolymer plates roll up and are impossible to print with after a few months. Do you have that problem as well? It’s a shame, because having a nice big watercolor wash plate would be perfect to have on hand for brides who love that look. Do you think it could be a better investment to get a magnesium plate made?
I get the deep relief plates so yeah, they curl a lot, but I find if you spritz them with water and put them under a weight it helps when you want to re use them, if you just let them run on the press and take impressions without ink for a little that’ll usually flatten them too. Mag plates are too expensive, though if you will use it a lot it might be worth it, you’ll just want it mounted so you don’t have to adjust the roller height or fiddle with the mounting yourself. Honestly though, I’ve made some pretty badly curled plates work by just letting them warm up on press. Don’t let them get too wet though or the photopolymer will lift off the backing
Hi Danielle,
Any chance you could write a post or do a video in regards to taping the rails or adjusting the roller height? I find it impossible to find anything in regards on how to do this. Any information is very much appreciated!
Thanks,
Sandra
I am actually in the process of doing just that. Check back in about a week – maybe sooner and there should be a post about this.
Amazing! Really appreciate all of your tutorials 🙂 I learnt on a Vandercook, but I took the plunge and bought a C&P, so I’m basically relearning everything haha.